They’ve been a long time coming, but I finally have a huge new batch of beads to share with you all, which I’ll be listing this evening. Before now, I’ve never really bought into any of the specialist products that are available for claying. One of the good (and very handy!) things about poly clay is that you can often get away with using things that you happen to have around the house. However, this year I resolved to start branching out a bit and to try some new materials and tools. When I came across this patinating and colouring system a couple of months ago, I thought, ‘Oooo, that’s for me!’ It’s not really readily available in the UK - there’s one place that stocks some bits of it, in a pretty spasmodic way. So, part of the delay has been down to waiting for parcels from the States - and, of course, waiting for customs to do their infamous handling of them. It was all a bit pricey but, once I started, I couldn’t resist stocking up on the whole range.
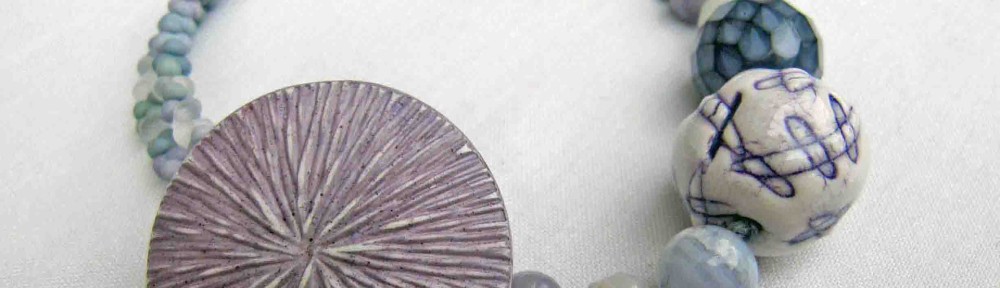
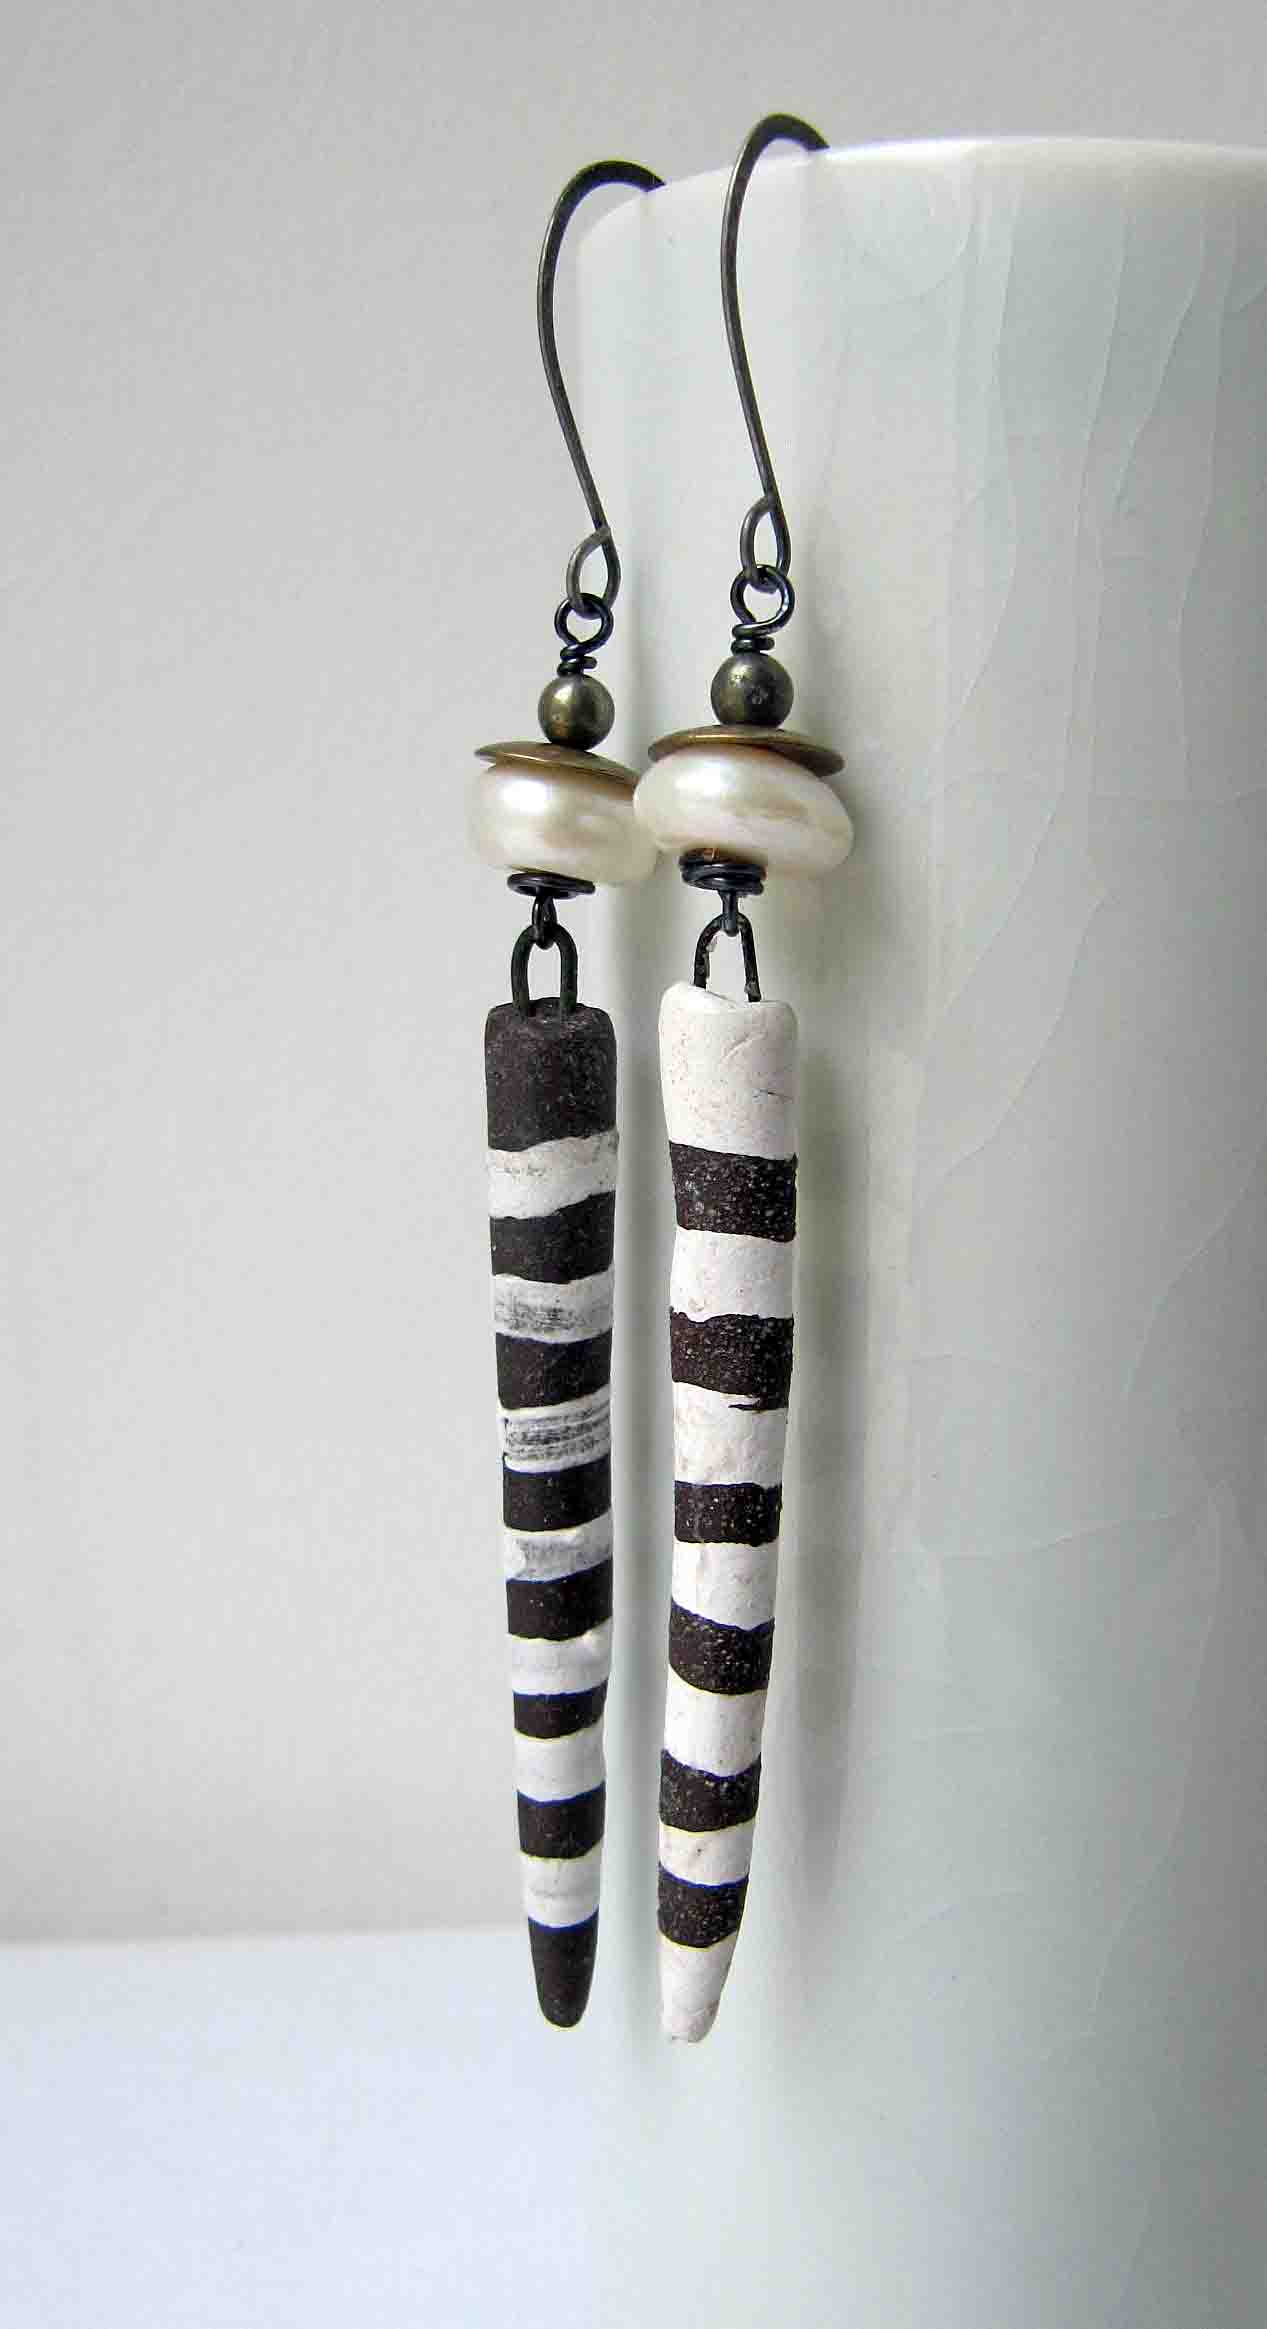
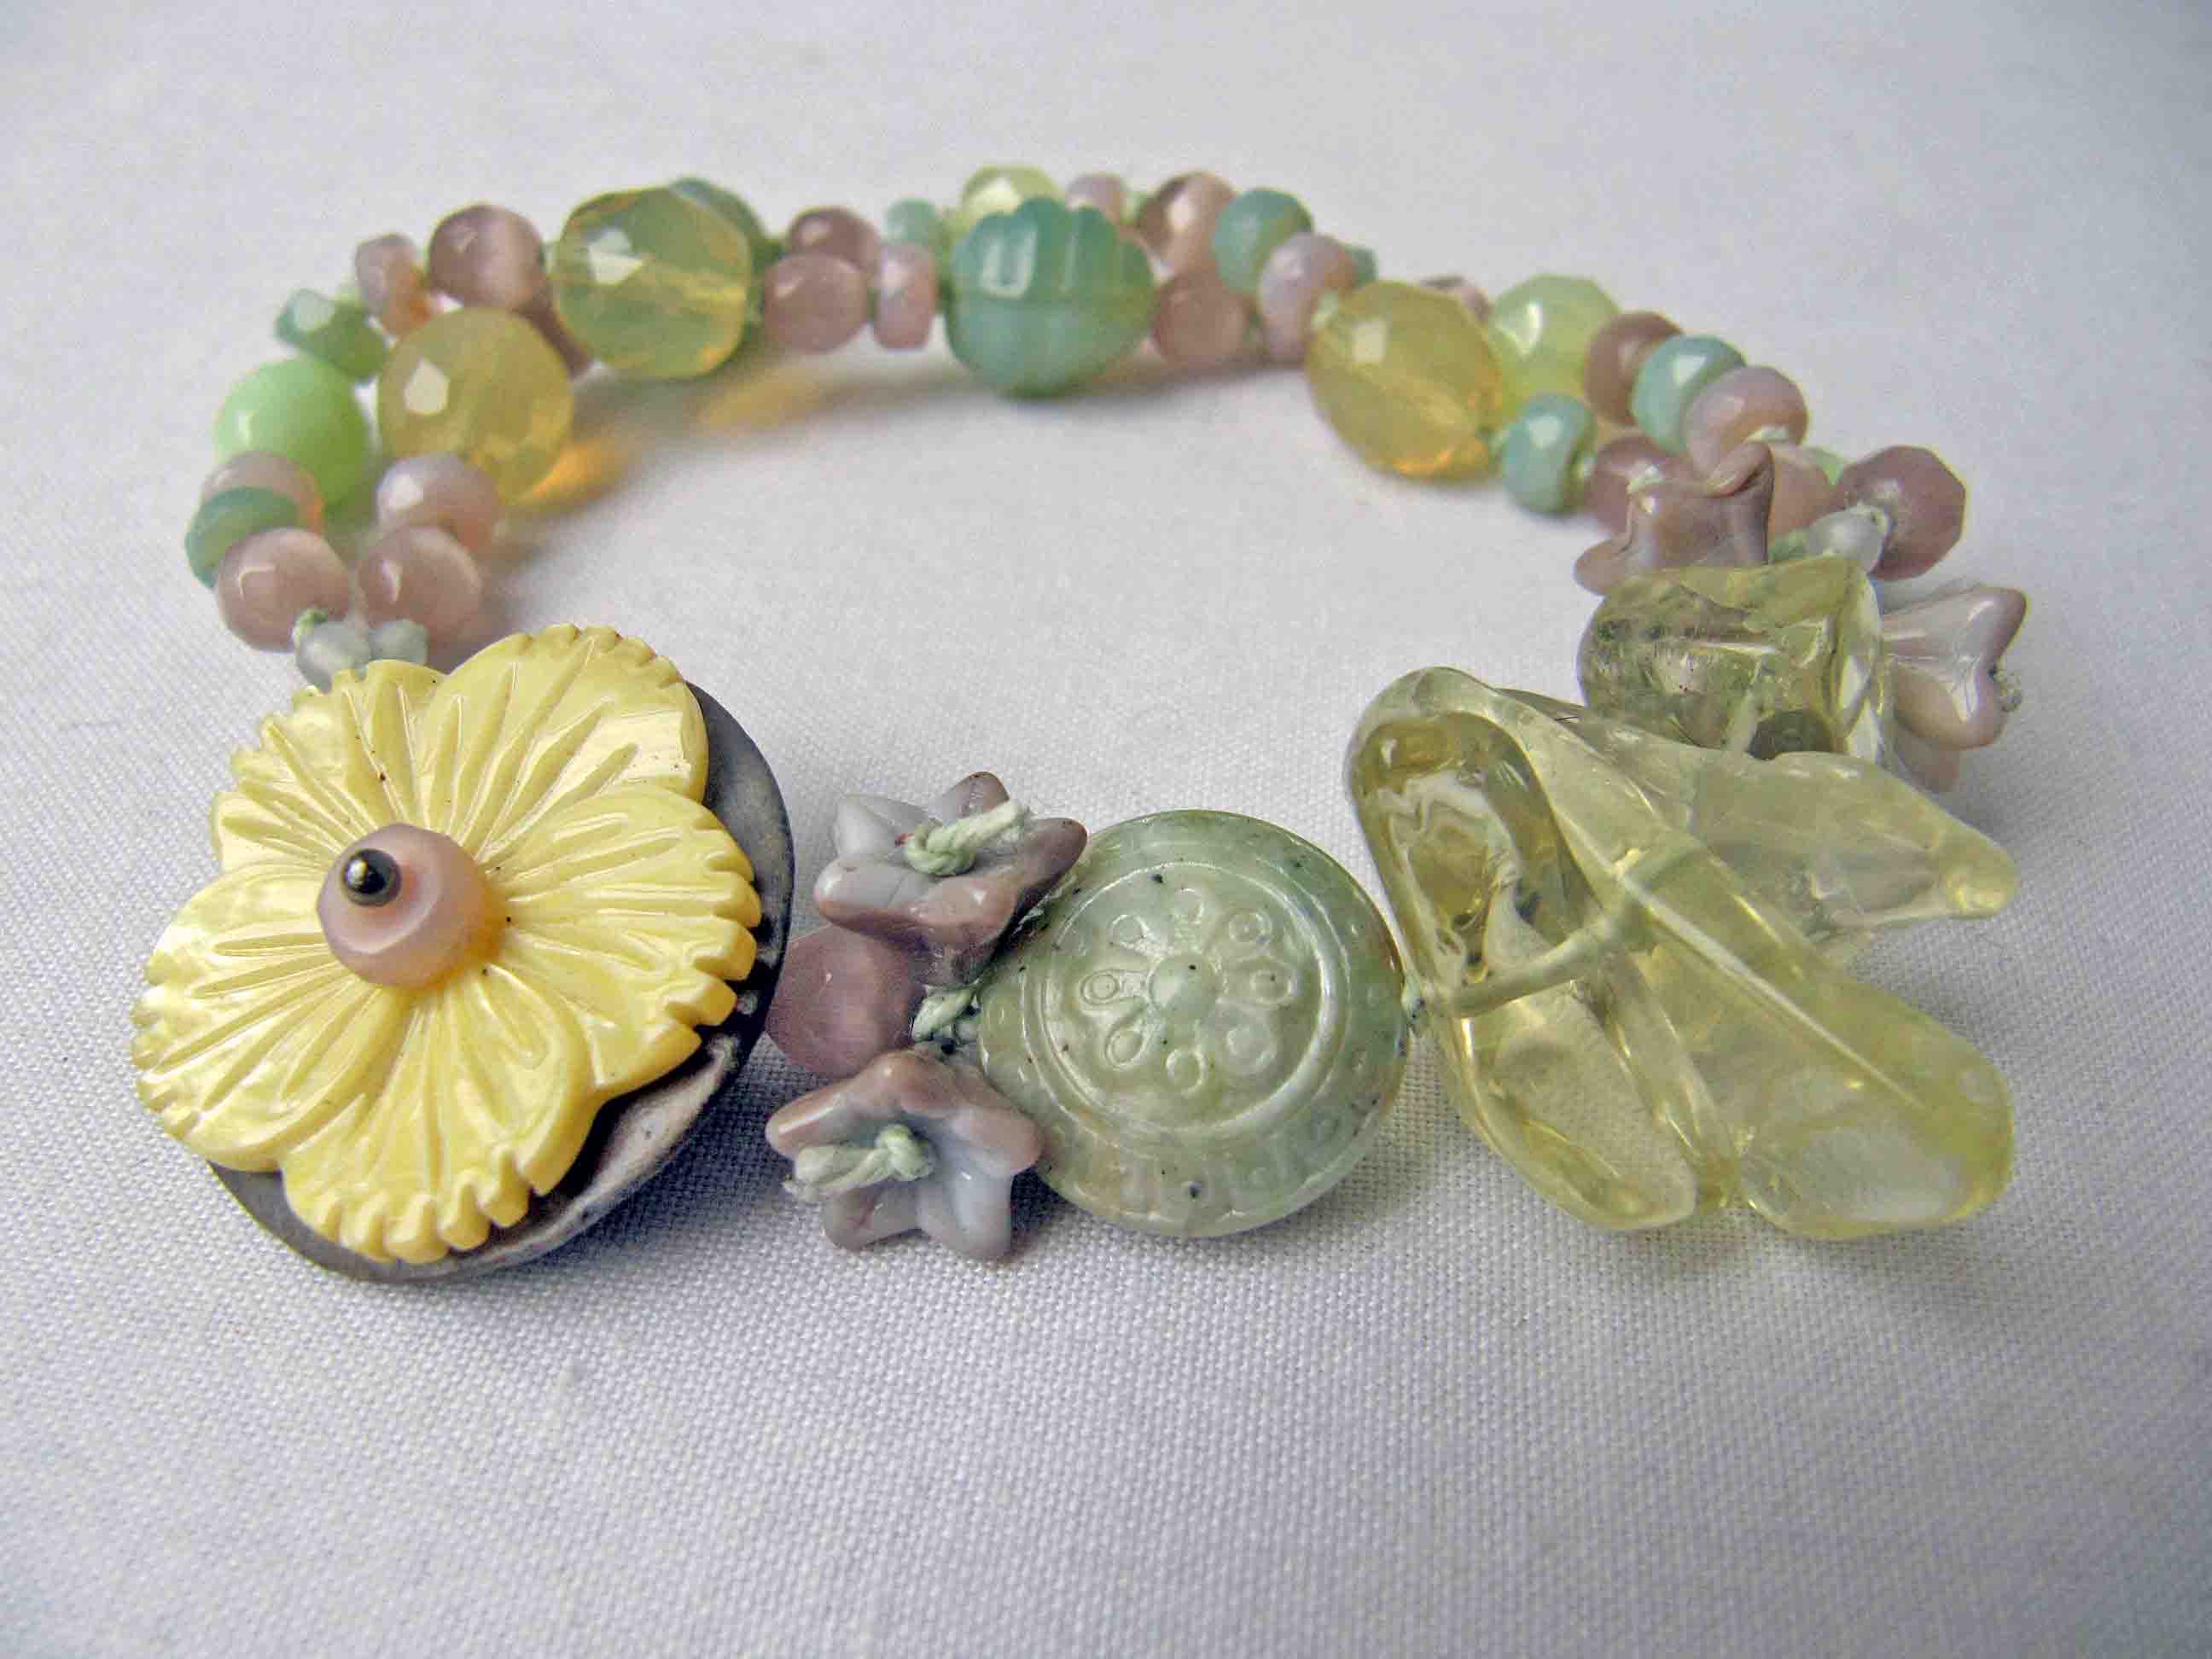
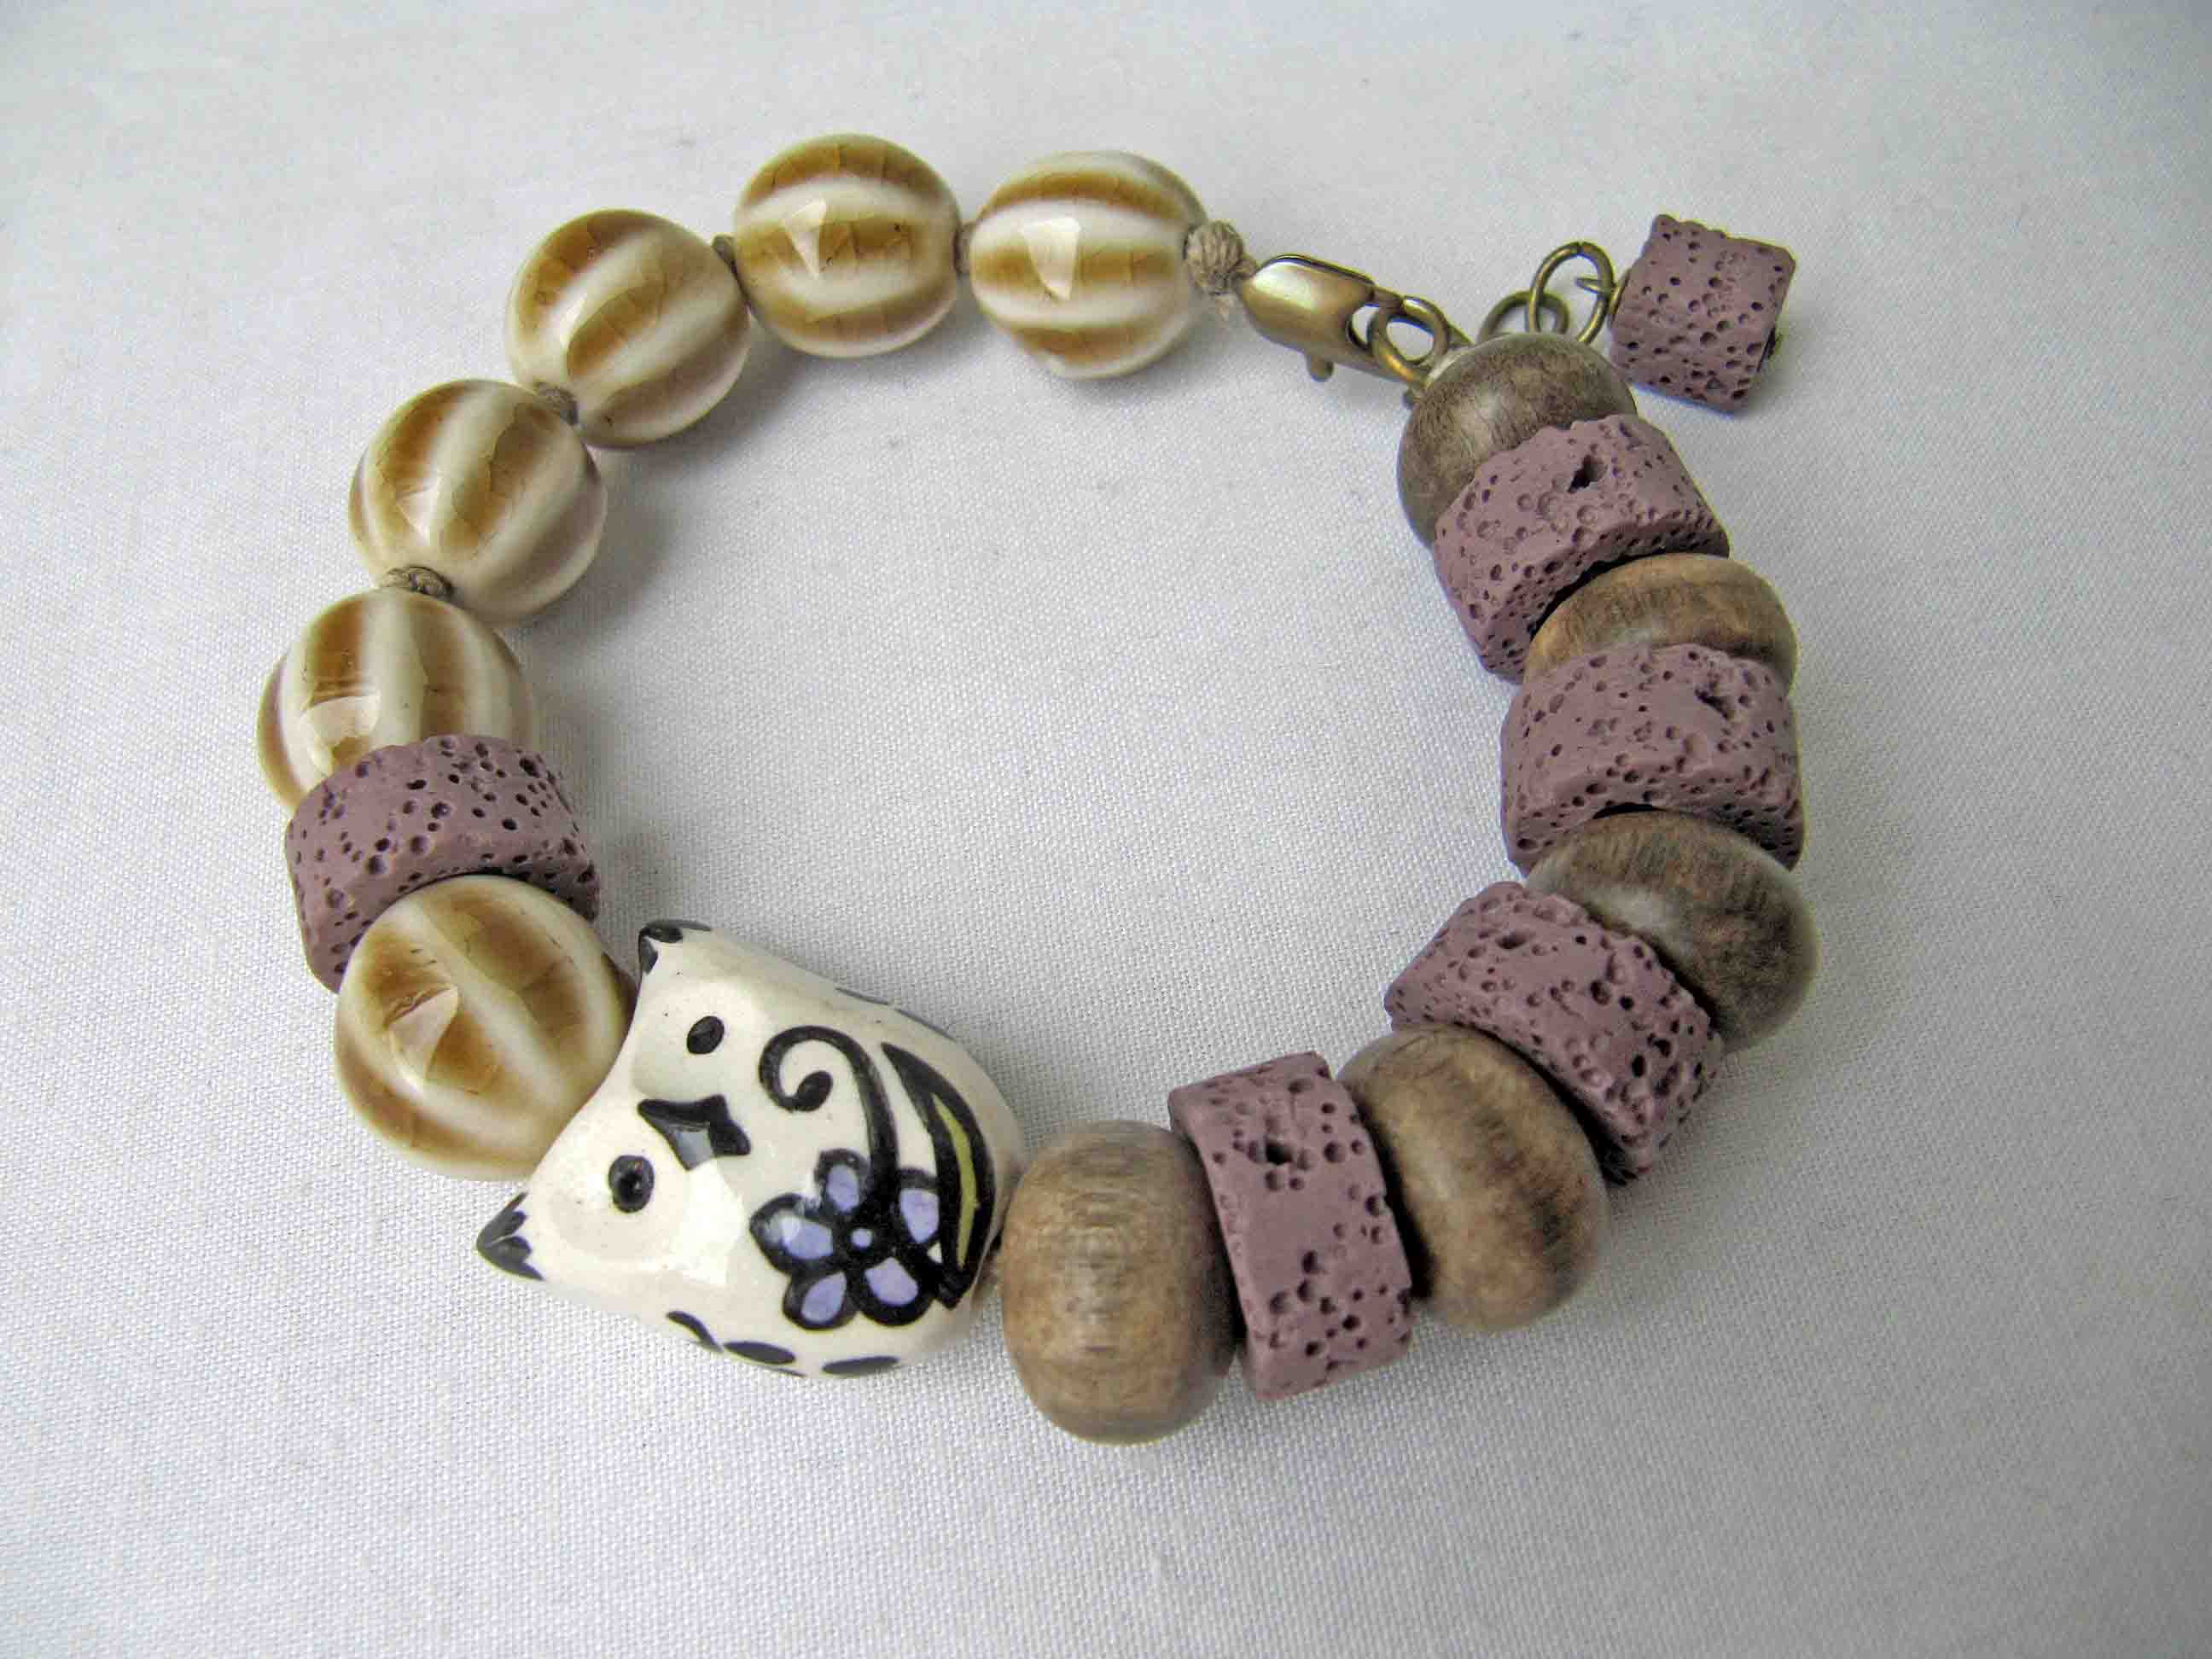
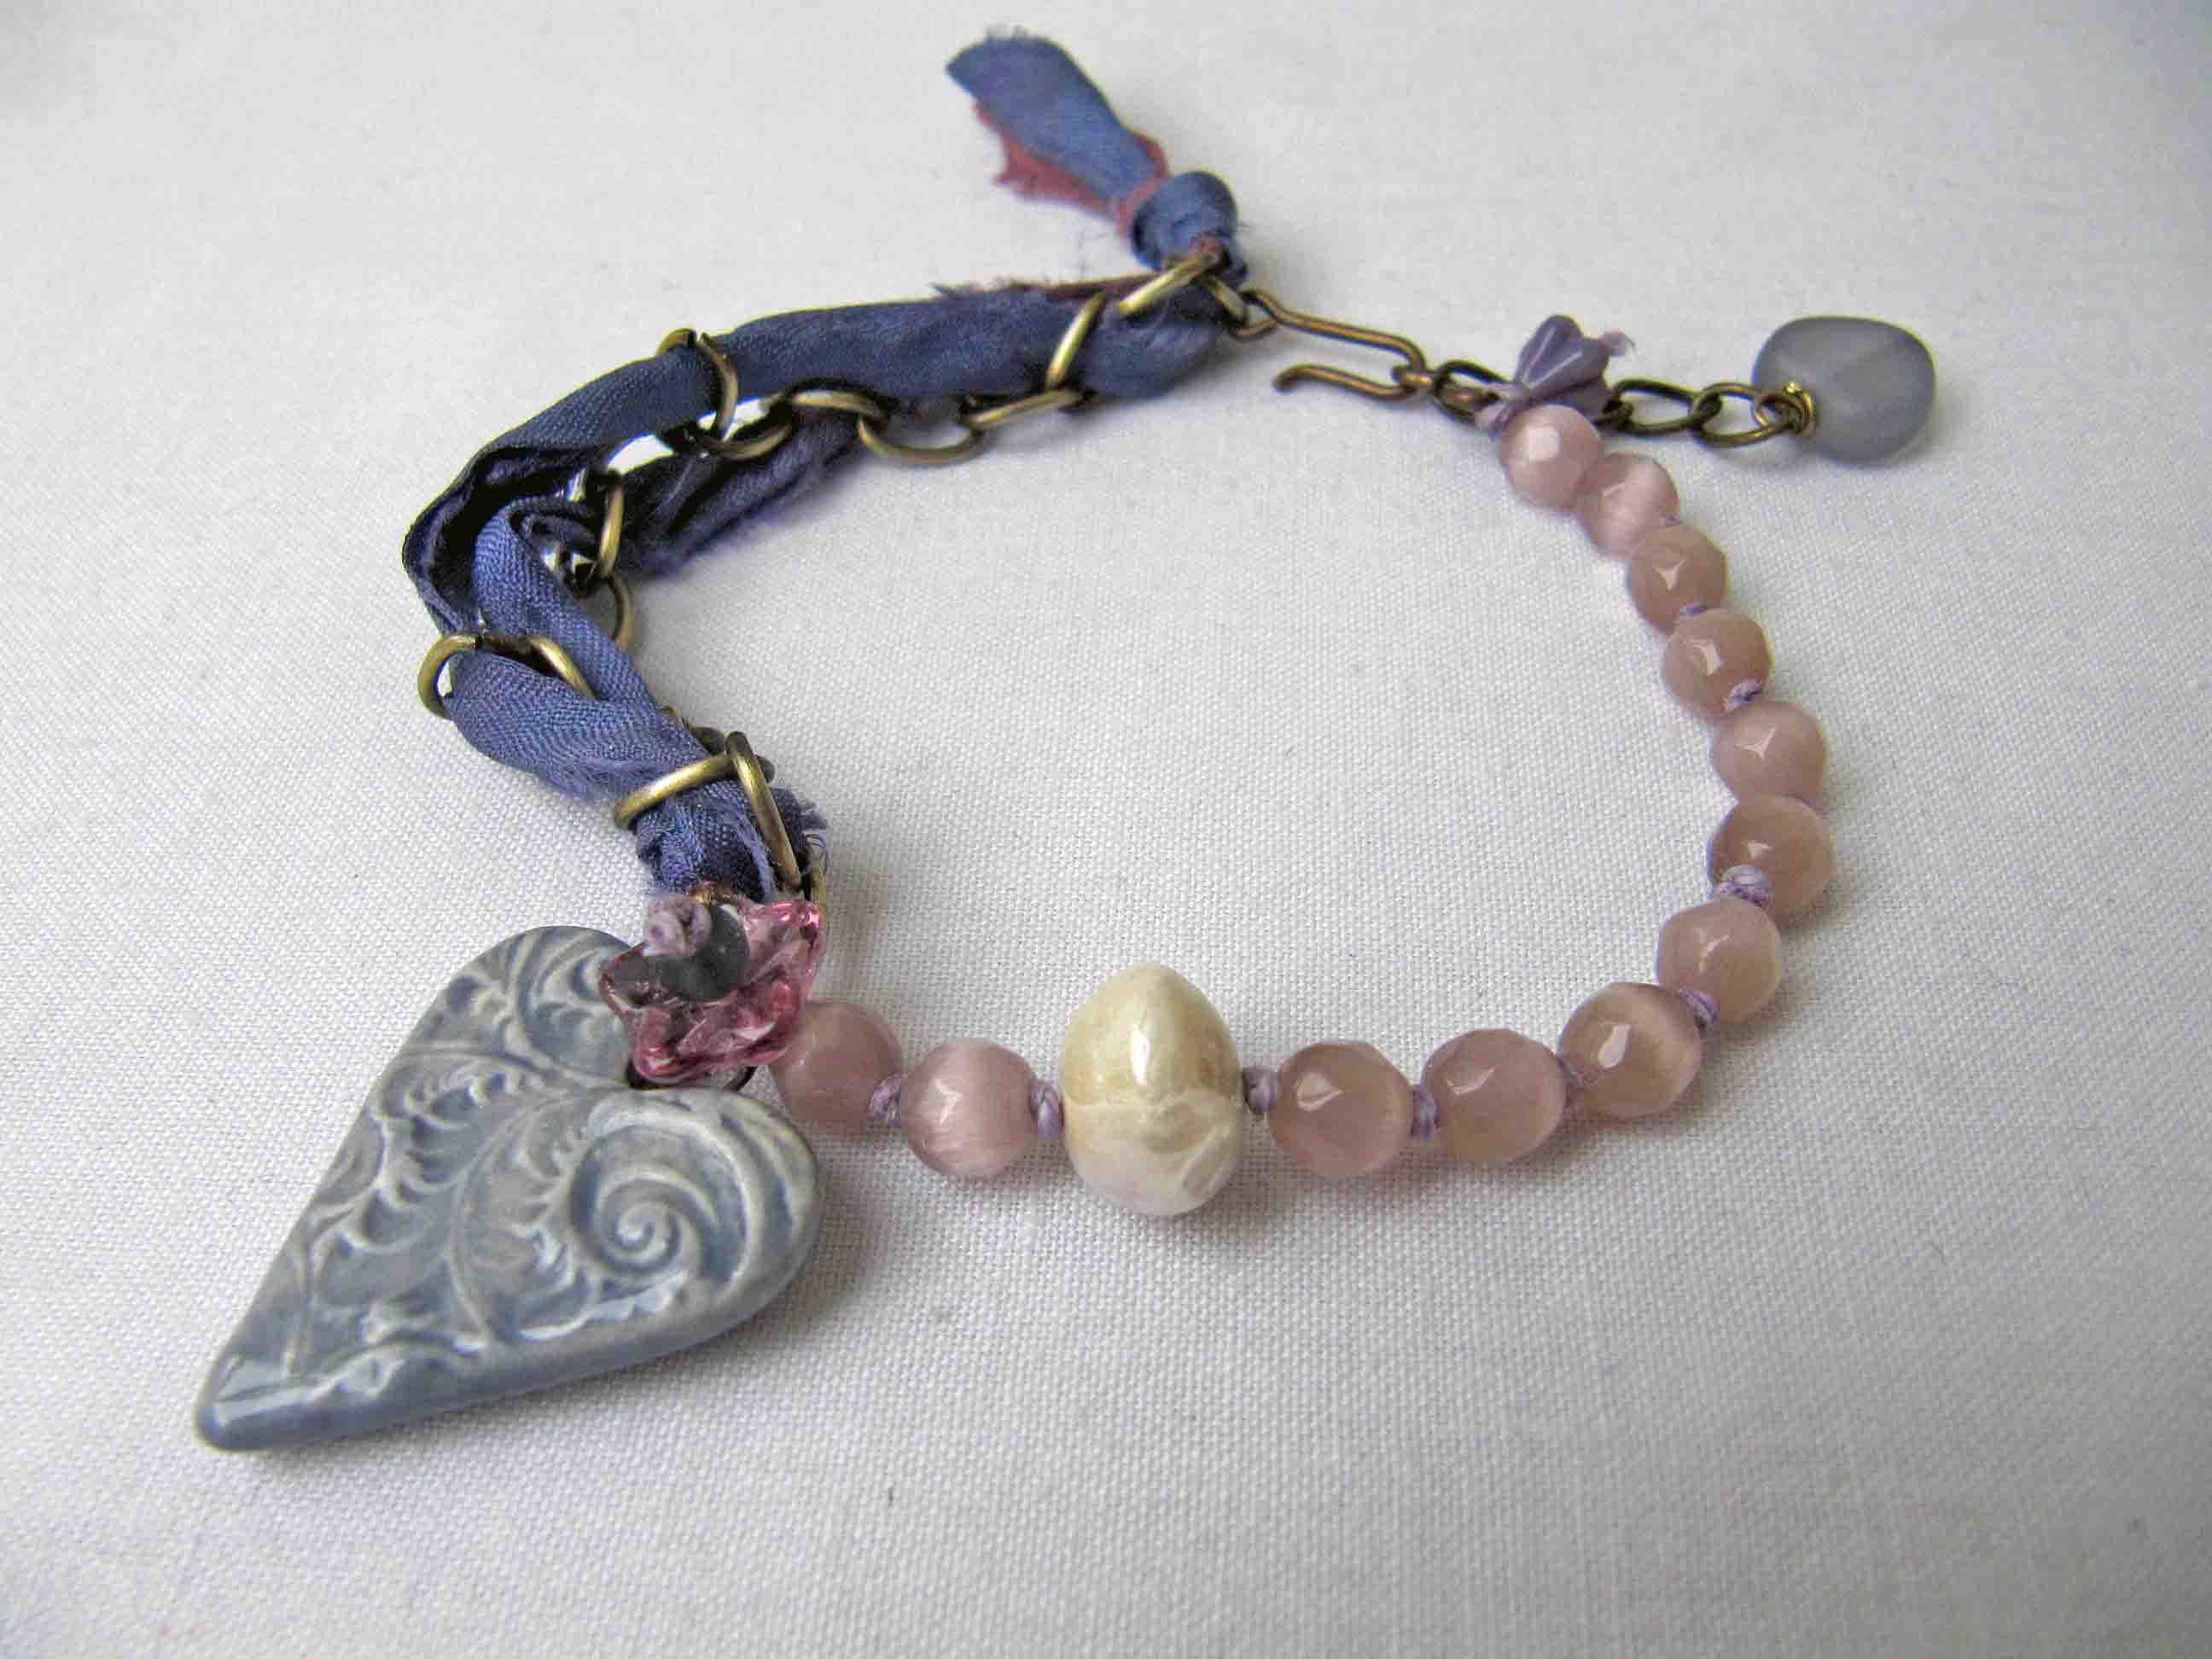
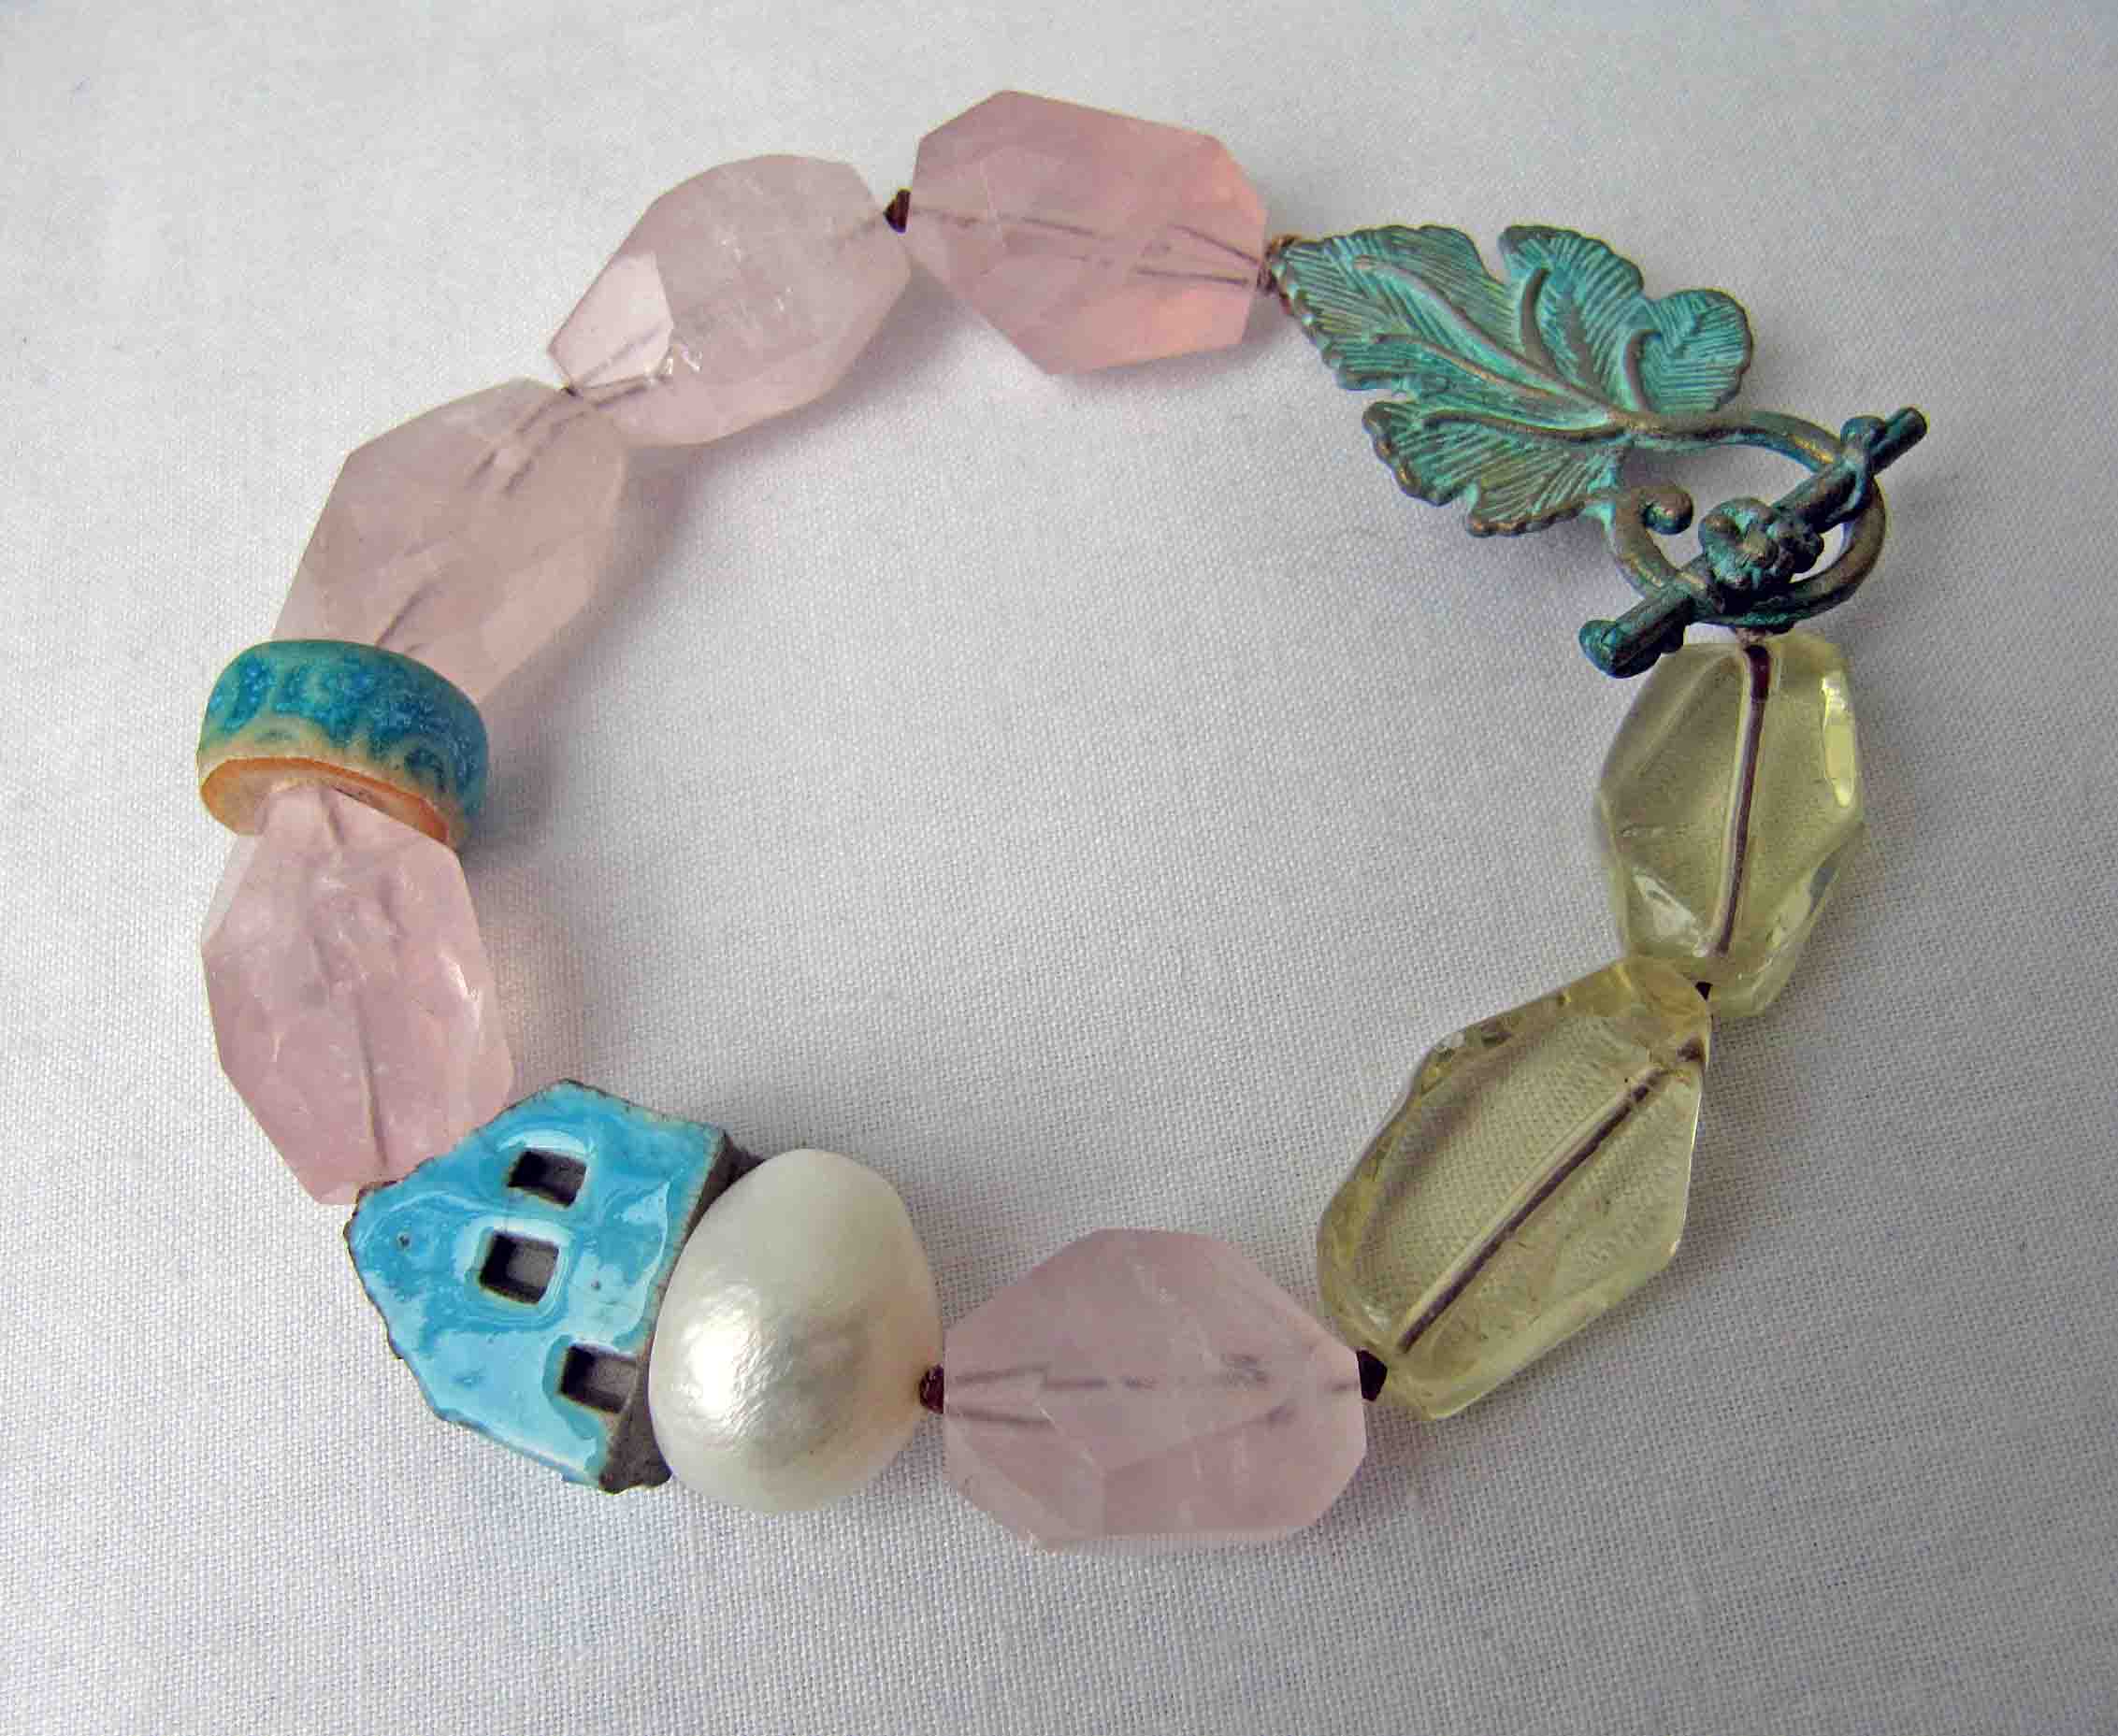
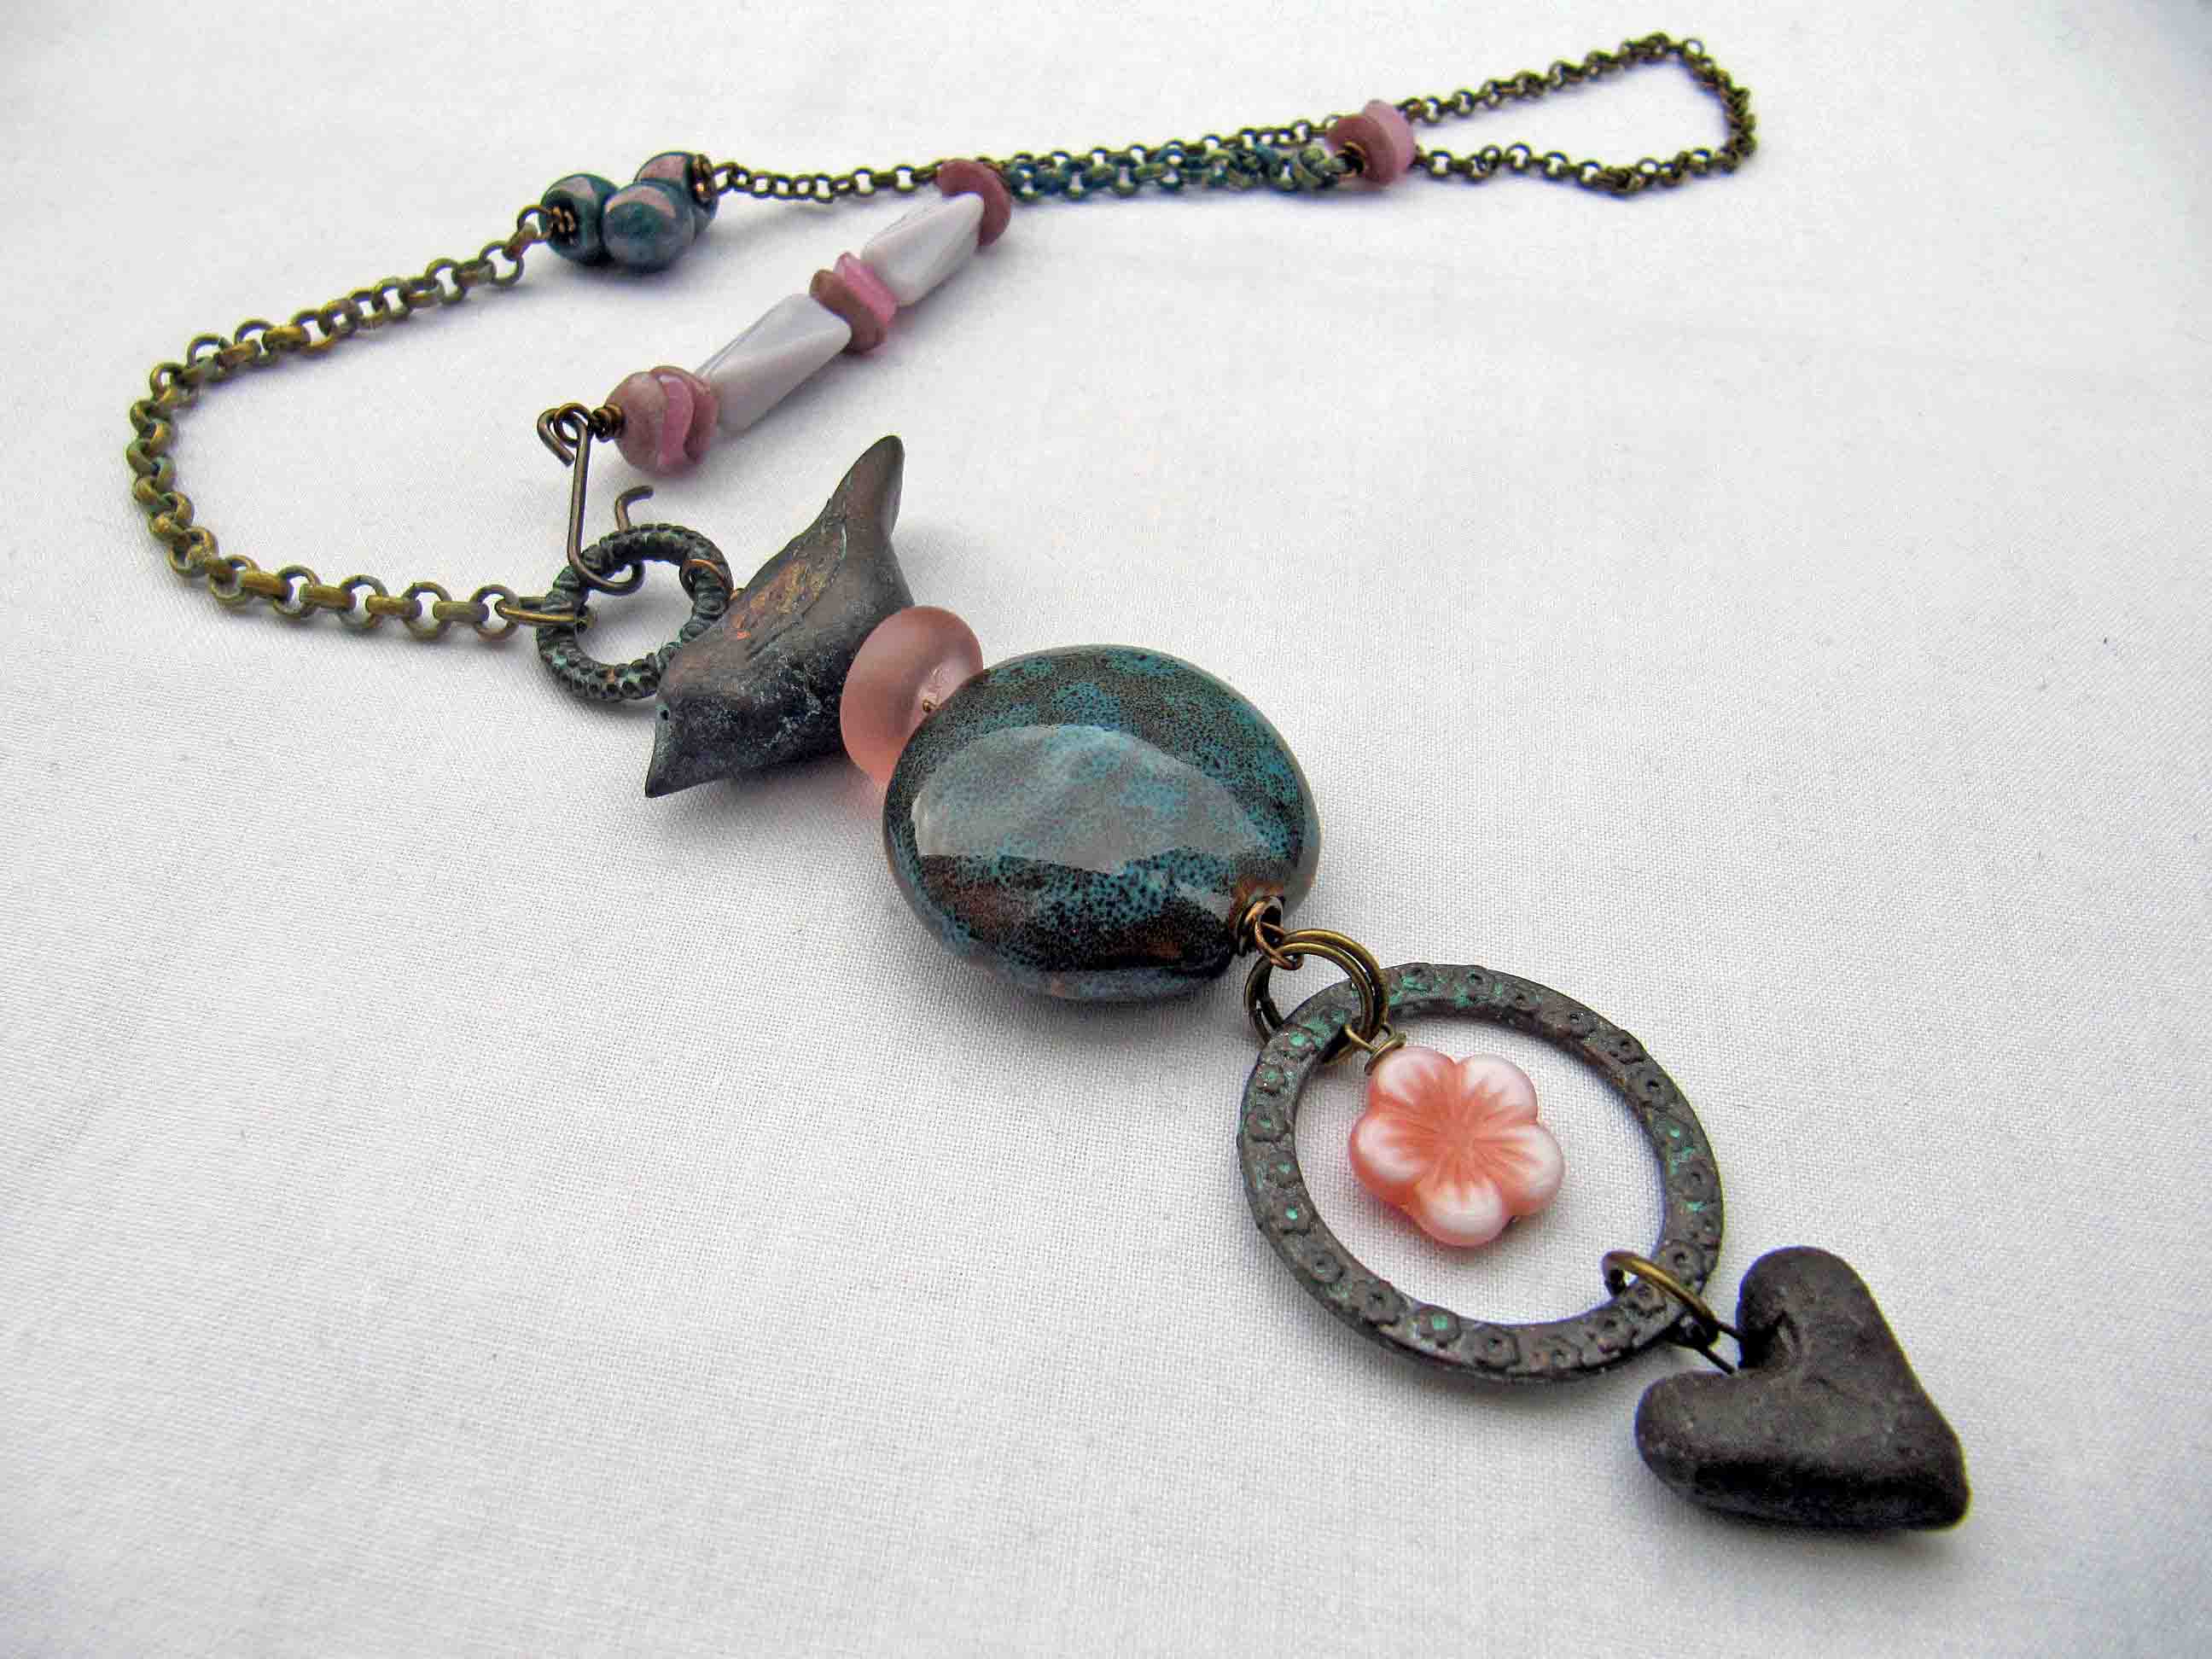
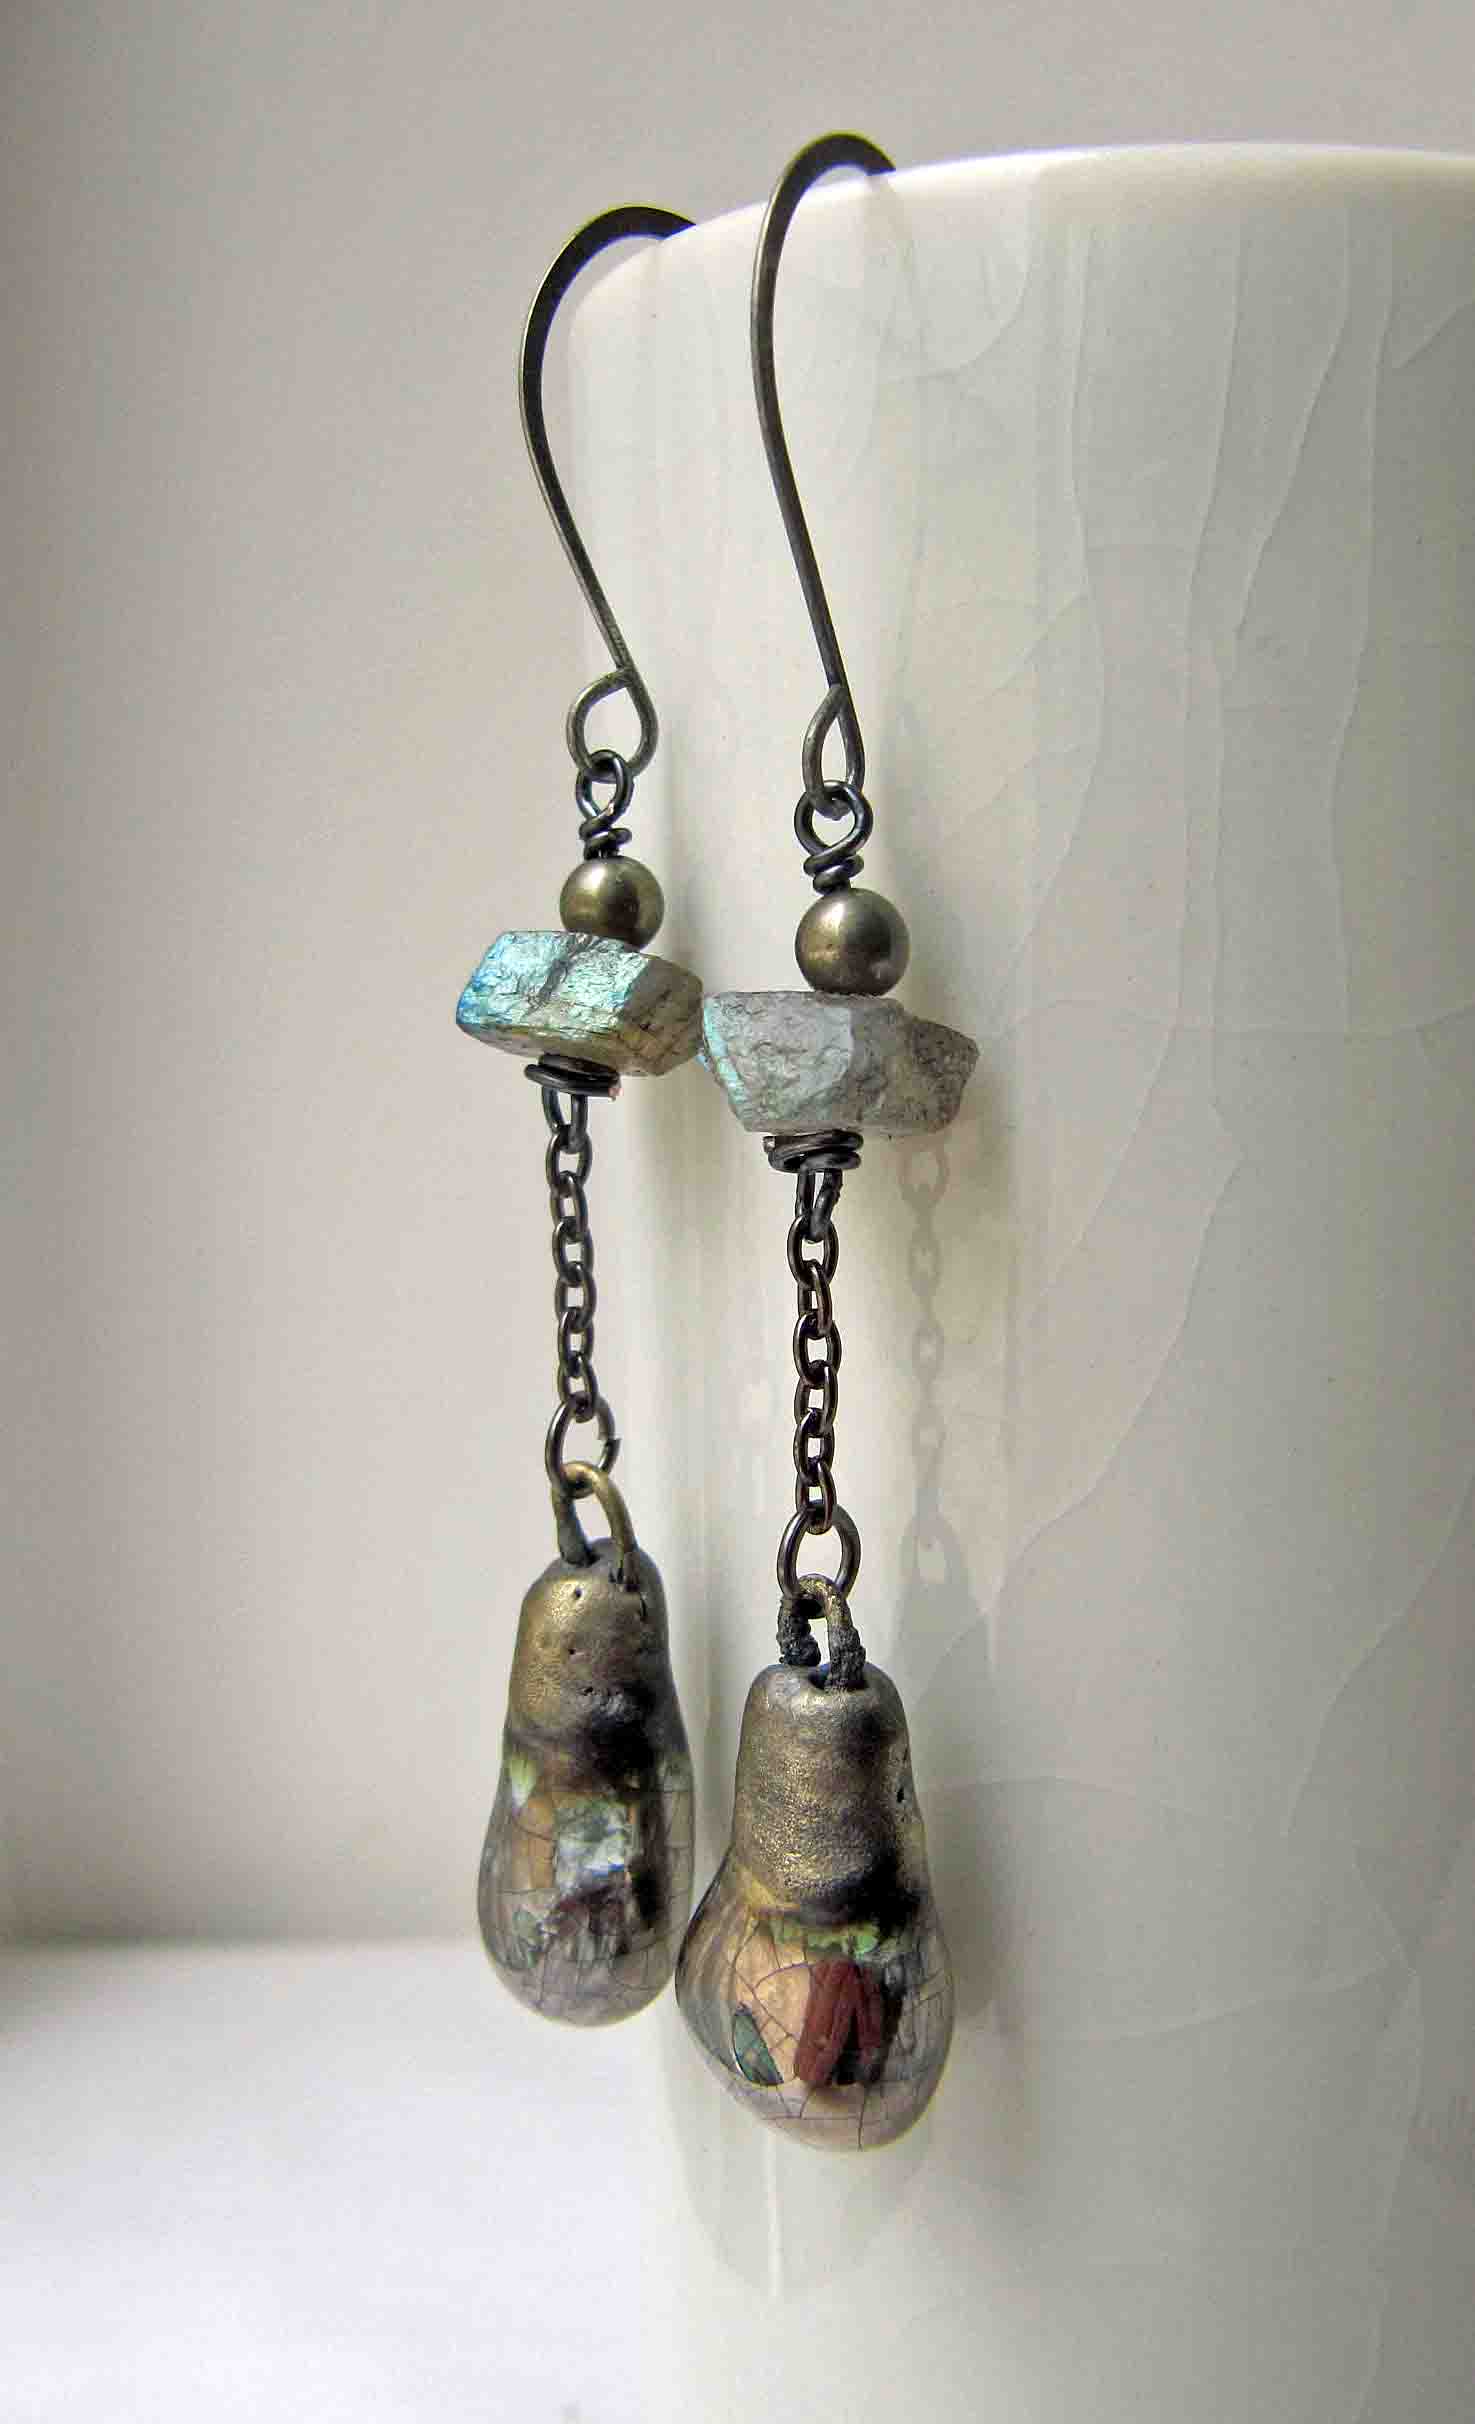
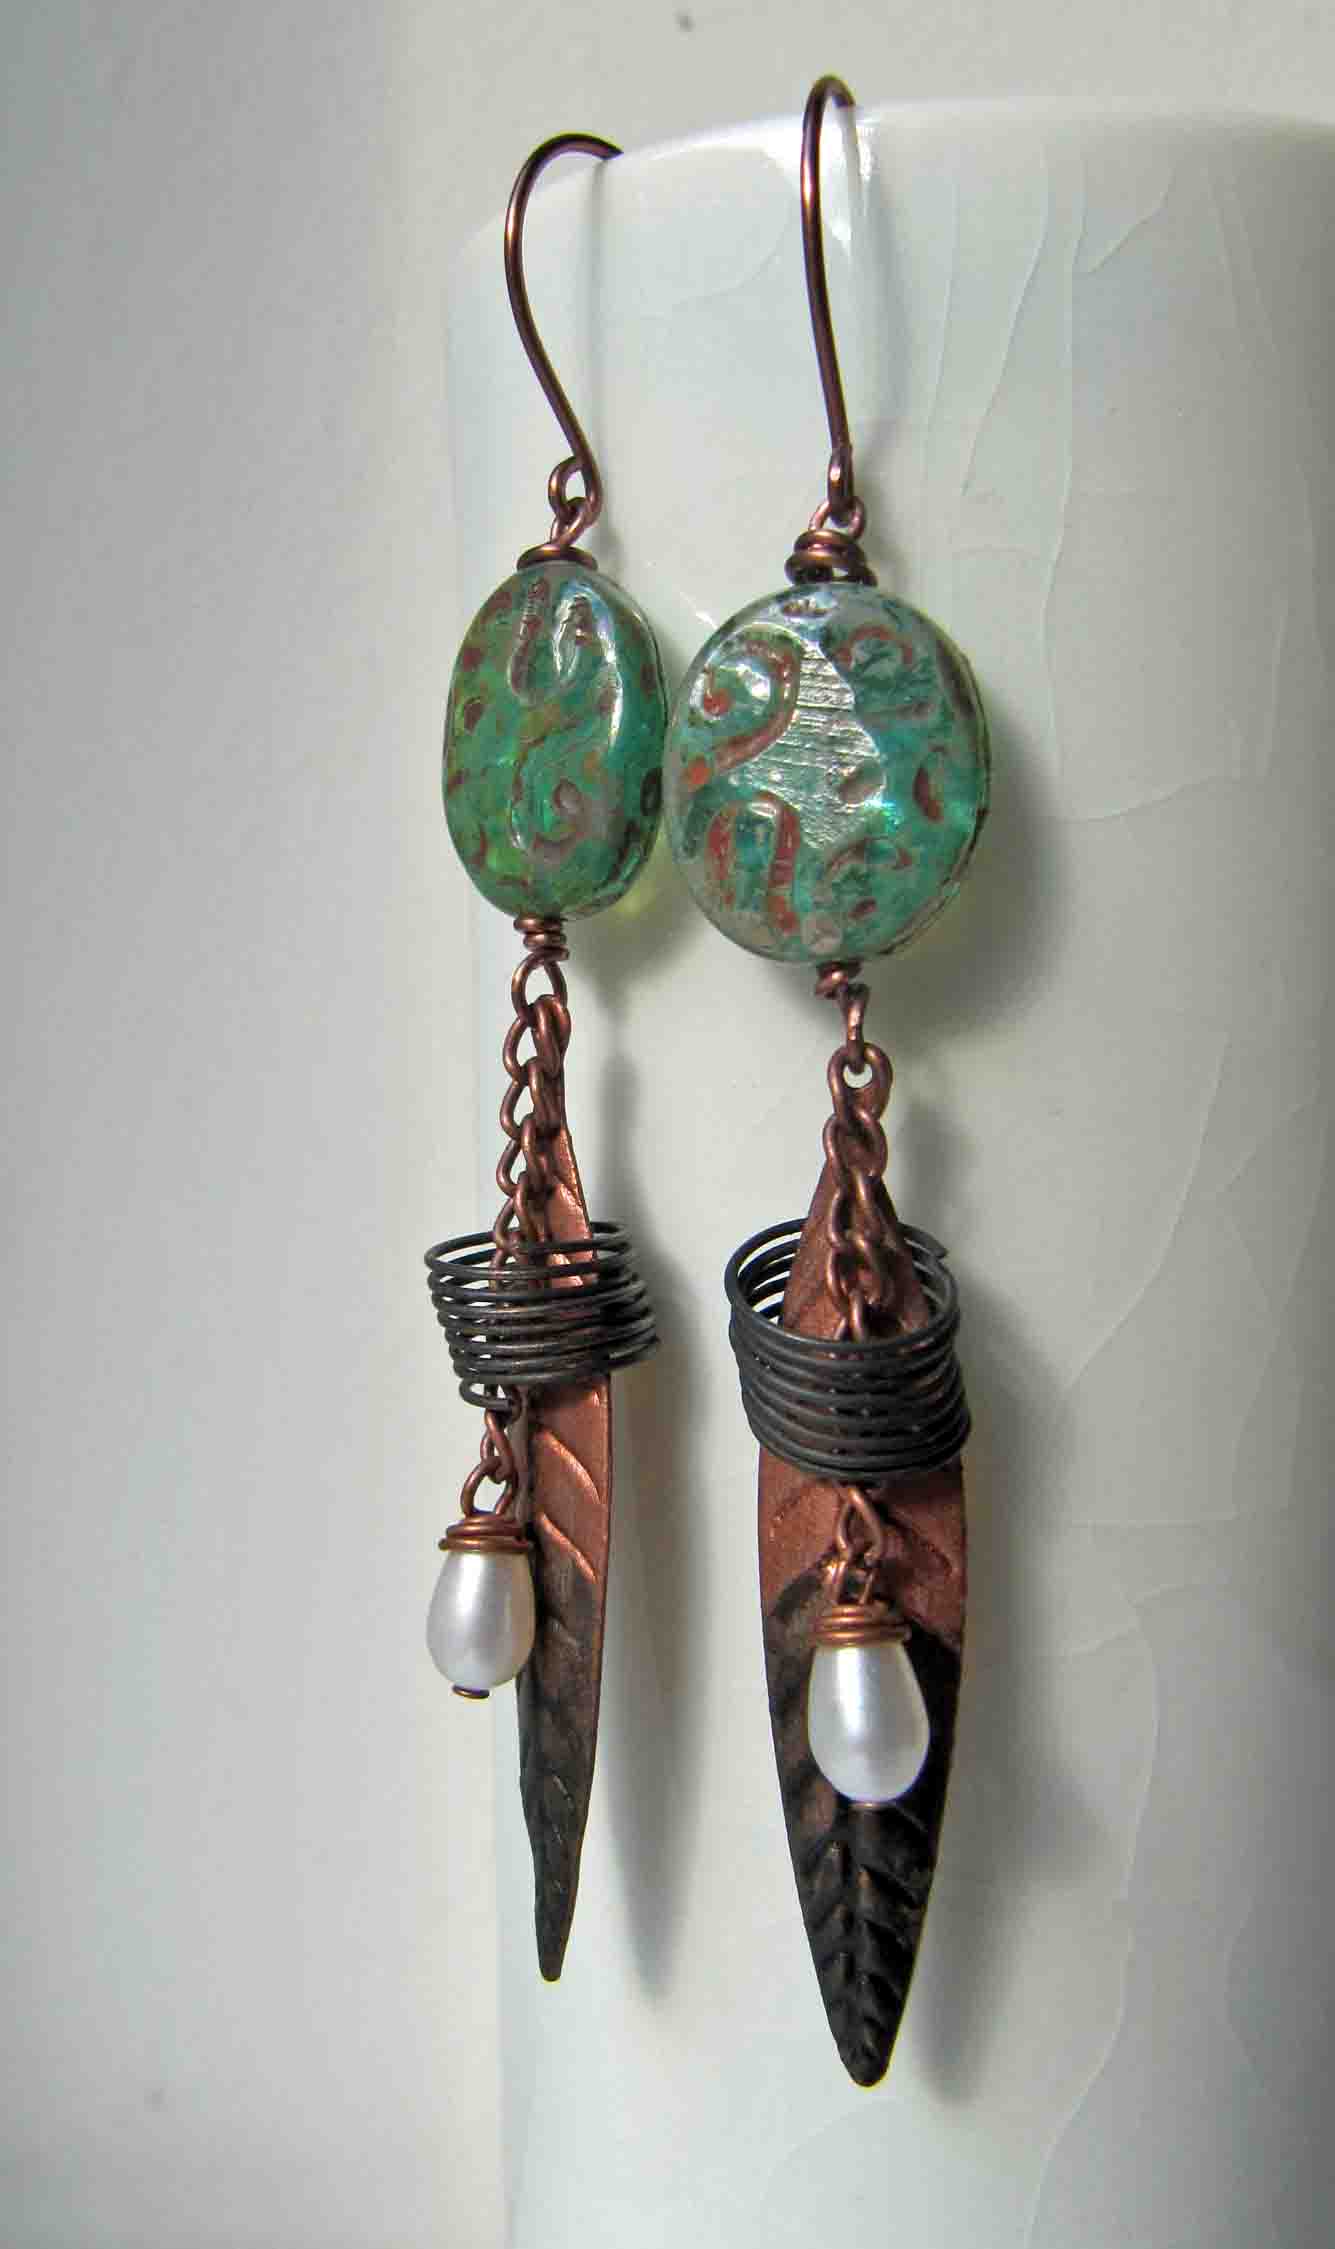
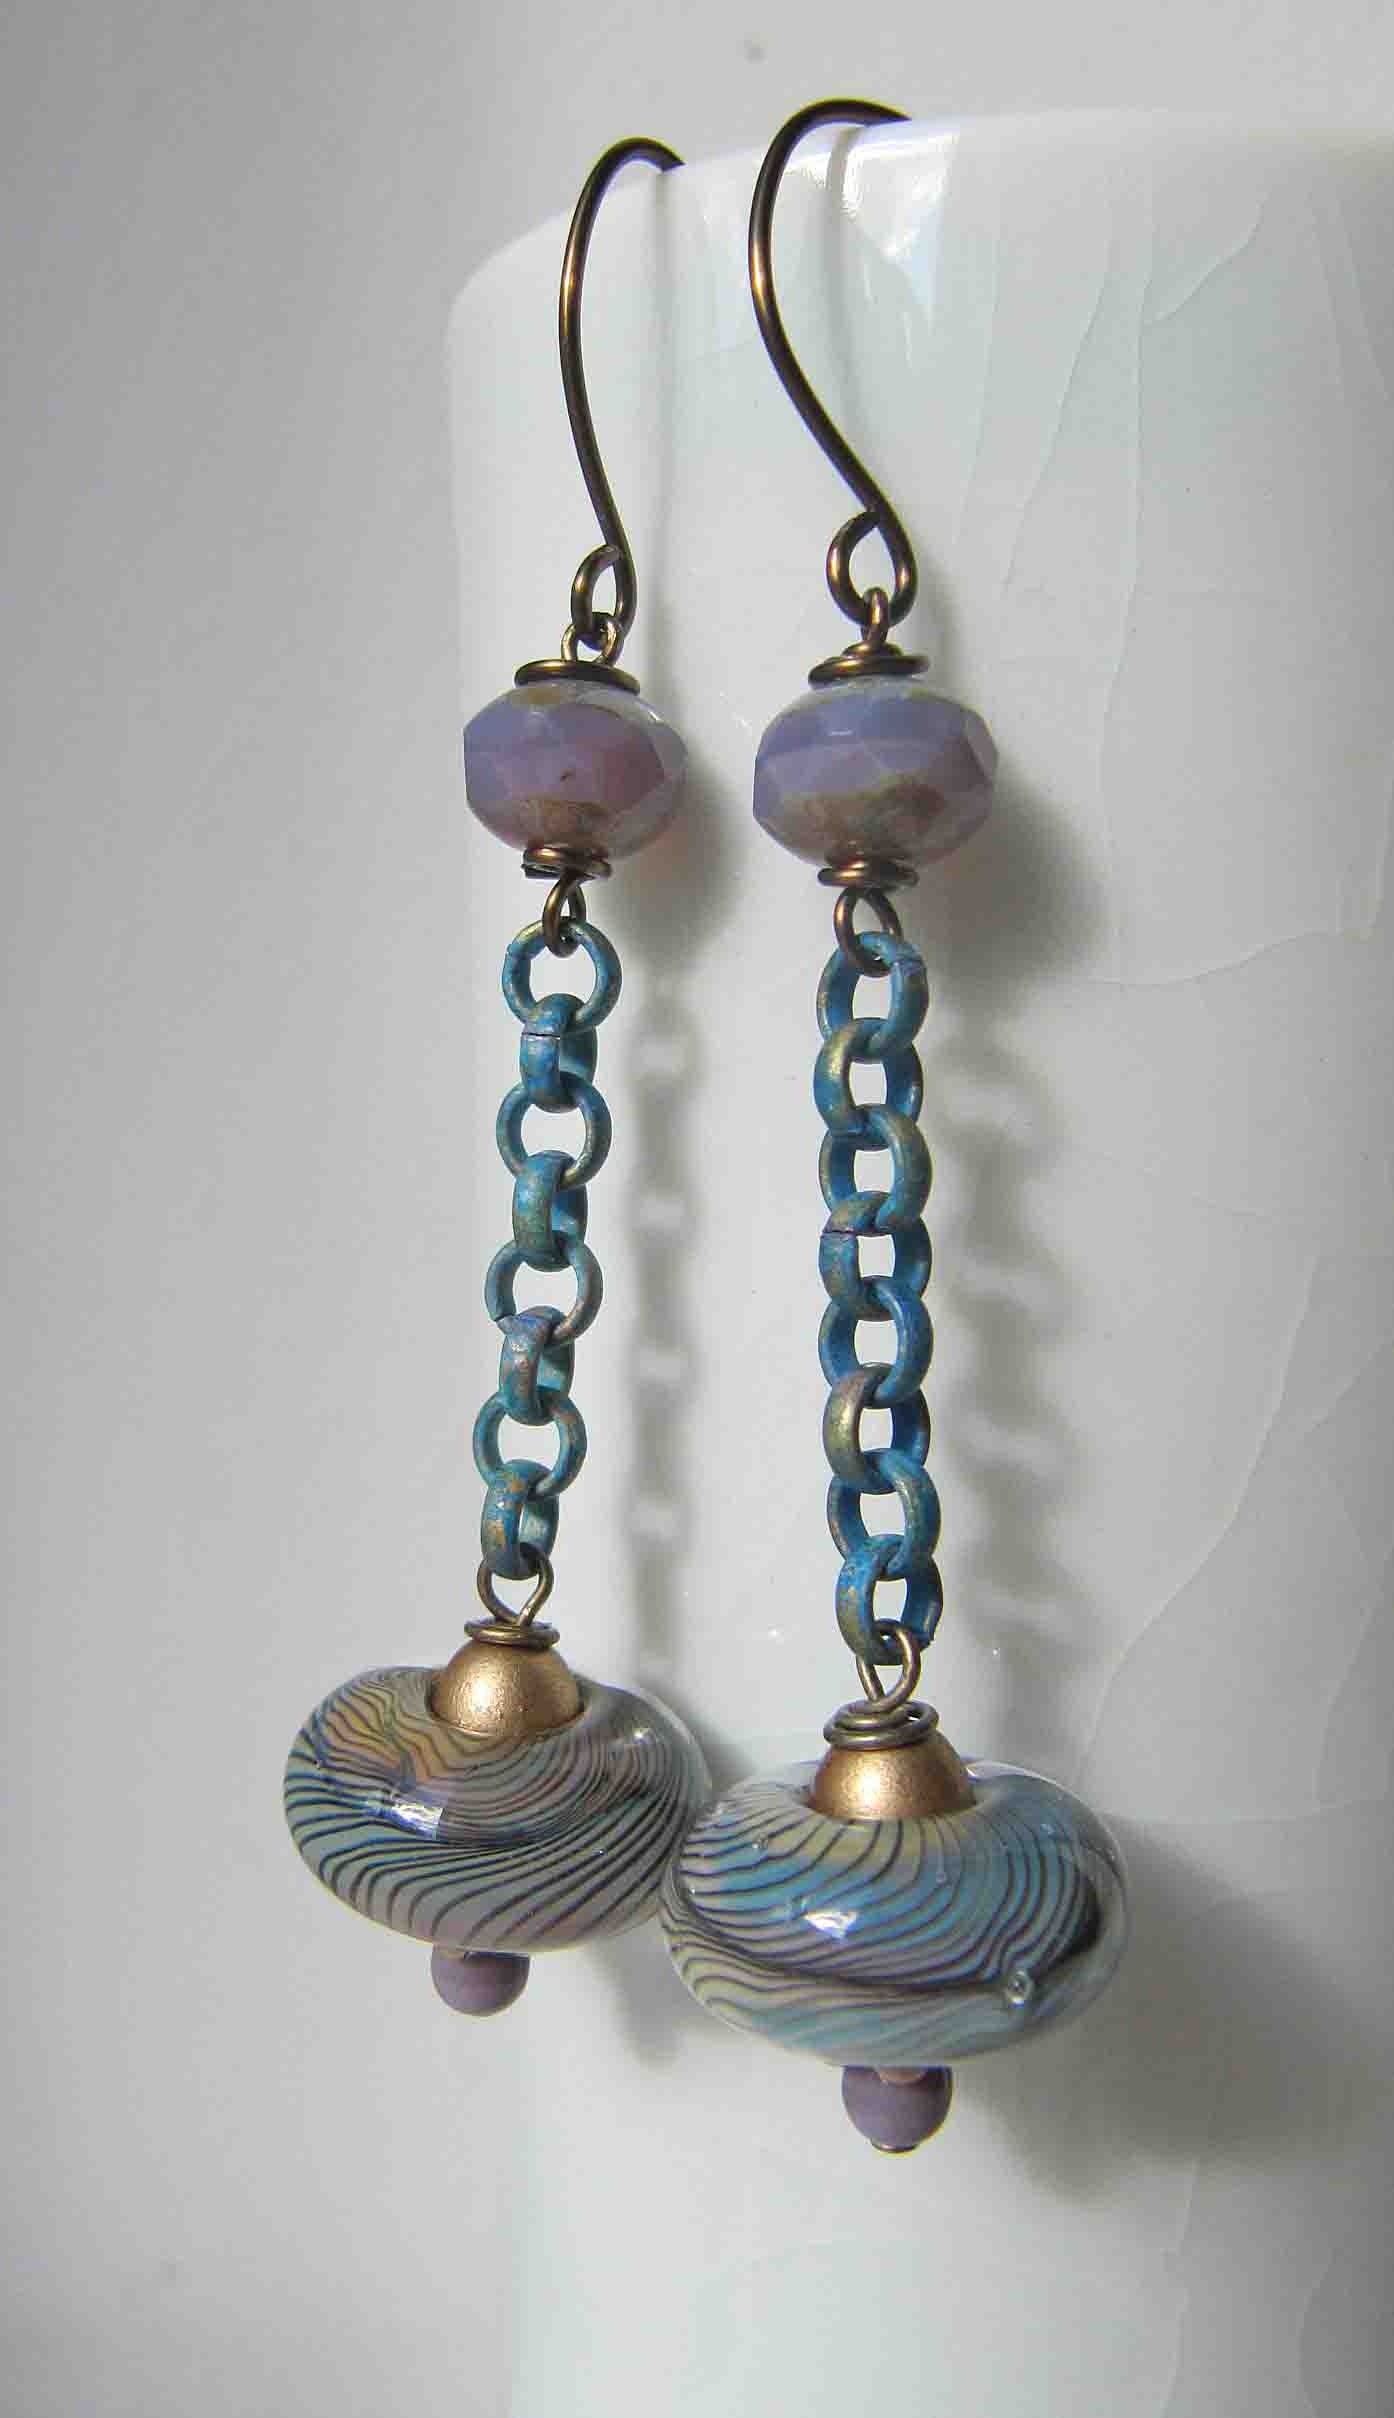
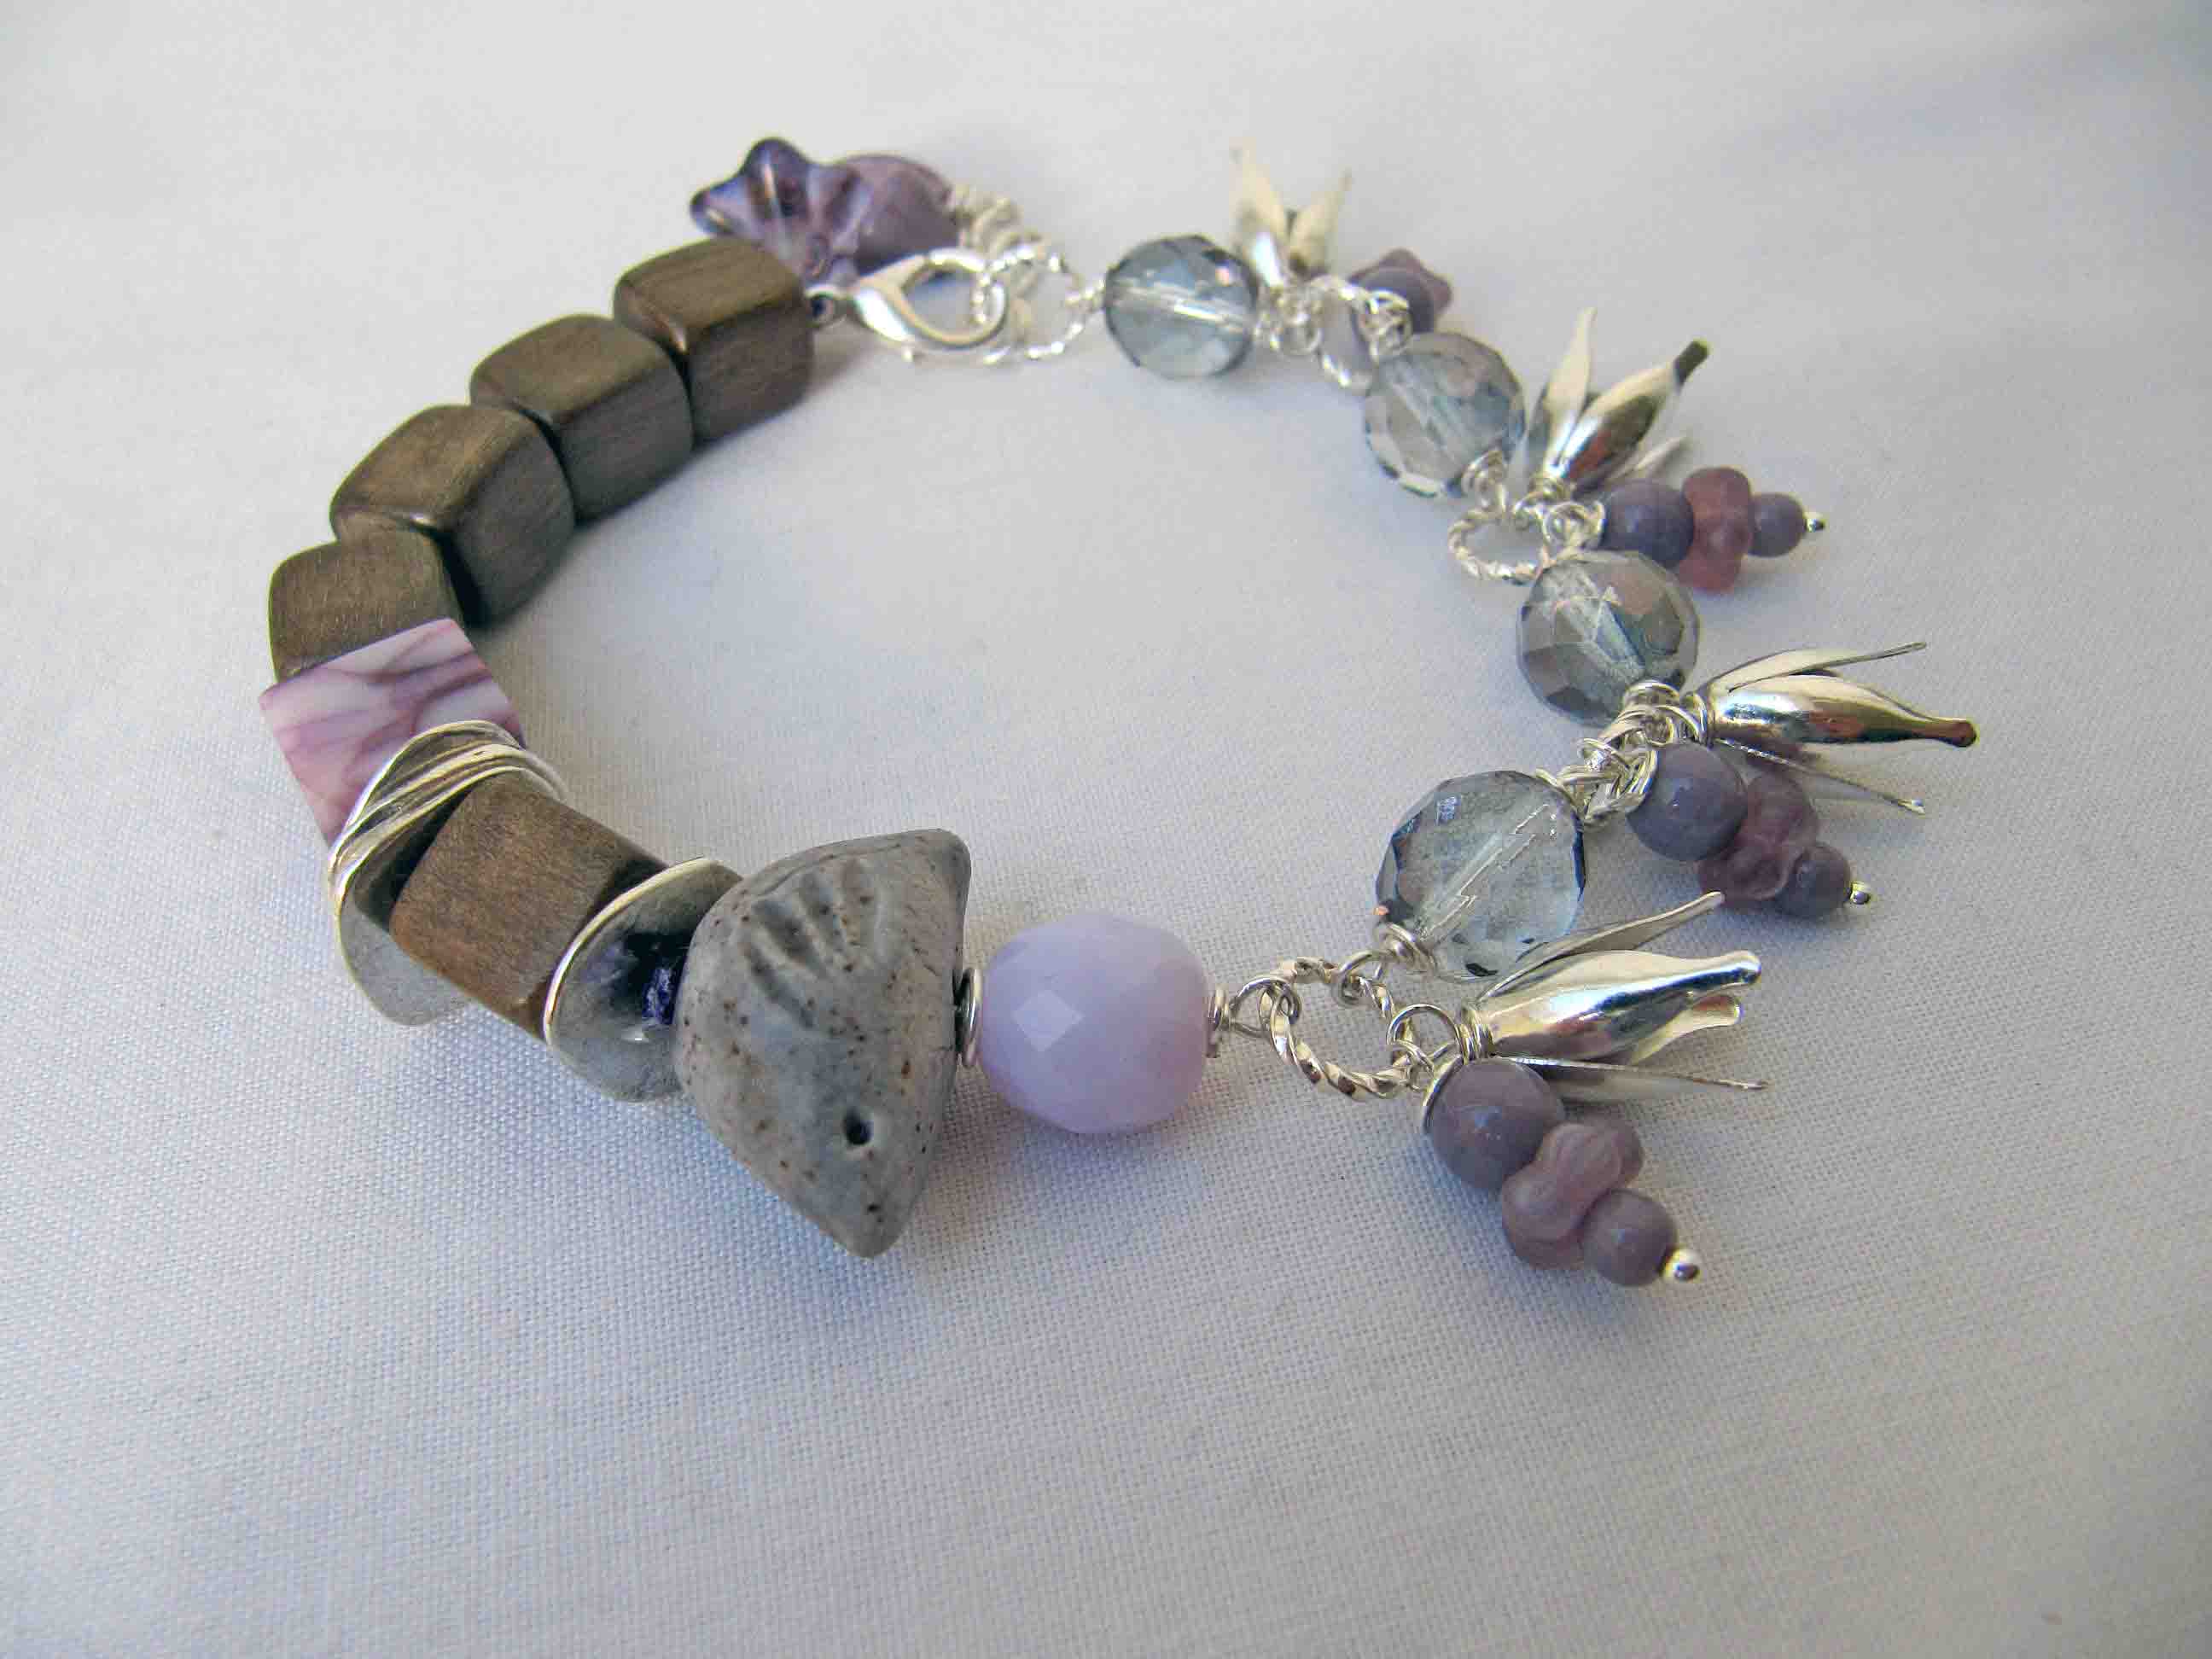
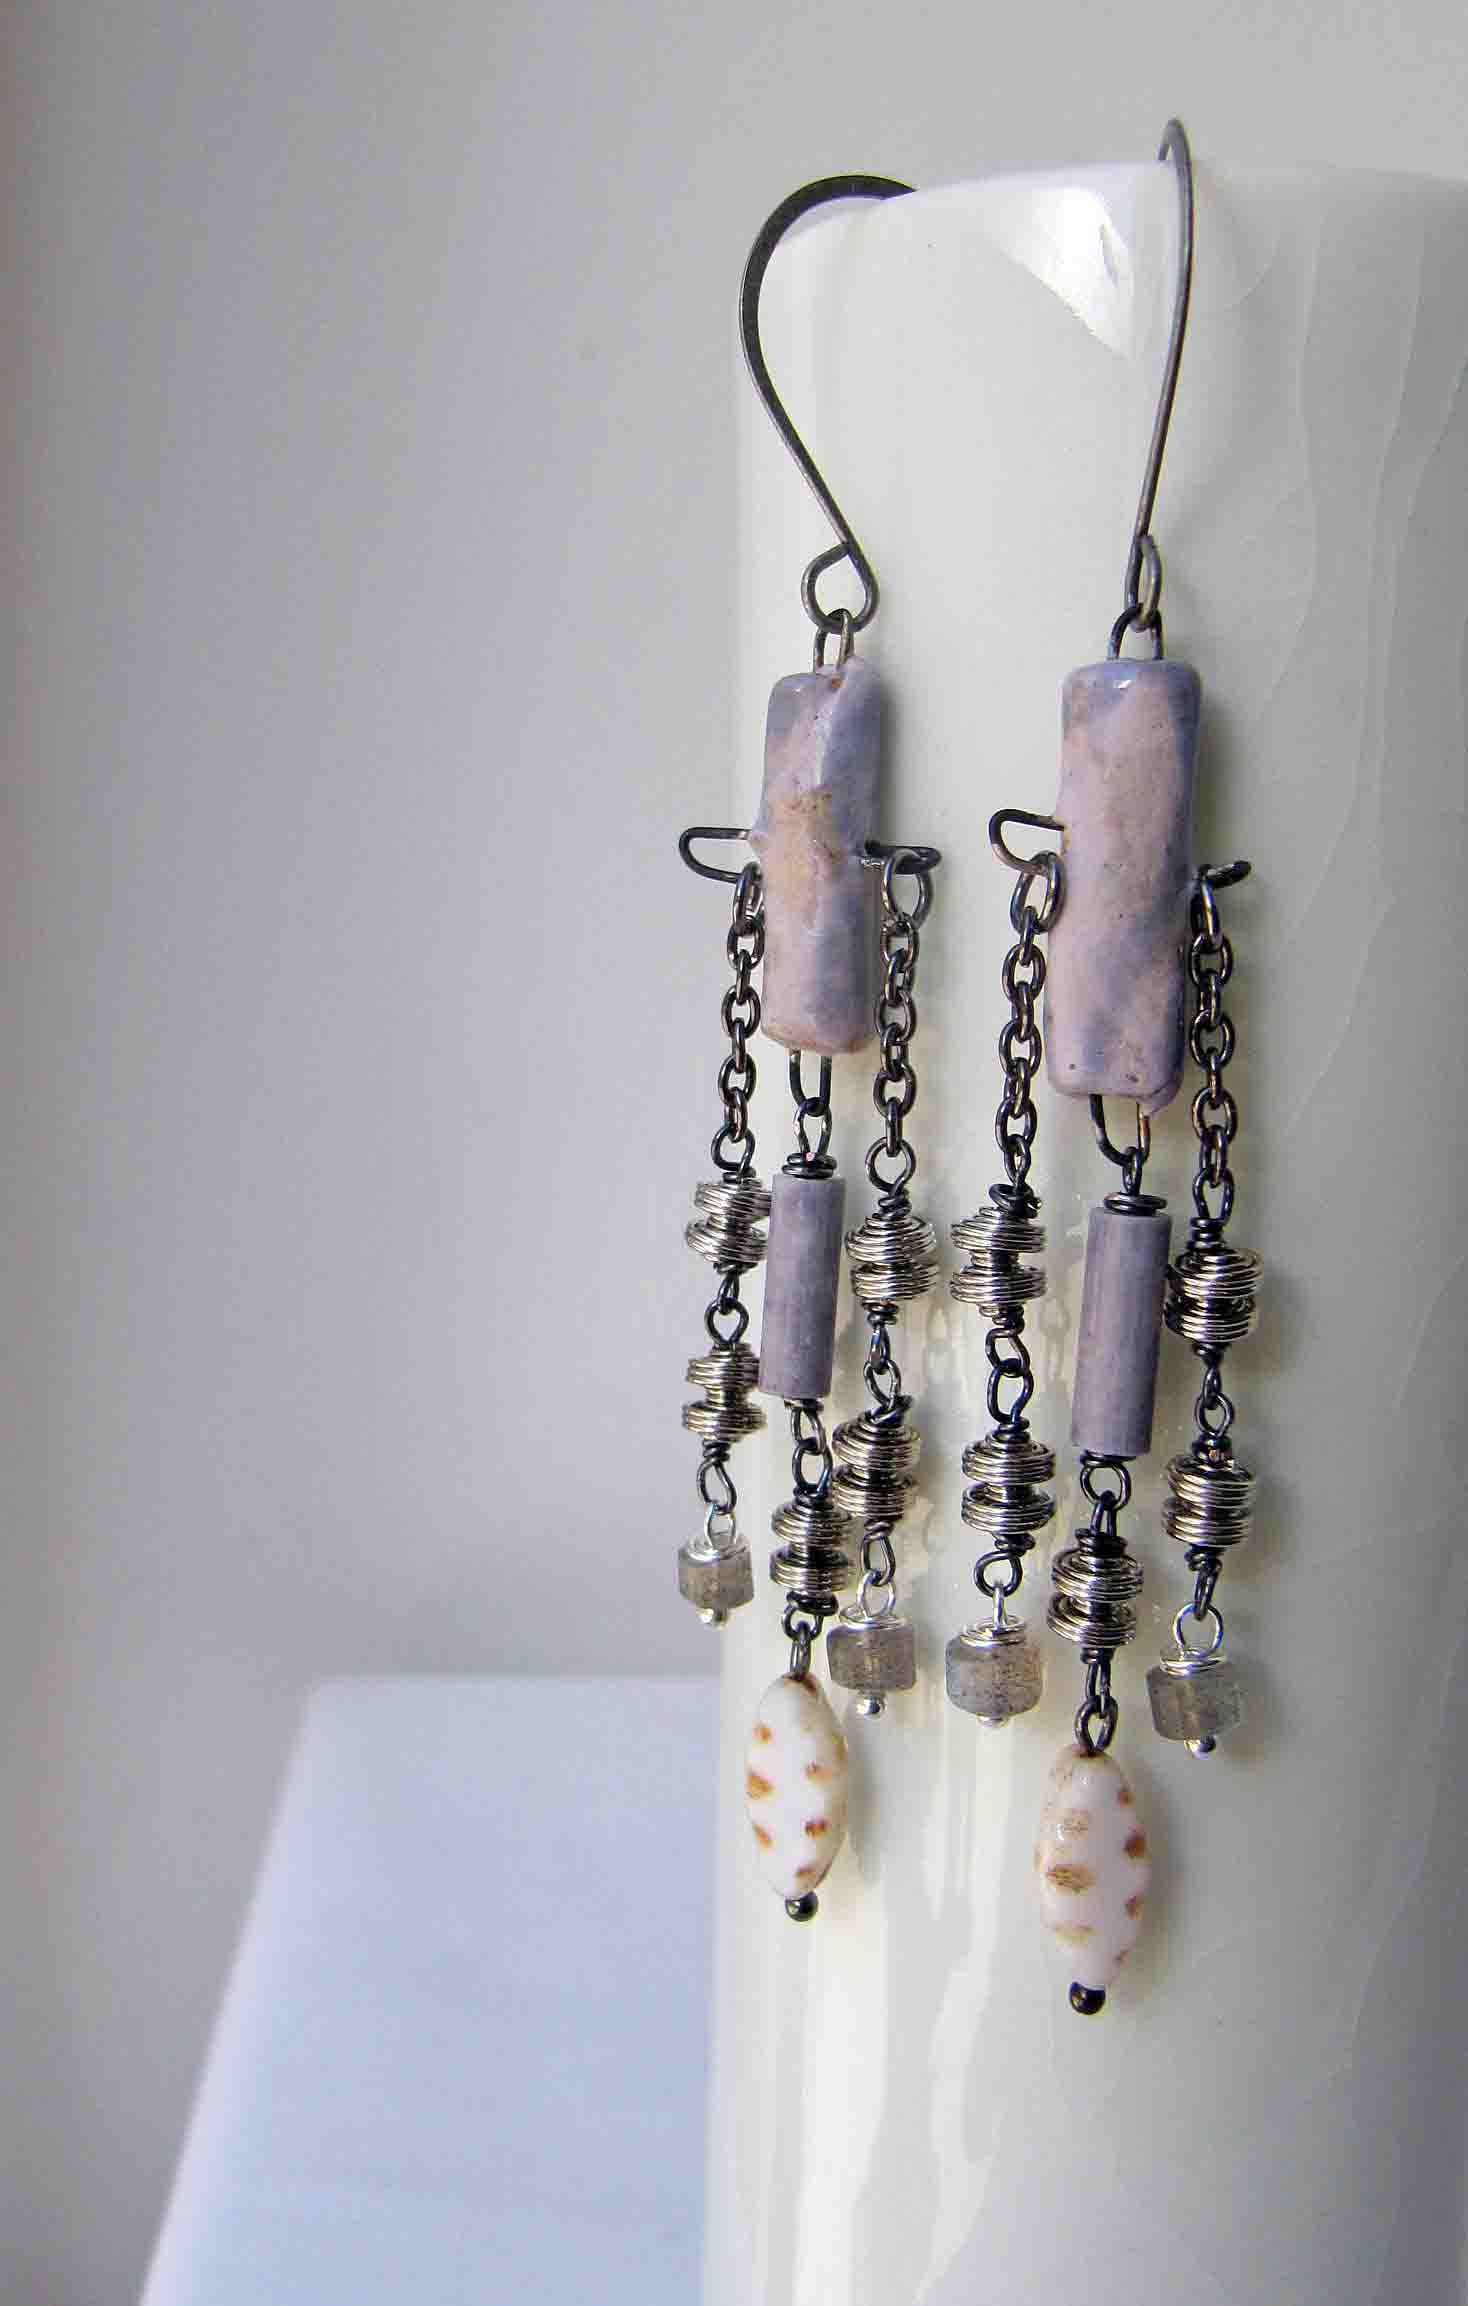
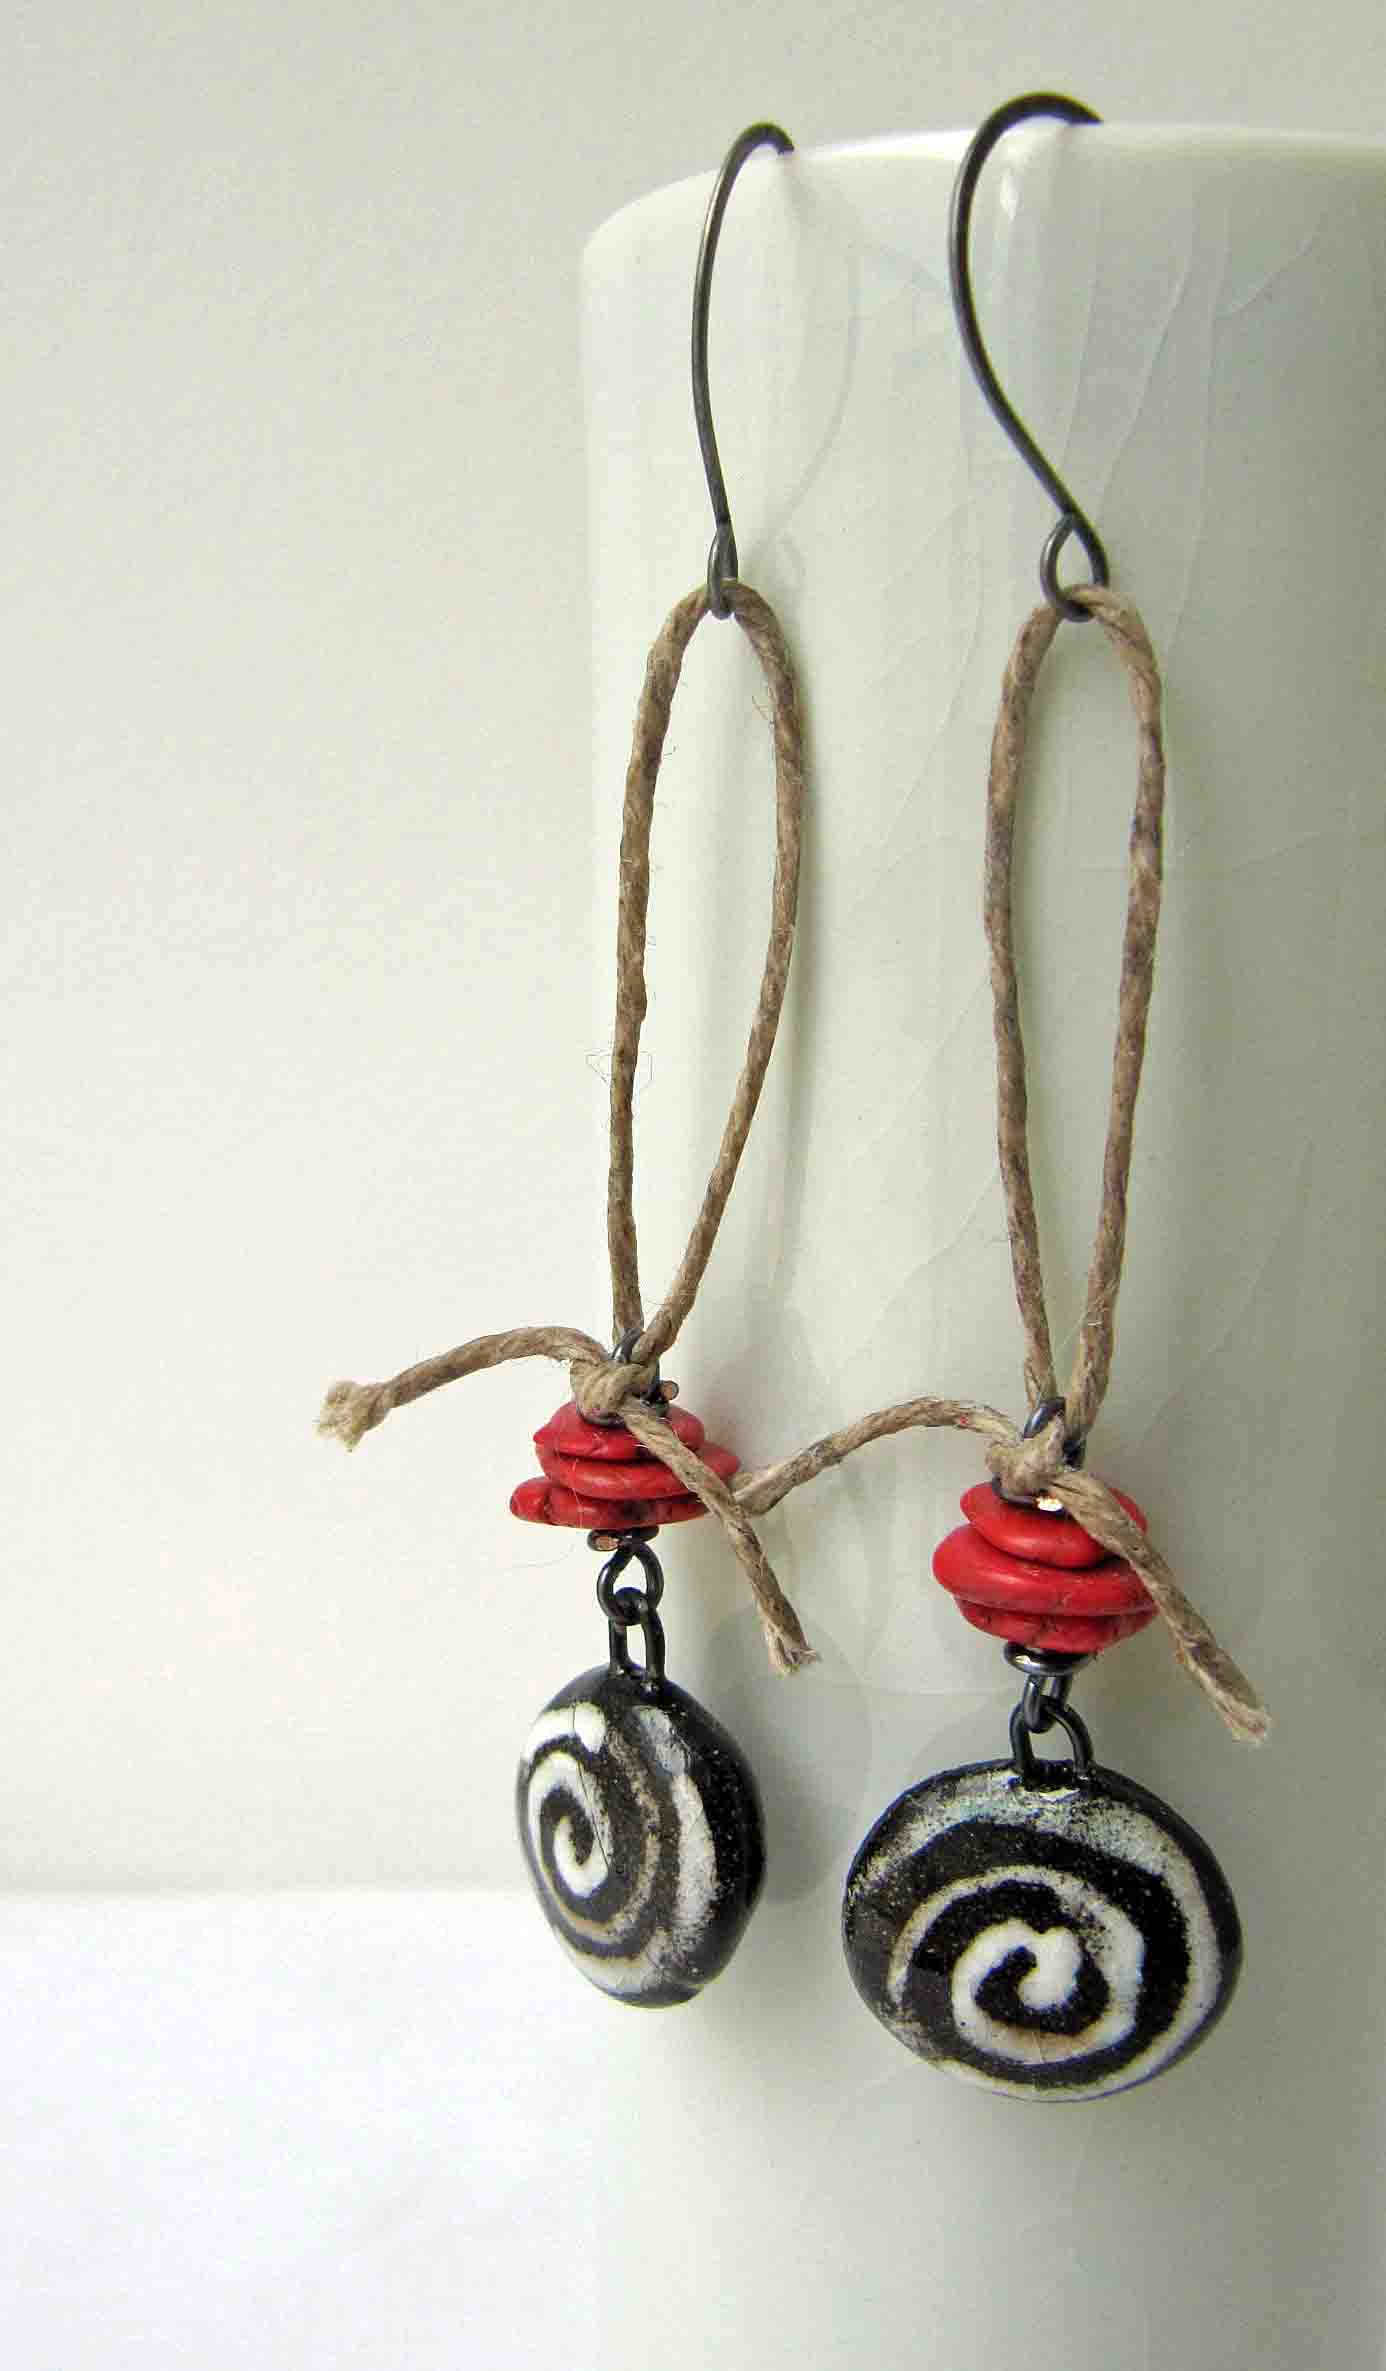
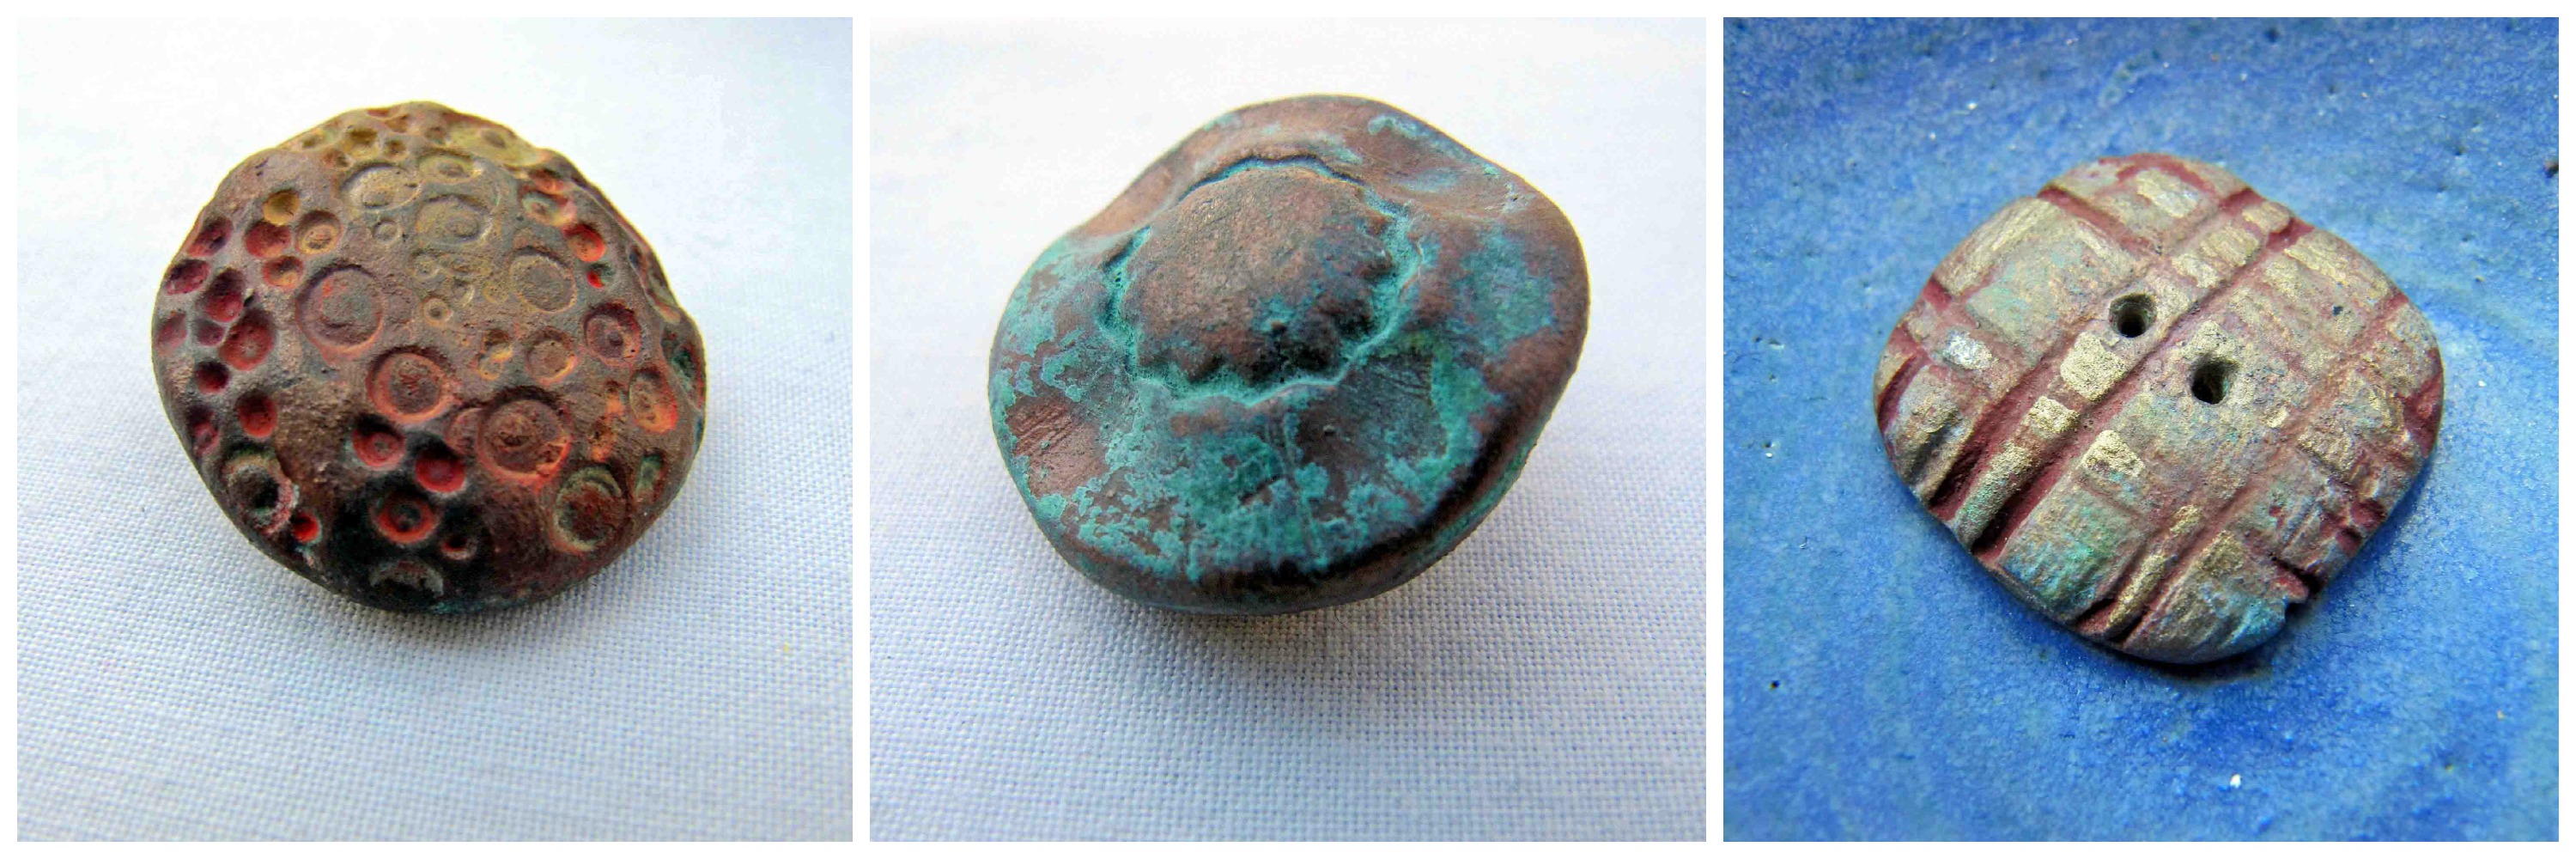
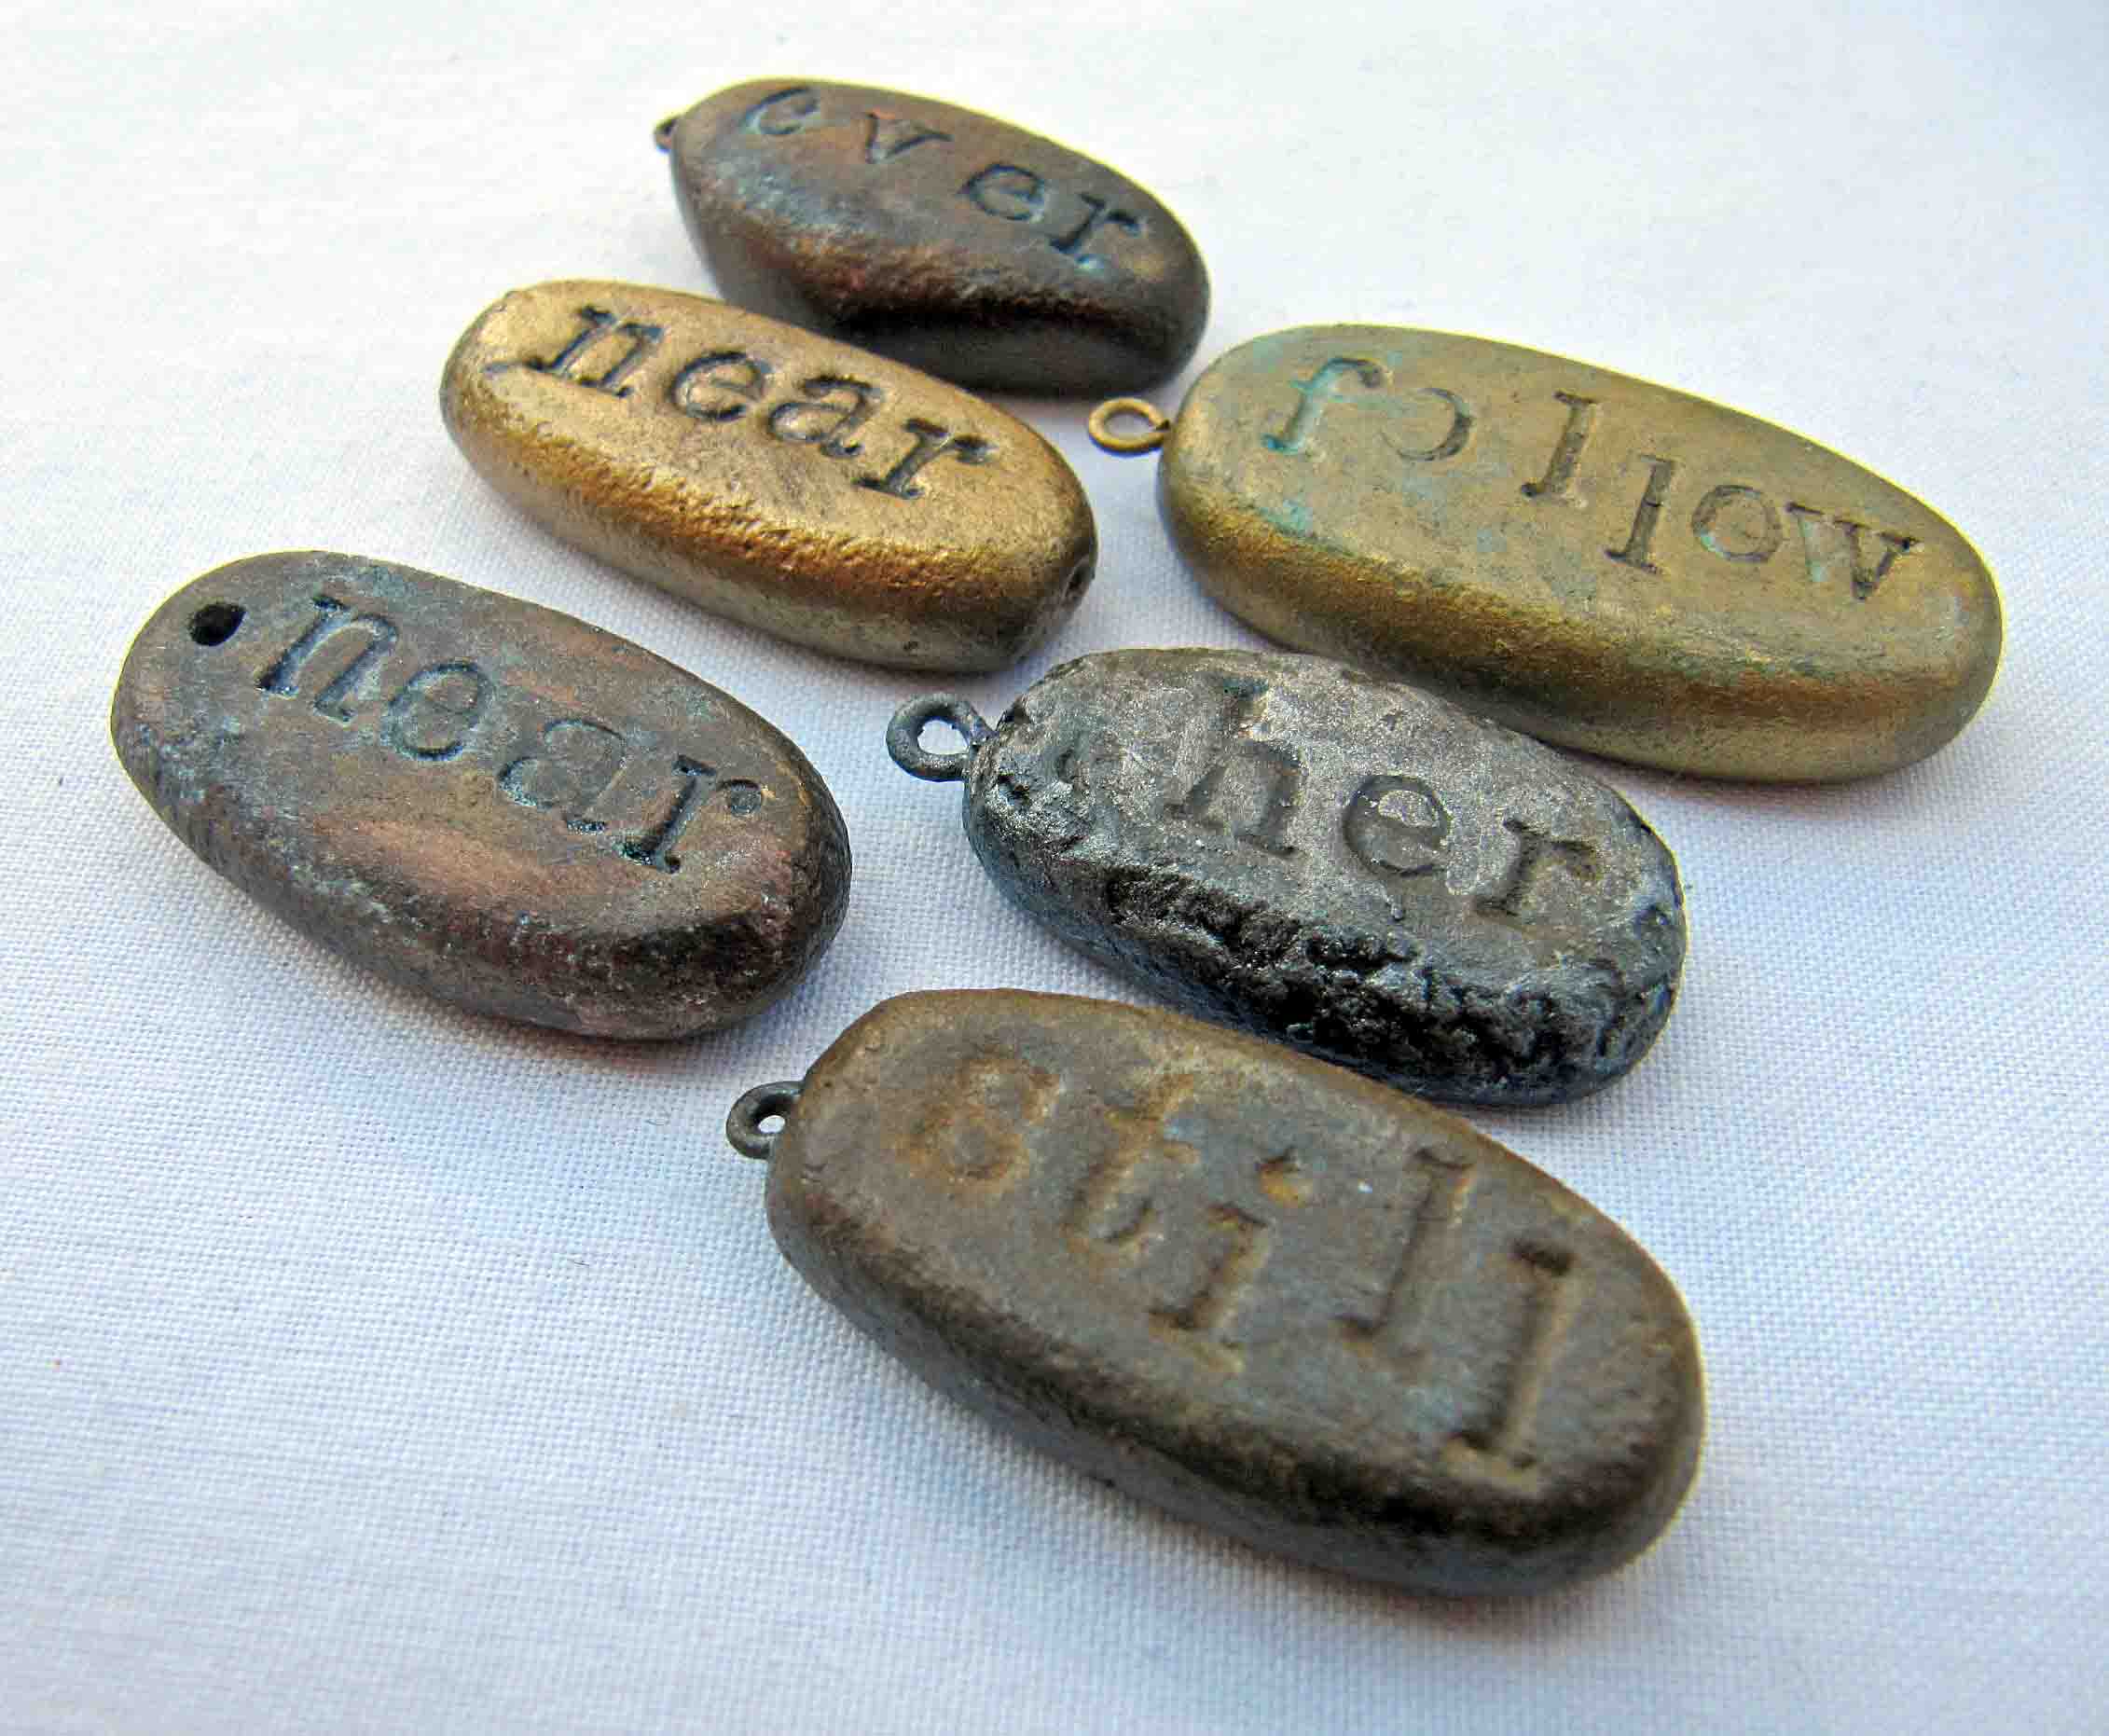
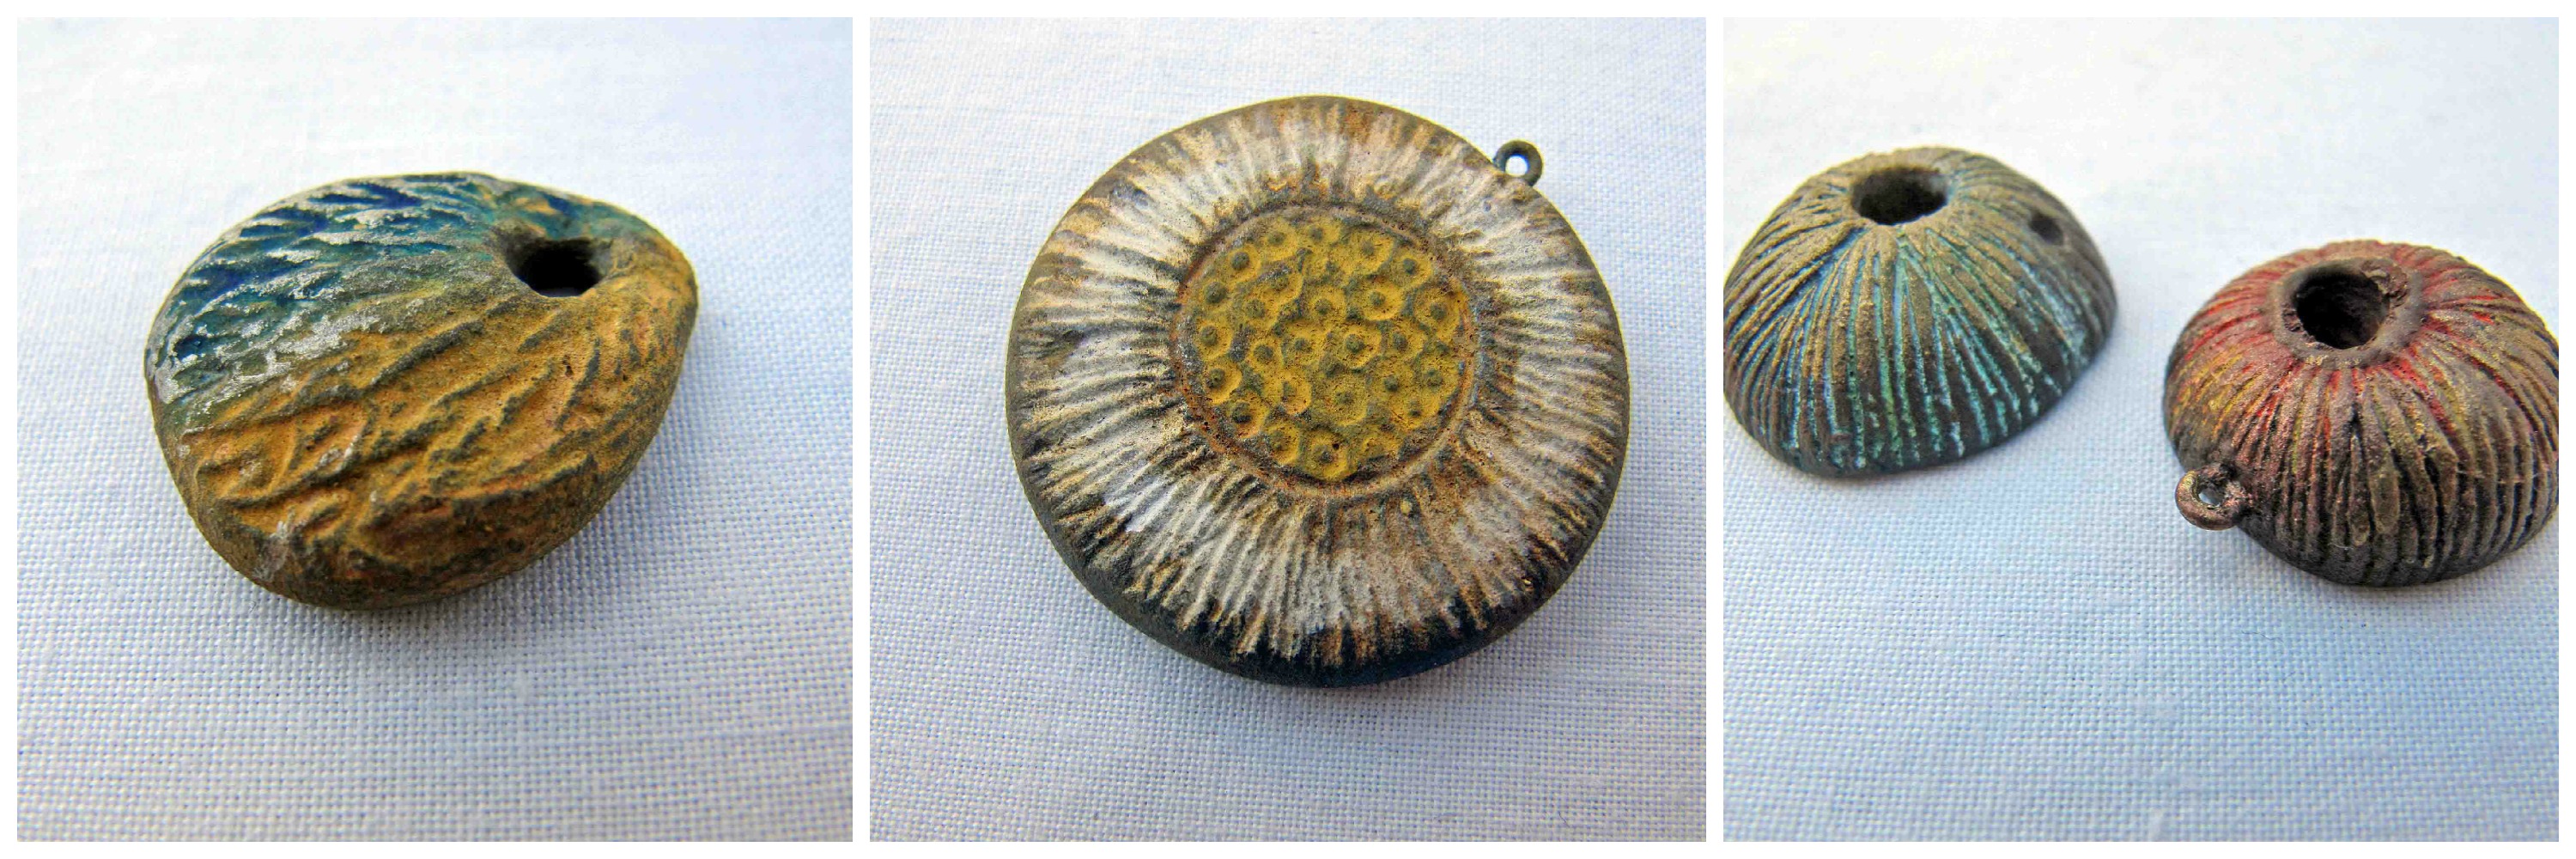
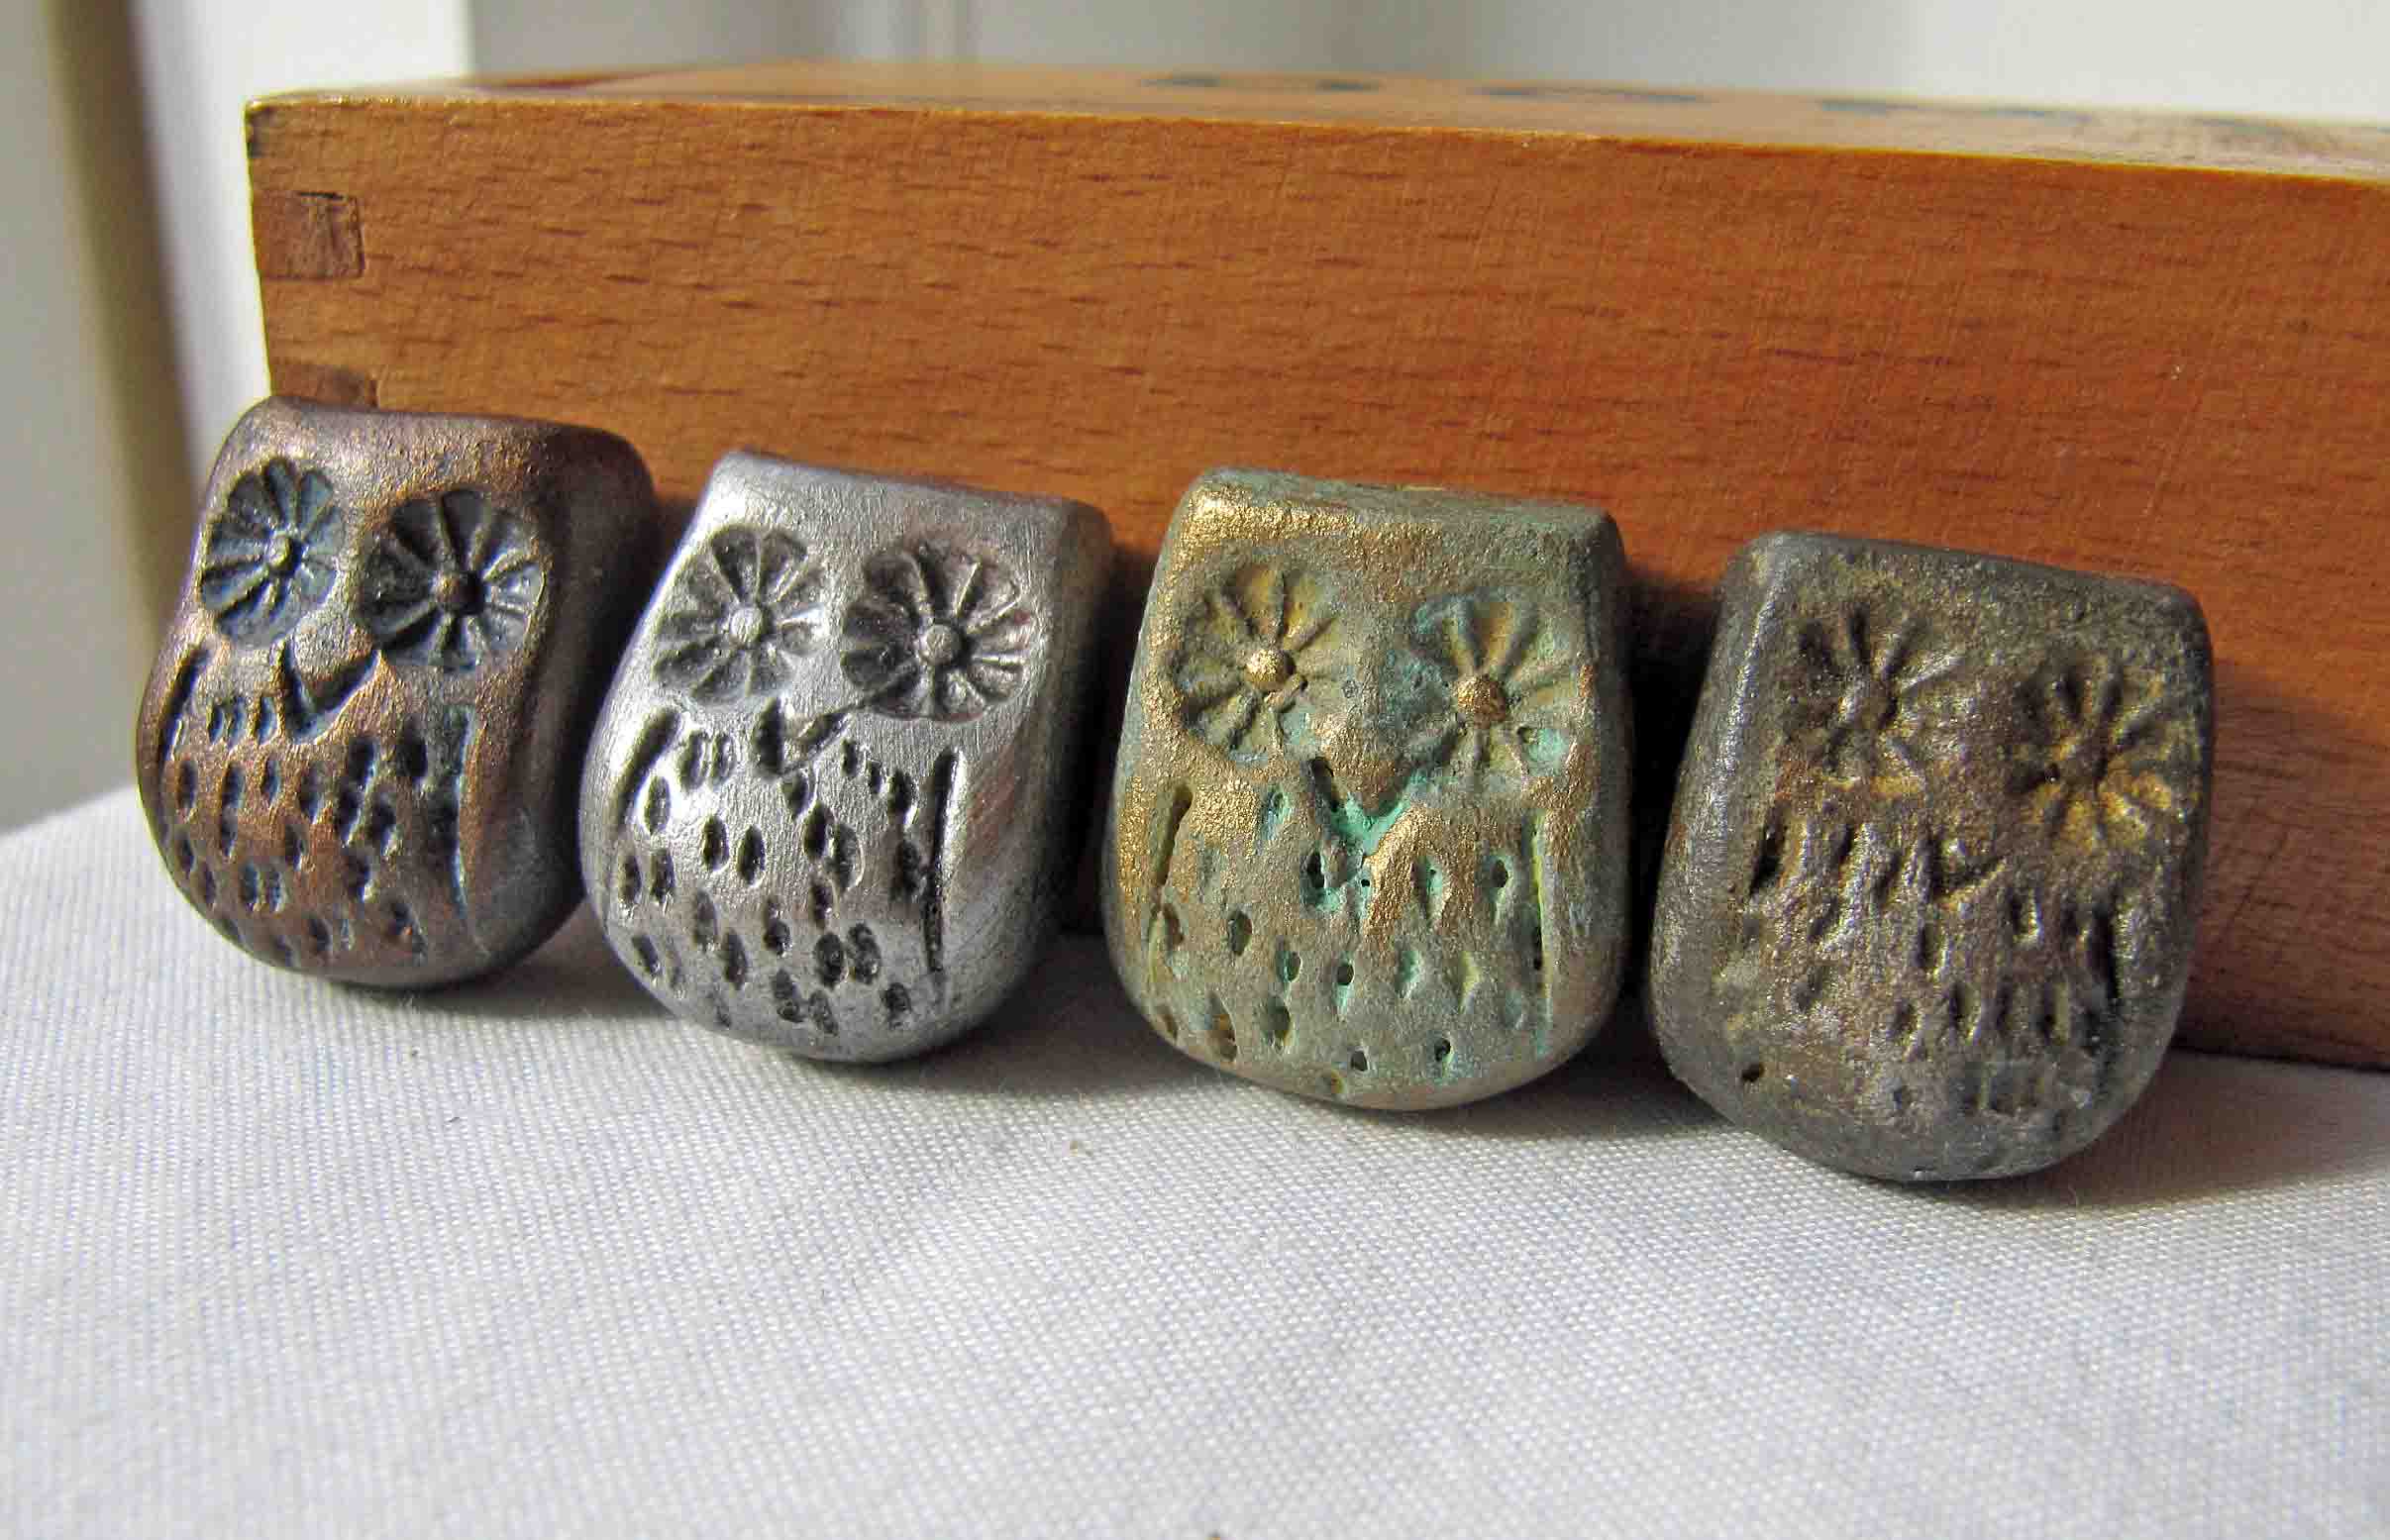
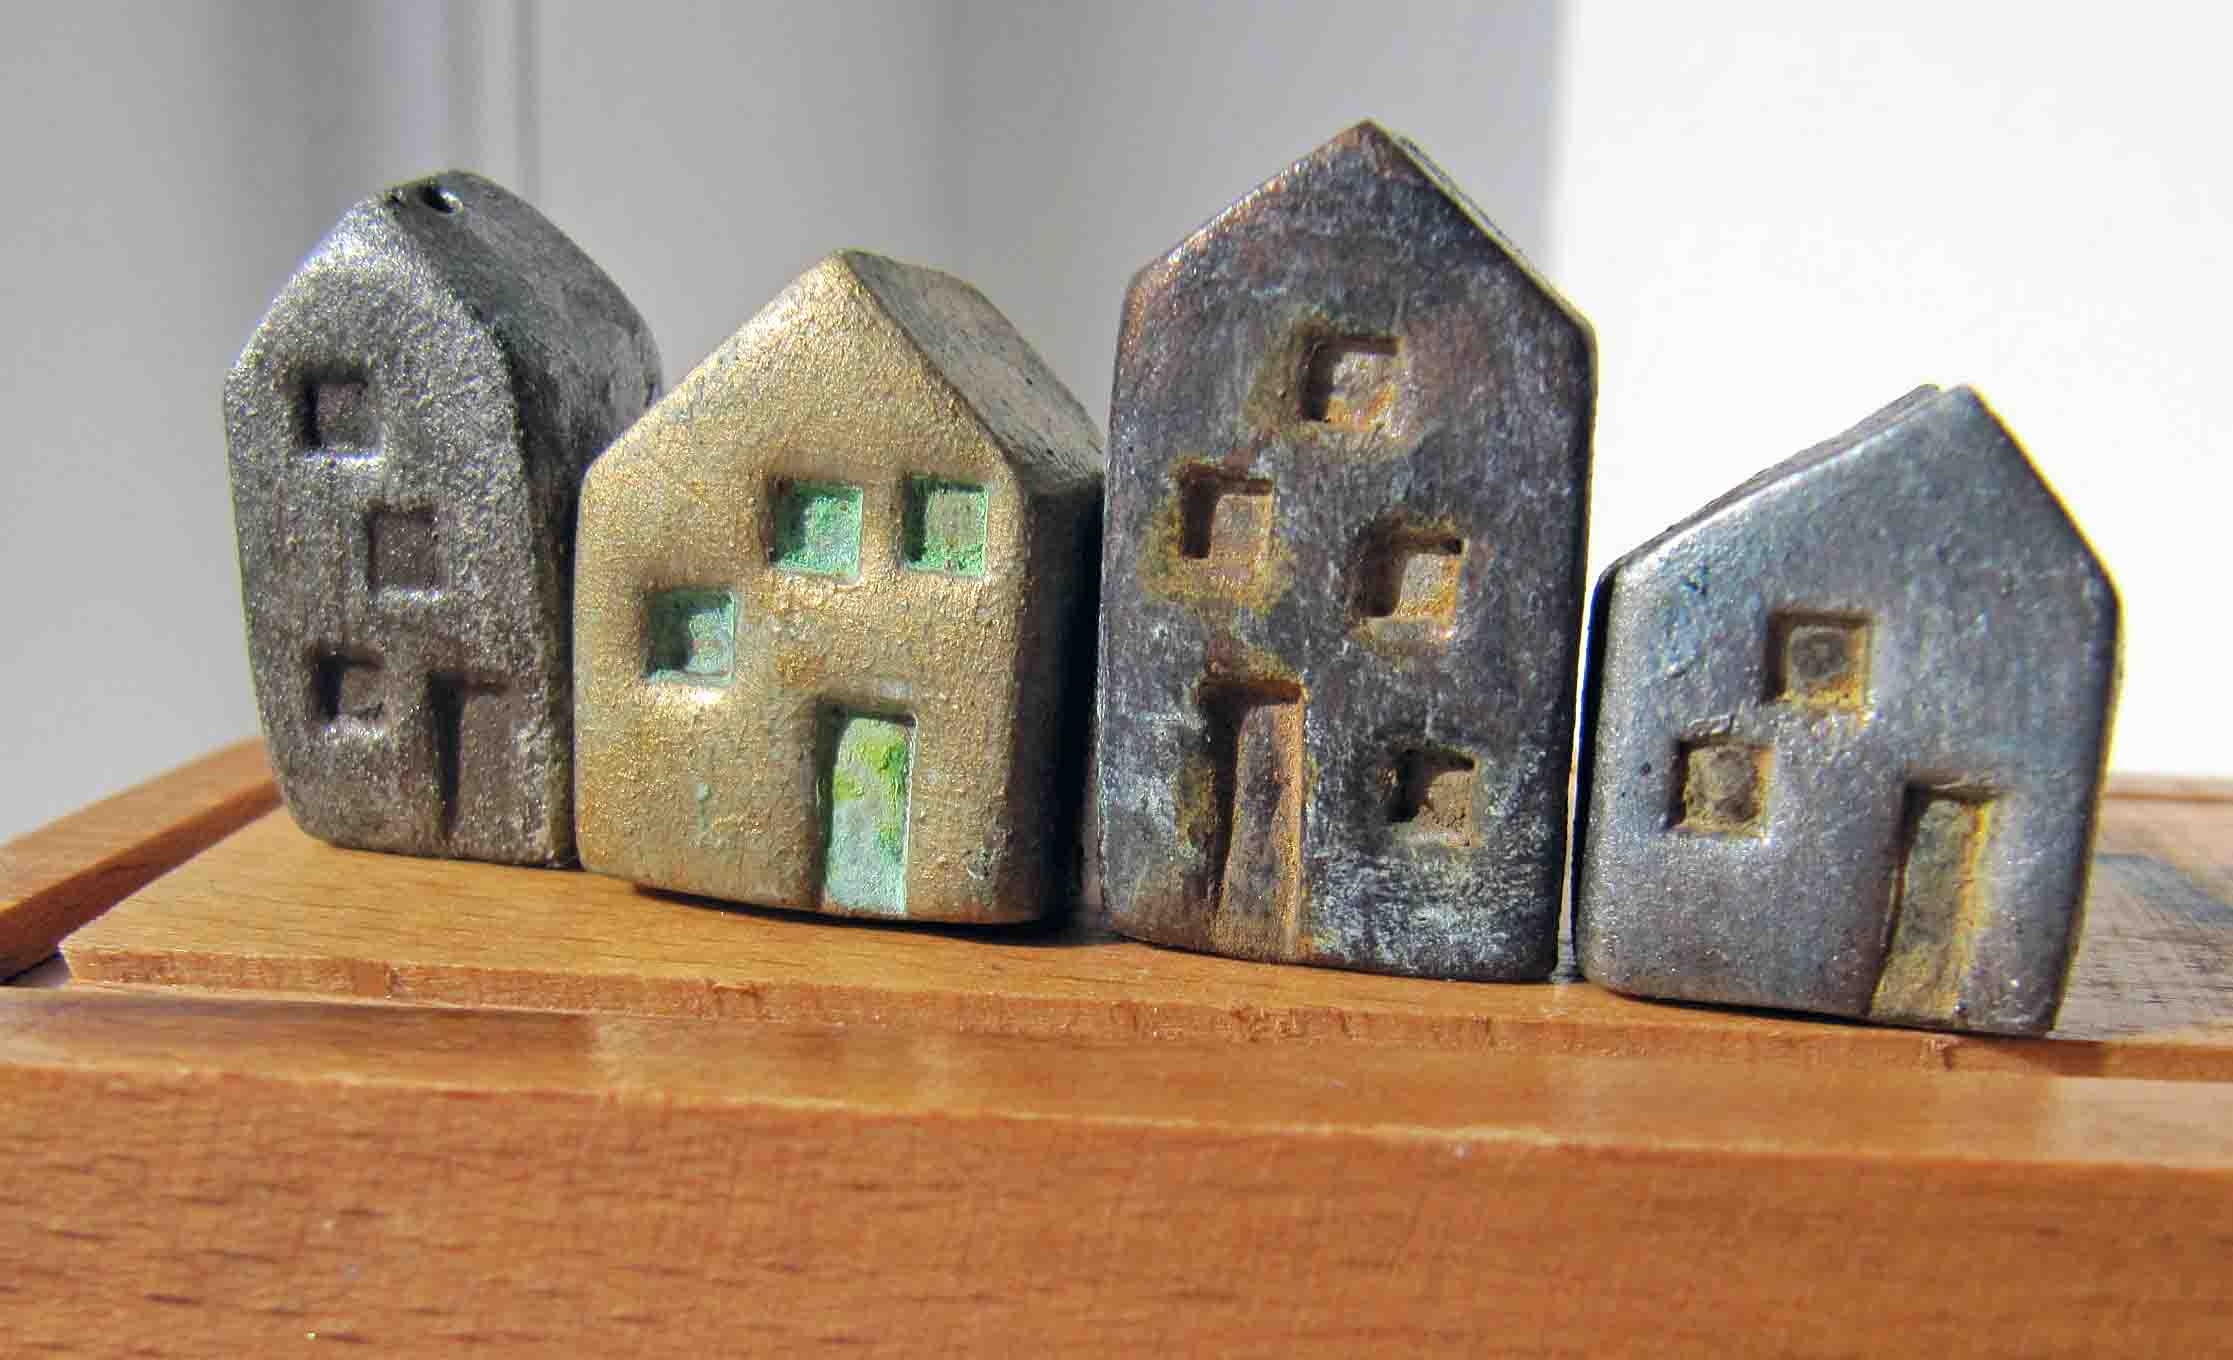
It’s quite a time-consuming process, to use the stuff. I had planned to write more about it here but I’ve been sleeping really badly, and I don’t have it about me today to stick too many sentences together! So, I’ll keep it brief. You start off with a clutch of regular baked beads, and you apply a primer, then a number of coats of a metal paint, either iron or copper or brass or bronze or silver. The paint contains metal particles and a binder and so when it drys it actually forms a thin layer of metal (neat, eh? - I thought so!). The paint also includes an acrylic element which adds strength to the metal coat and stops it flaking or cracking, etc. Once you’ve built up this metal base and whilst your top coat is still a bit wet, you set off the oxidising process. And then you wait… and wait… ….but it’s worth it. You can achieve various results, depending on which patina solution you use: beautiful, glowing verdigris bloom, rich crusty rusts, and lovely thick, dark grunginess. And it doesn’t have to end there, because you can also apply dye oxides to colour the patina. This looks particularly lovely with the verdigris patinas because the bloom just makes the colours glow. Once you’re done there’s still a good bit of waiting to do. You need to leave it another 72 hours to let all the metal and patina and dye set. The dye is absorbed(?) - probably not the right word - by the metal, etc., so it’s not going anywhere, which is quite smart. Anyway, I’ll quit with the waffle and share some of the results.


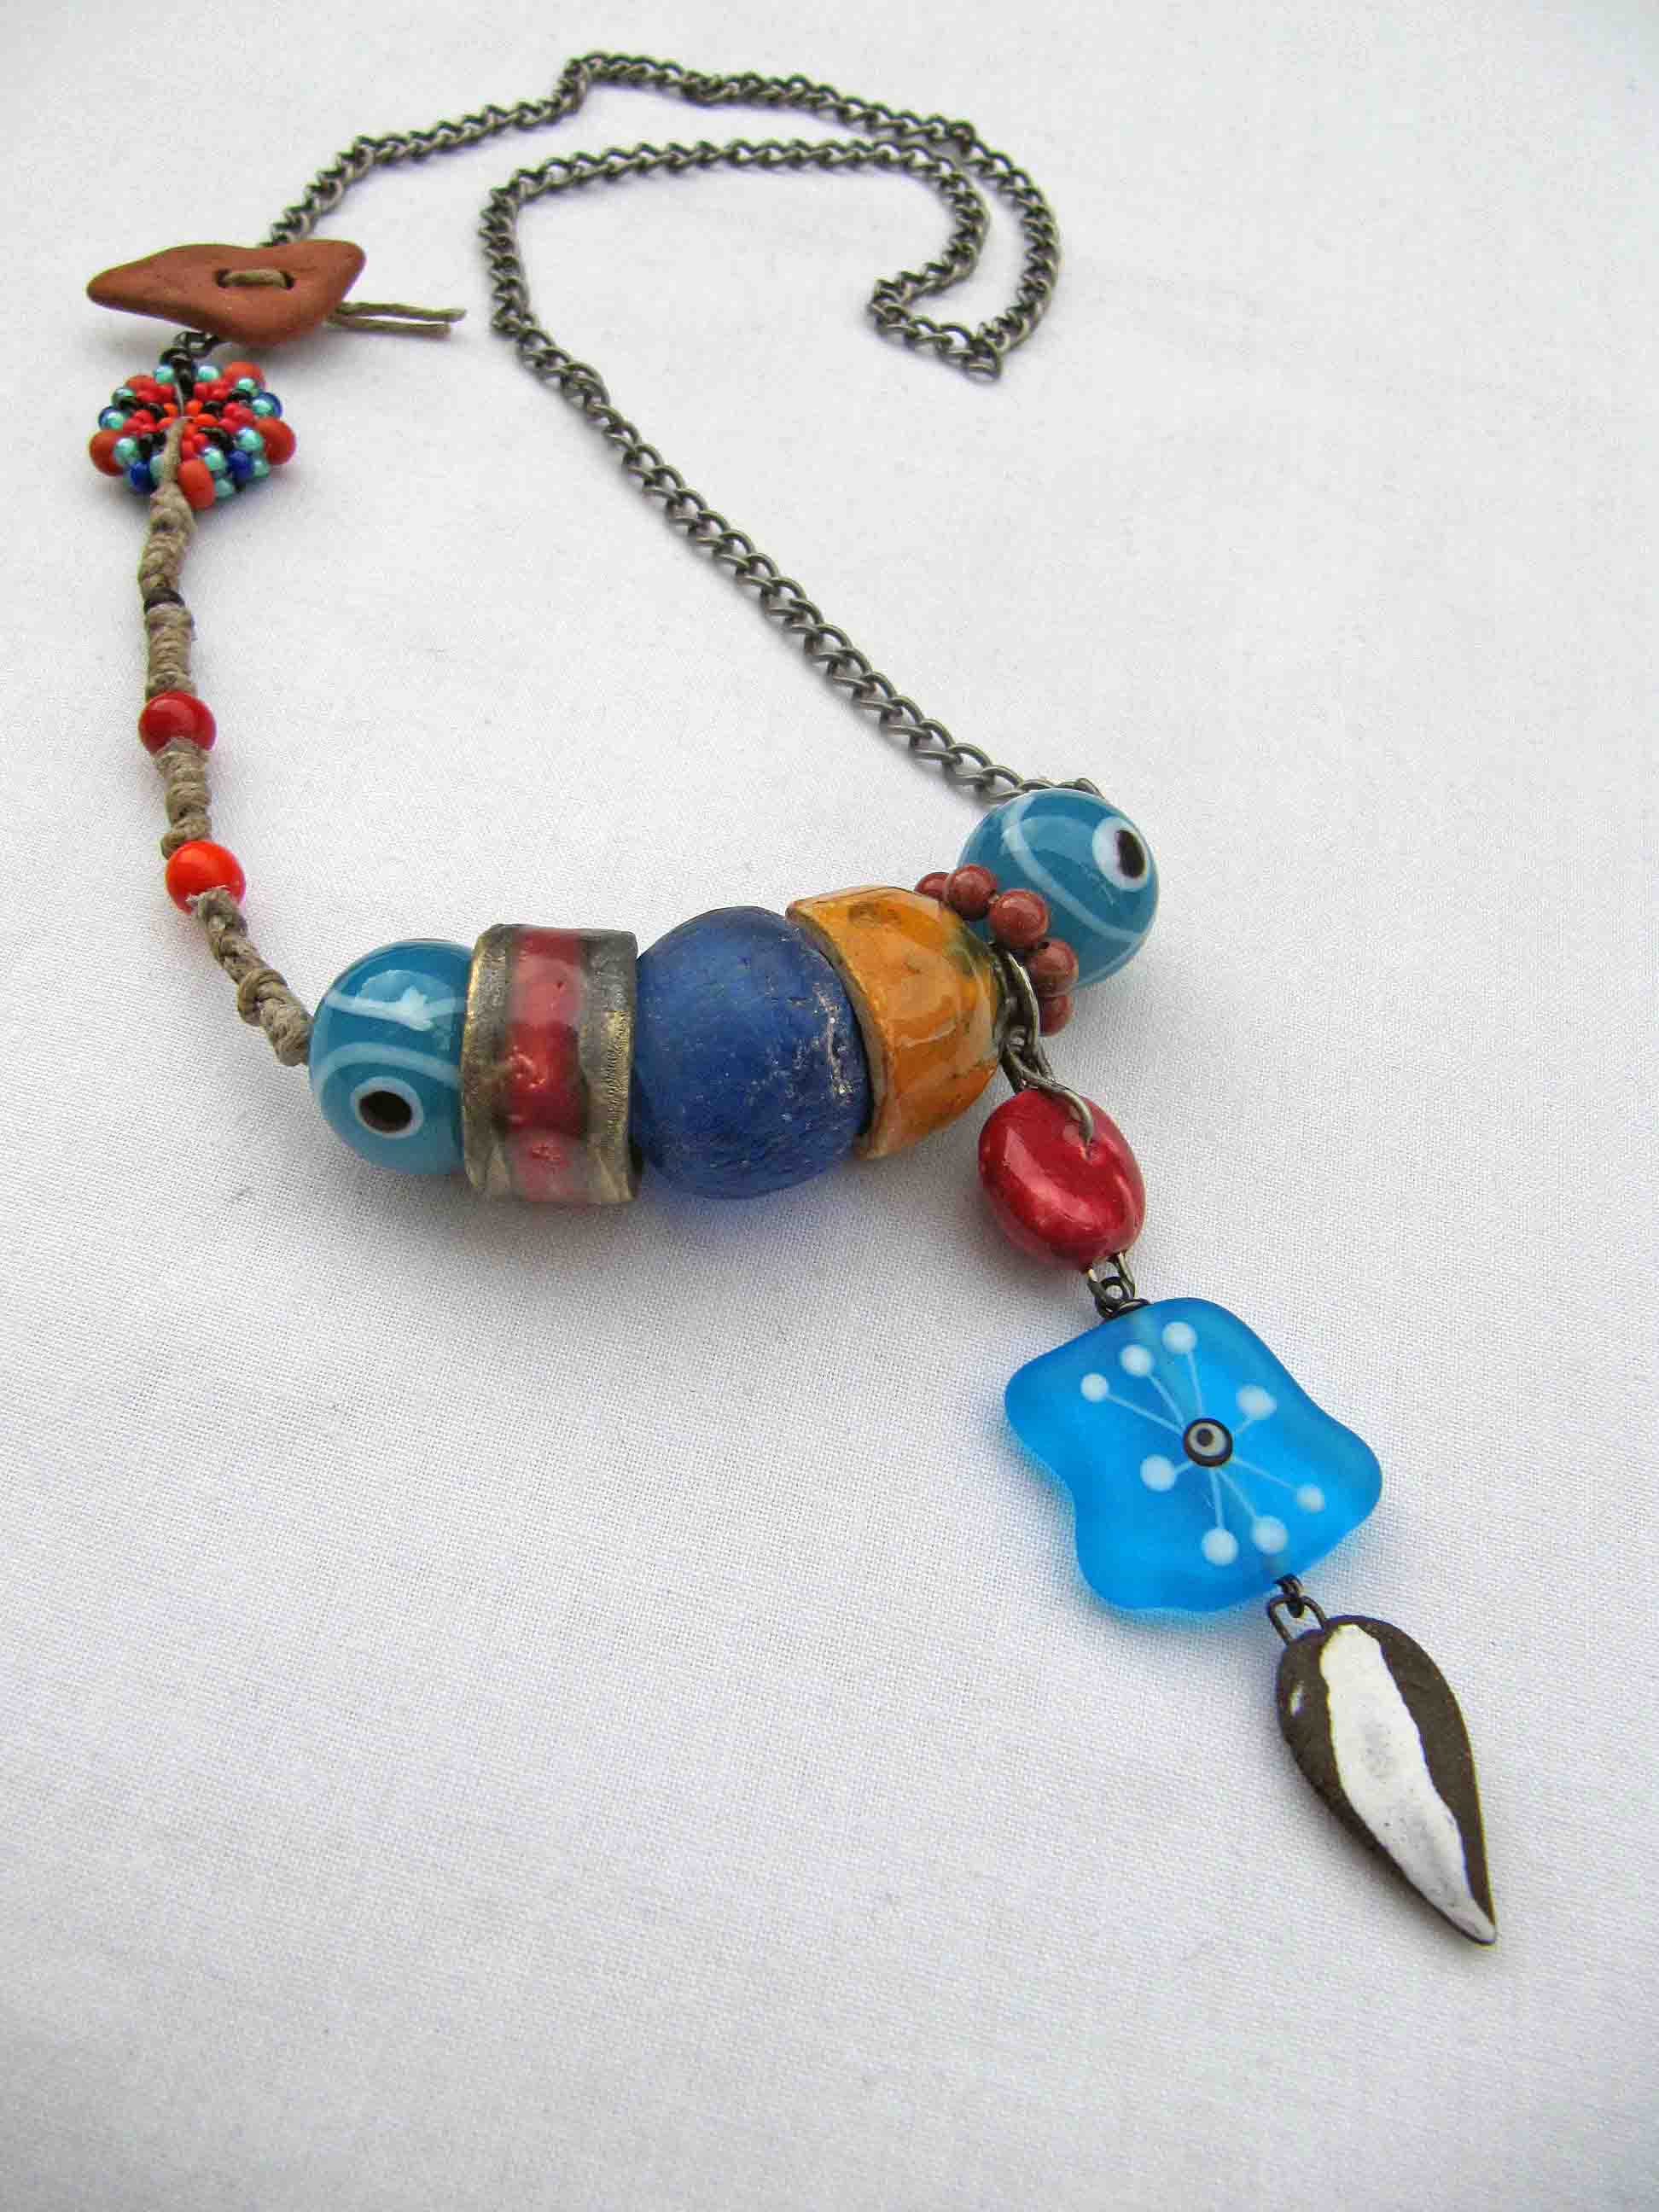
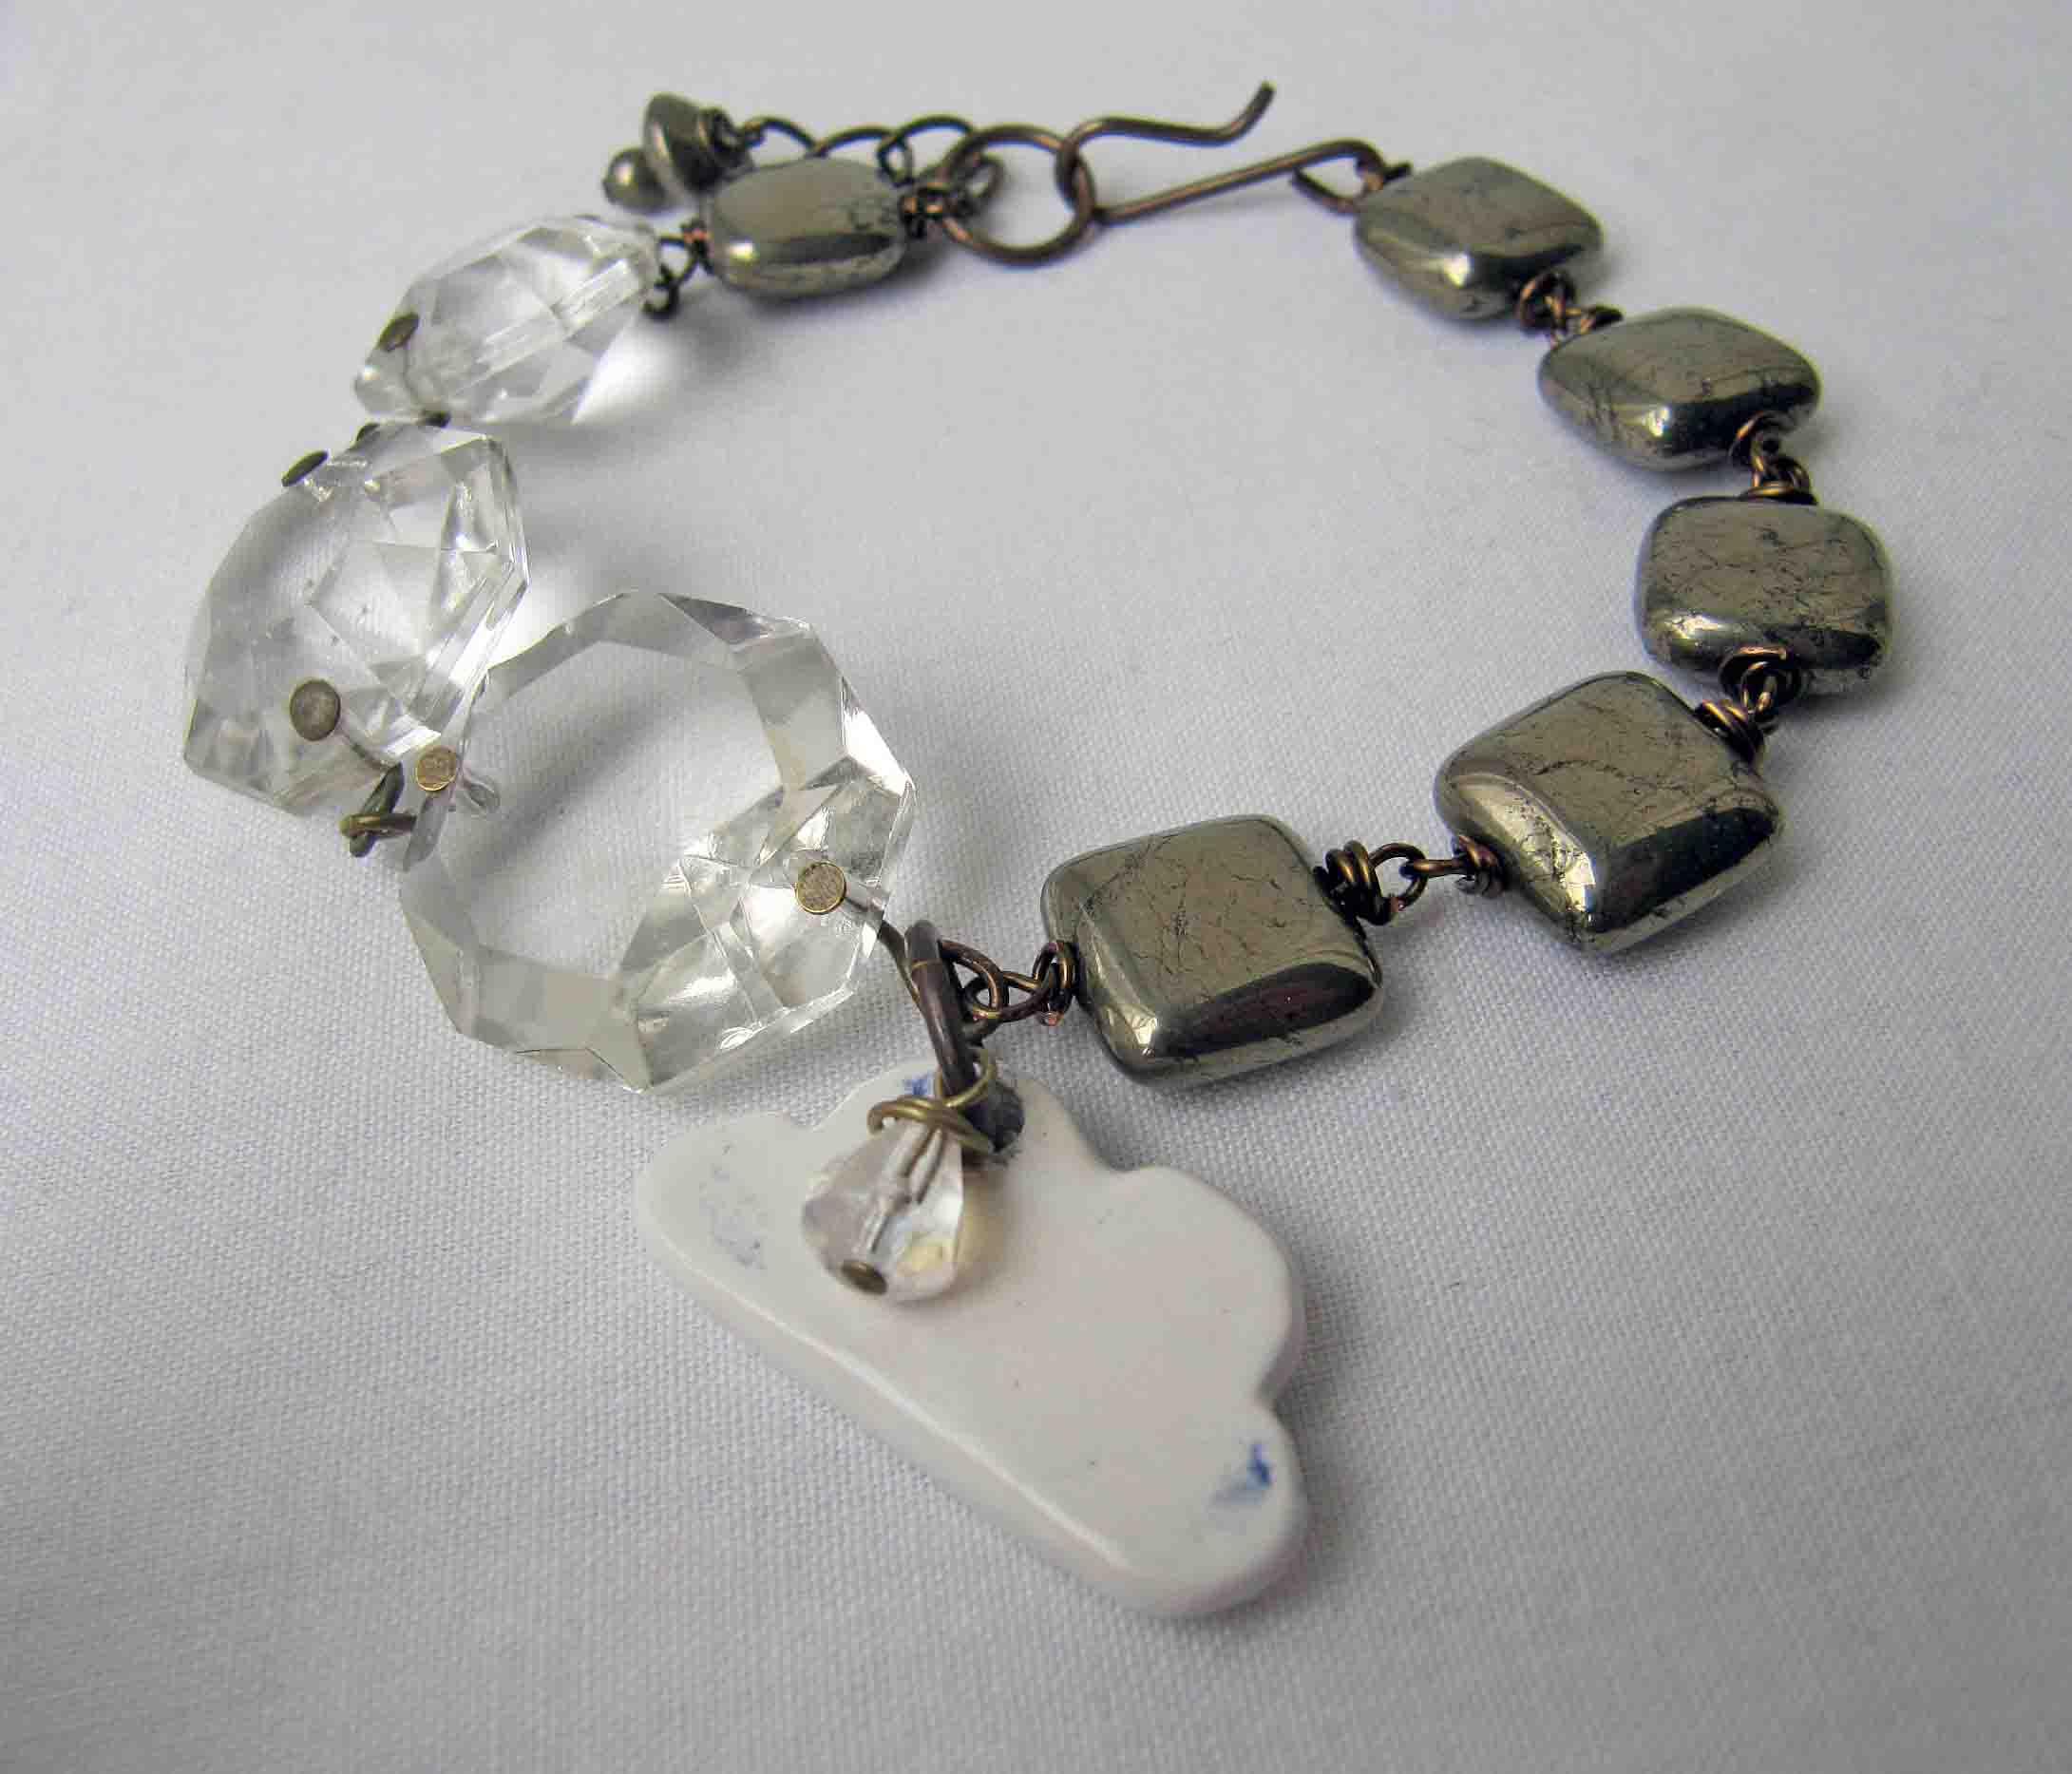
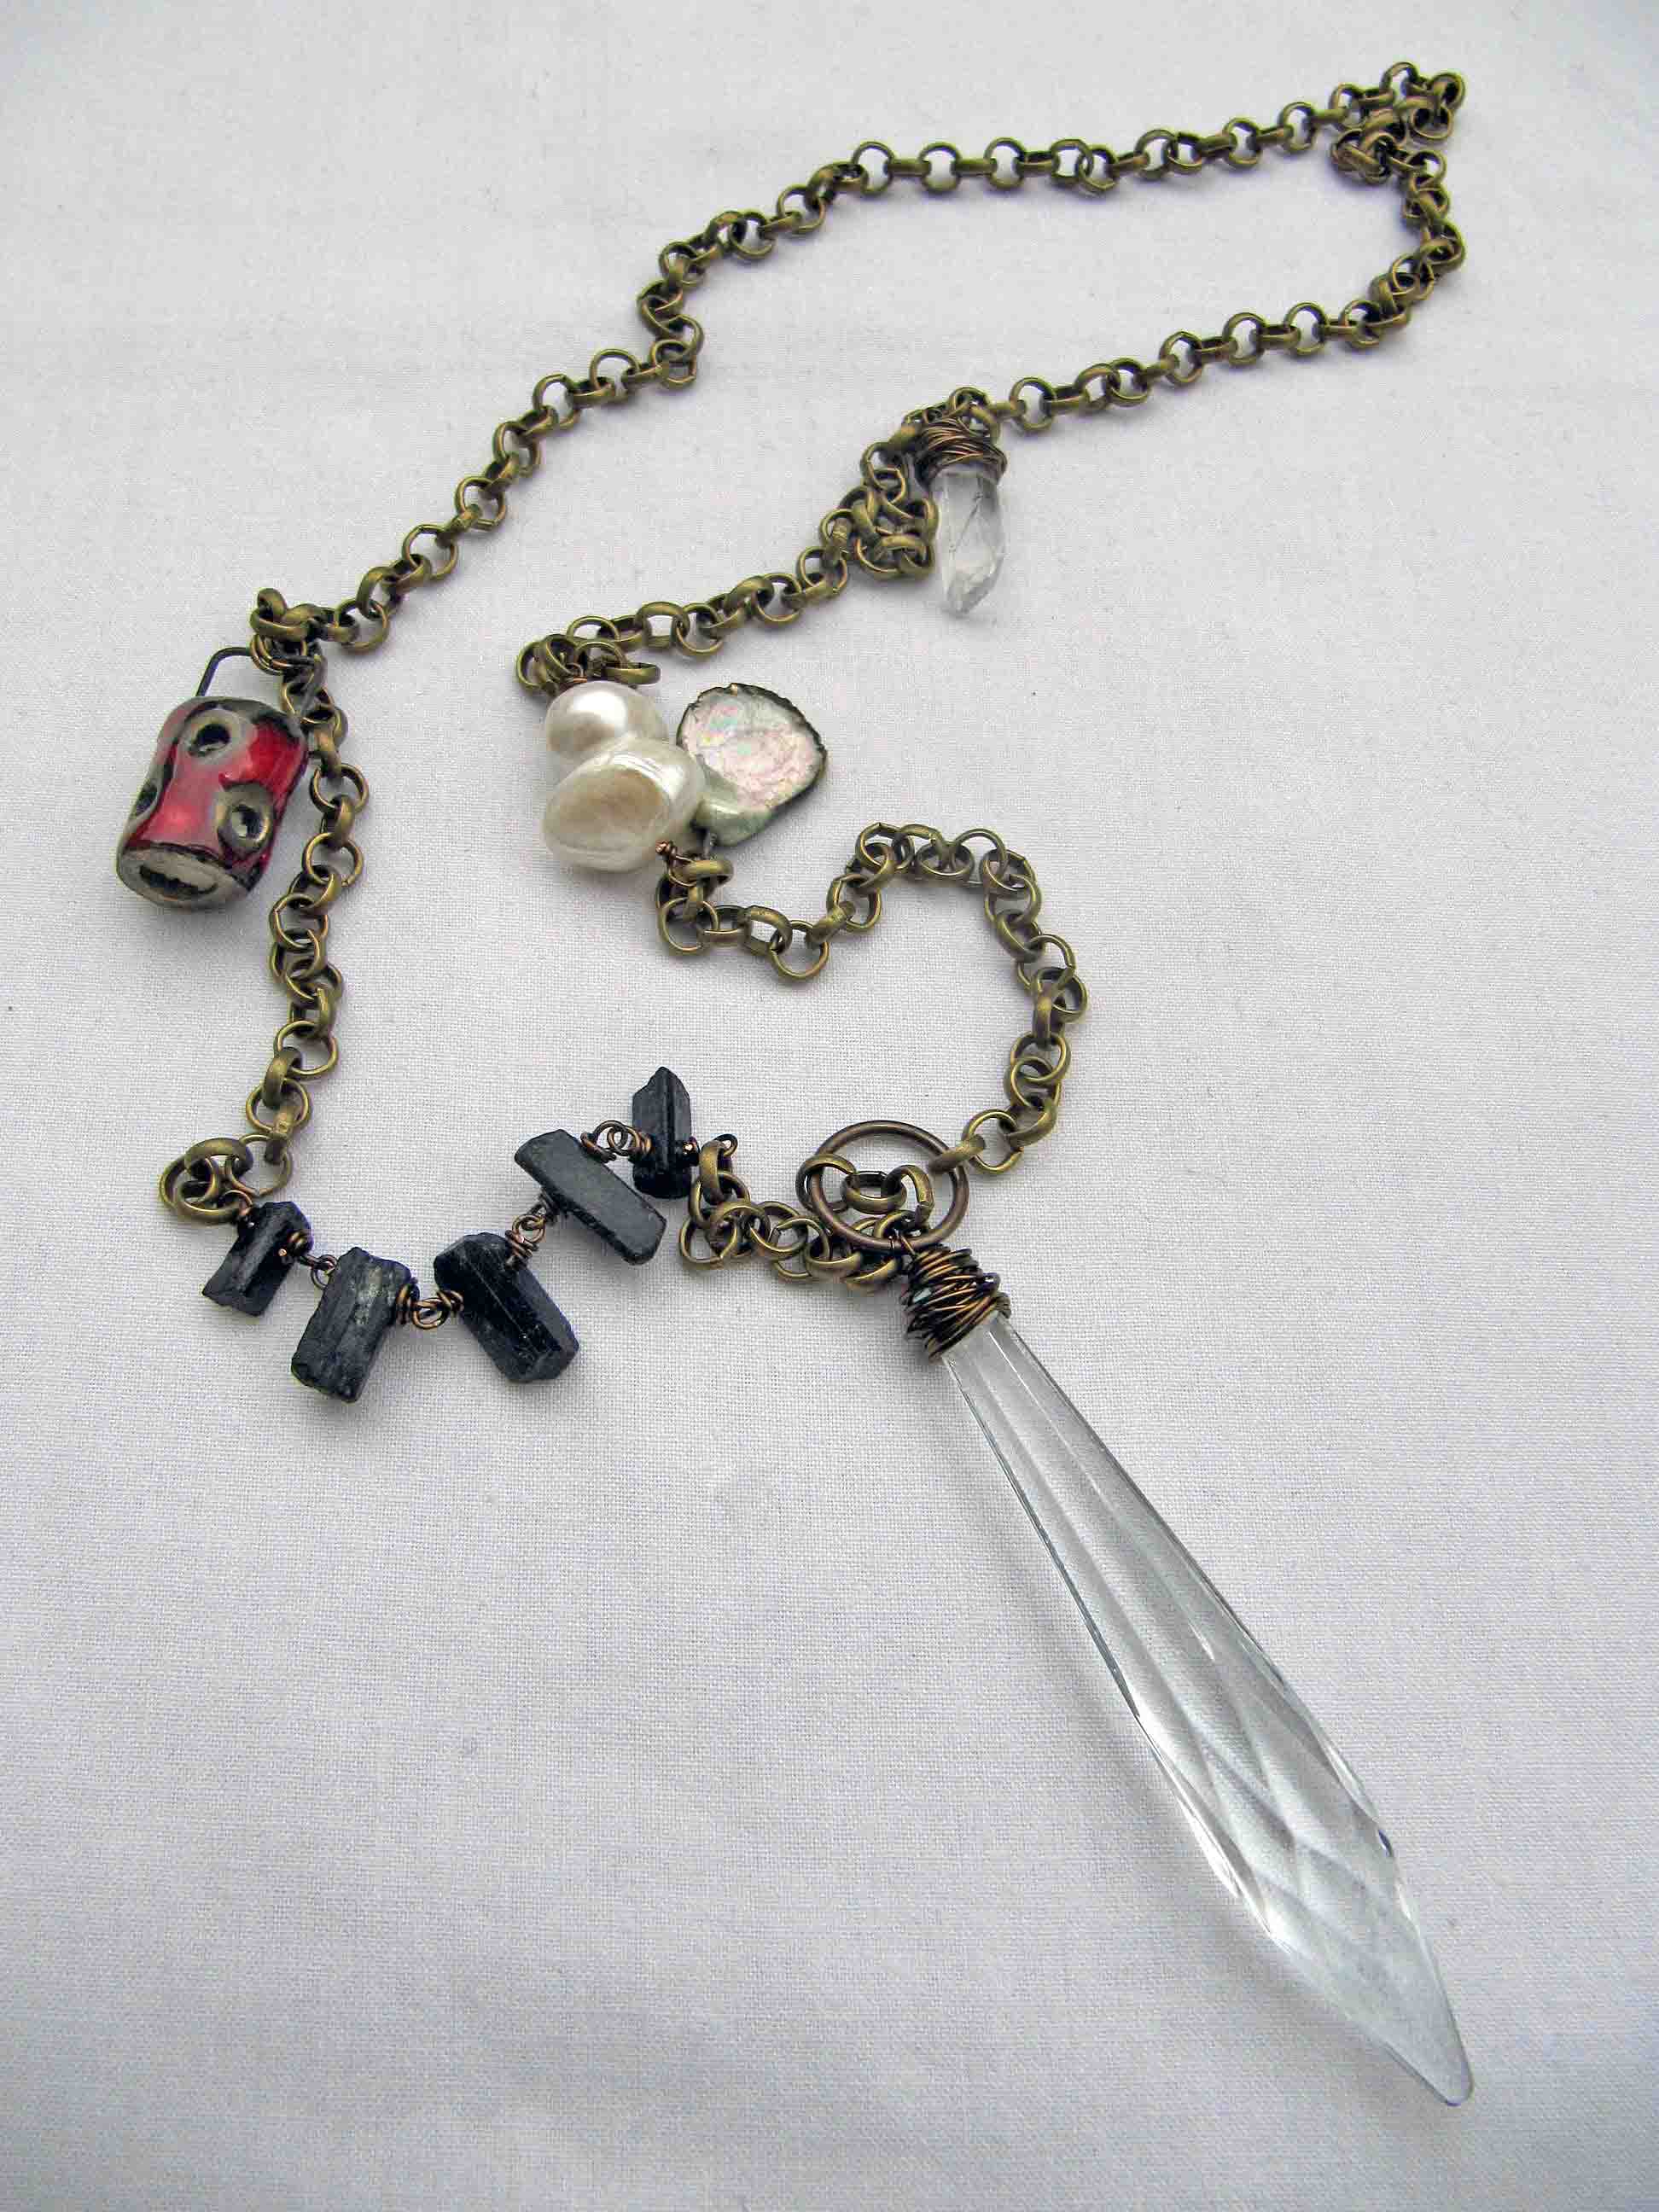
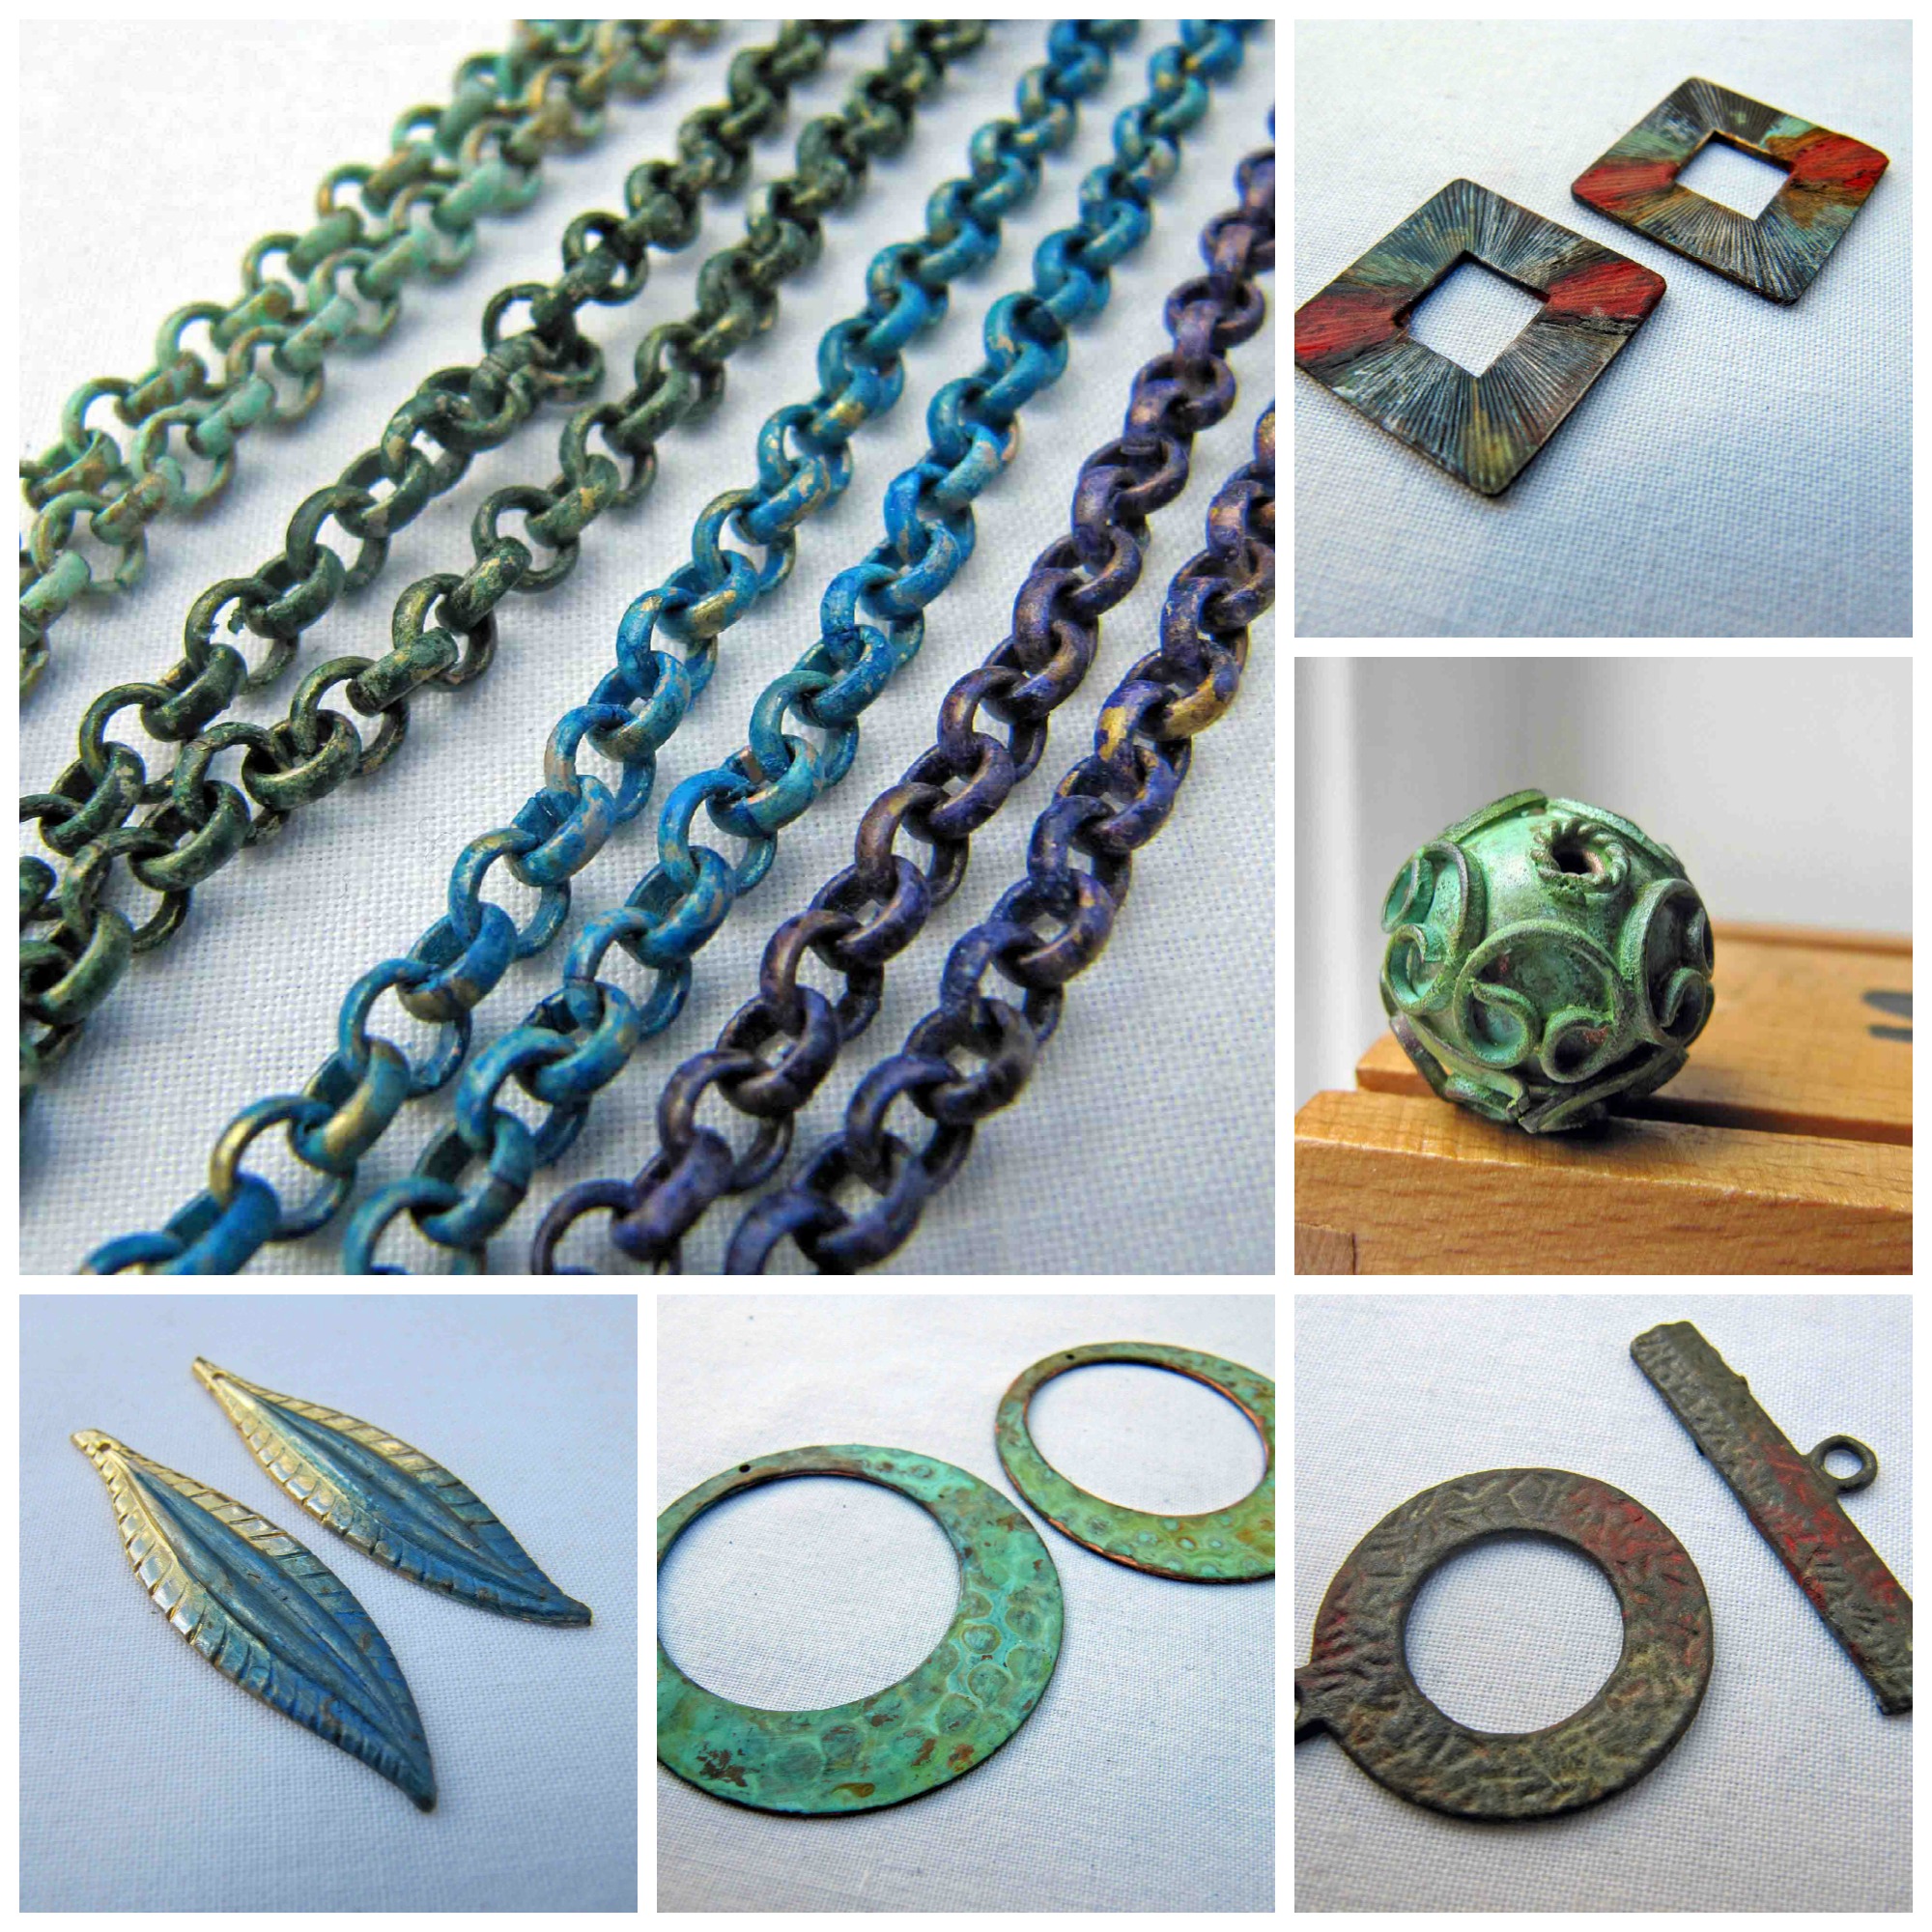
And as you might guess, it’s not just polymer clay you can use this stuff on. I’ll also be listng a small number of patinated vintage chains and components, and a few other metal based bits. There aren’t many of these bits but I’m planning to get some bigger numbers made up soon.
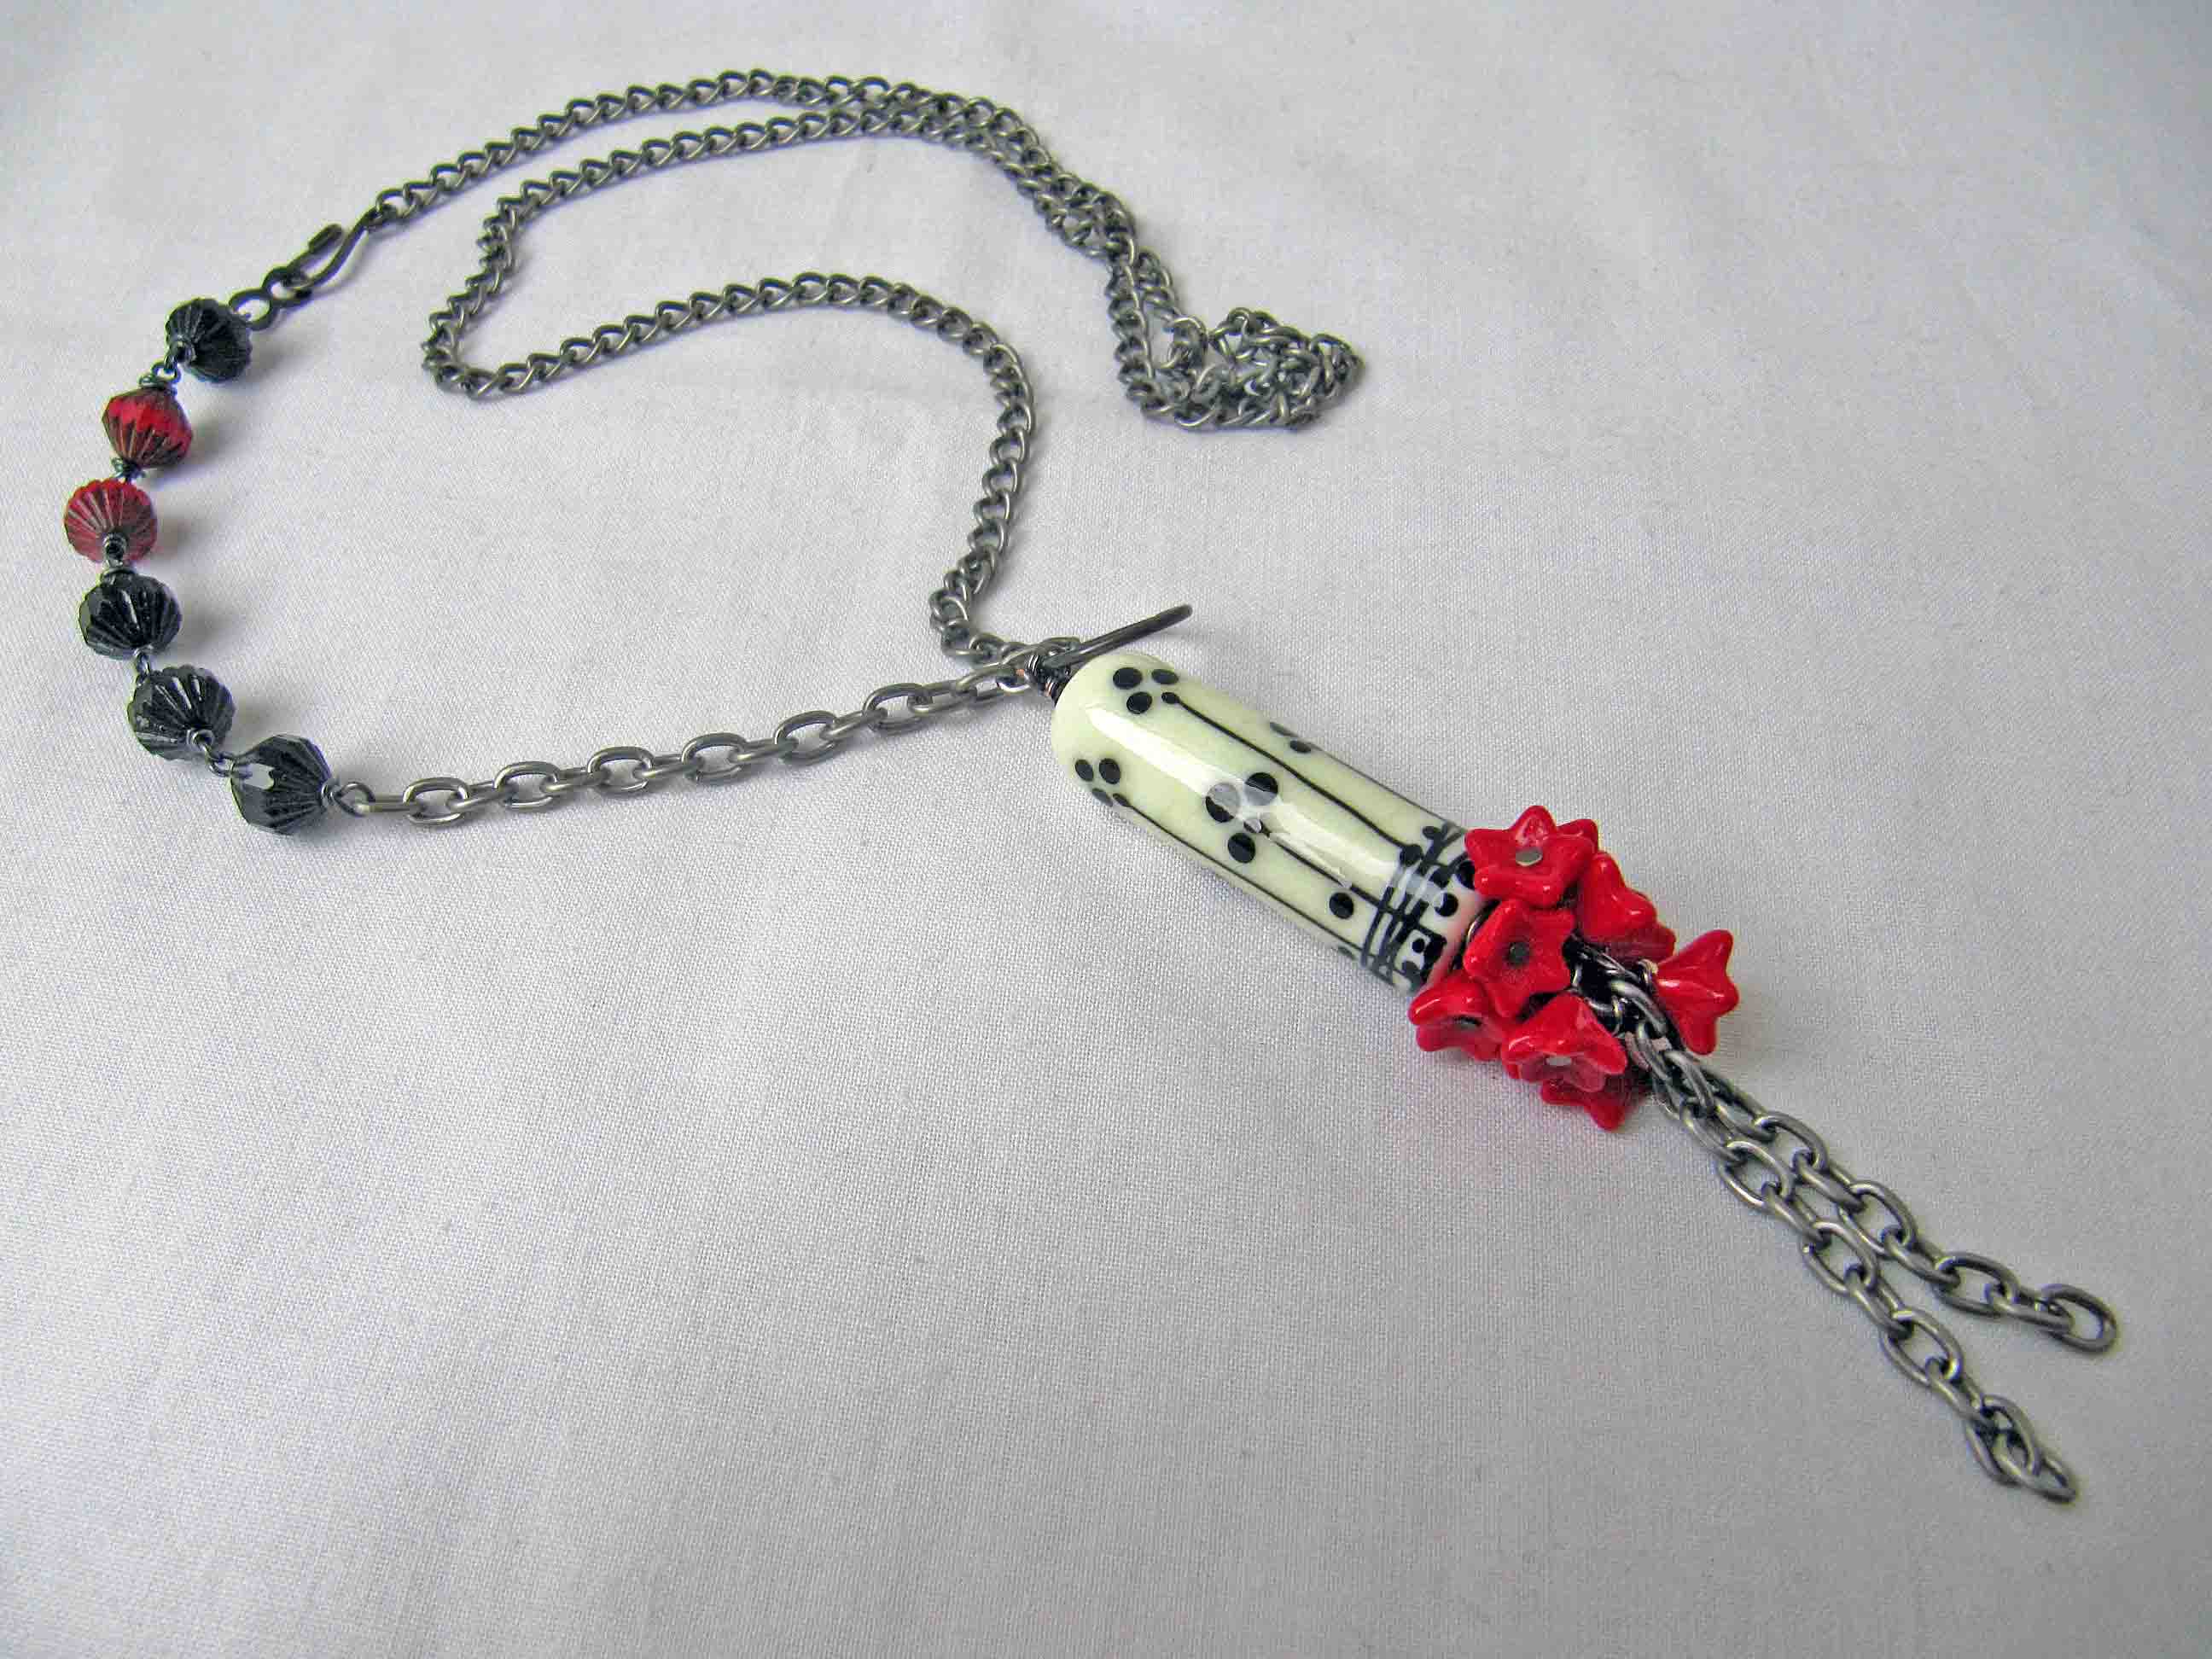
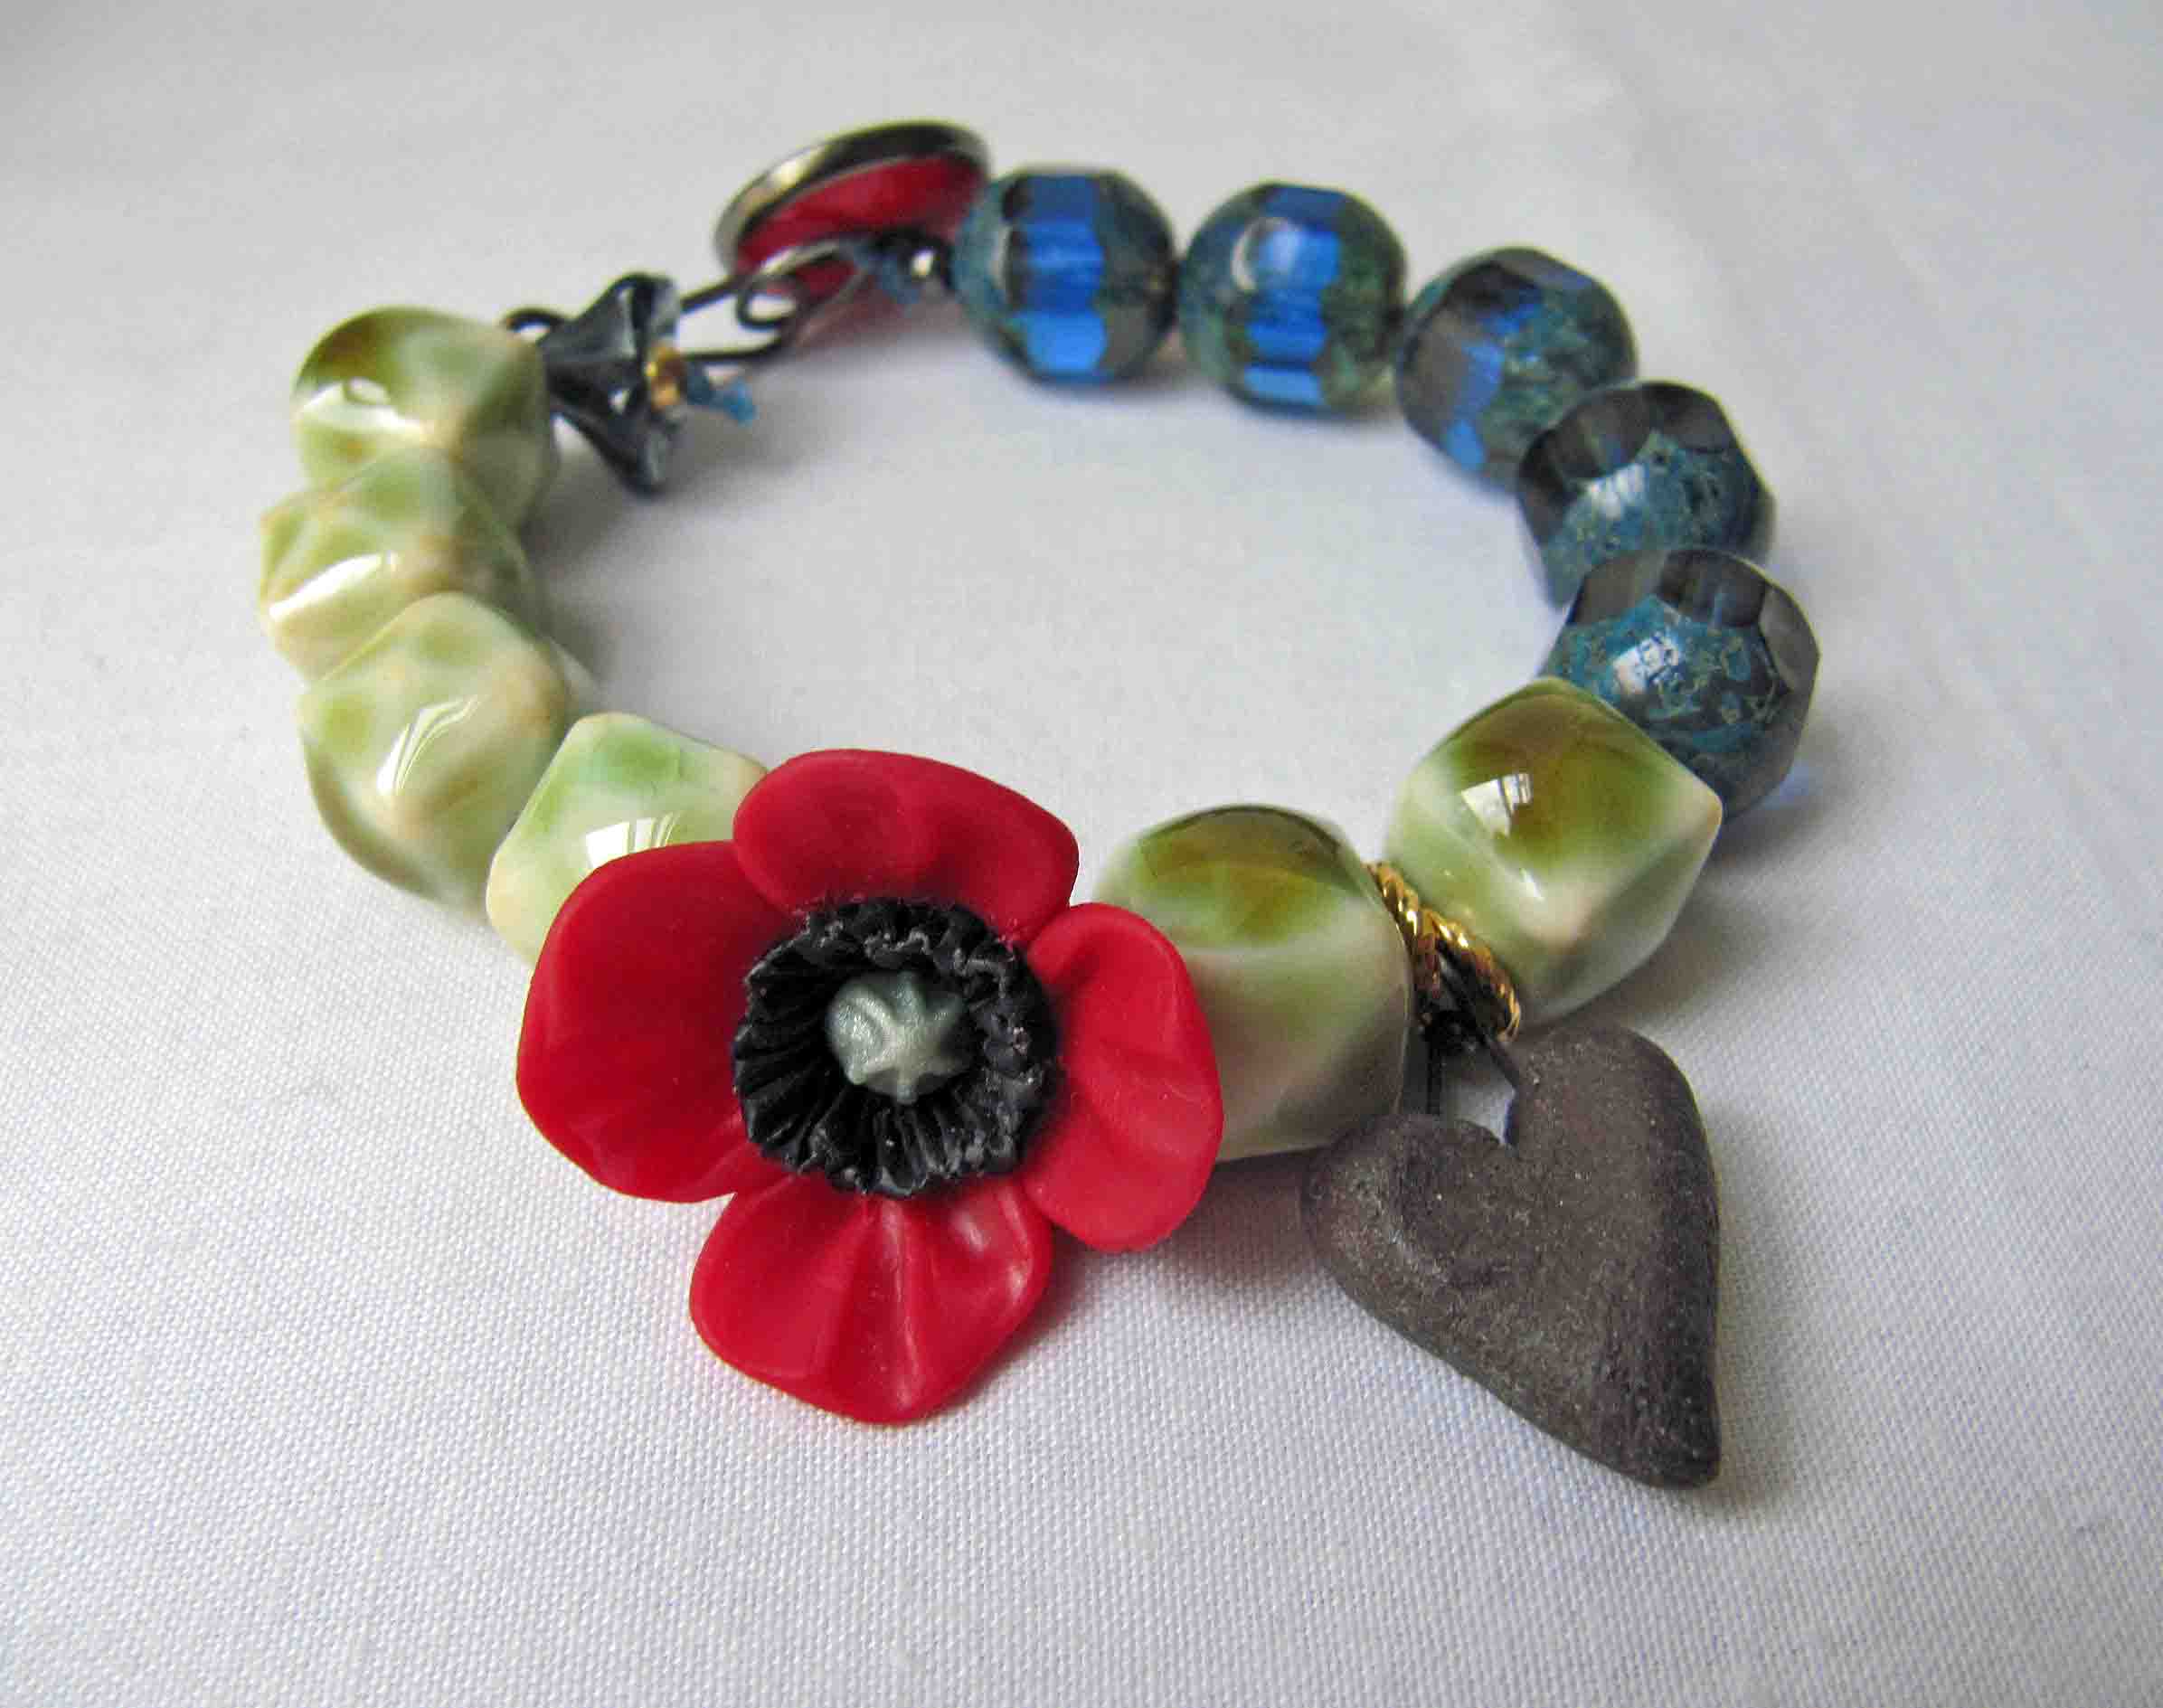
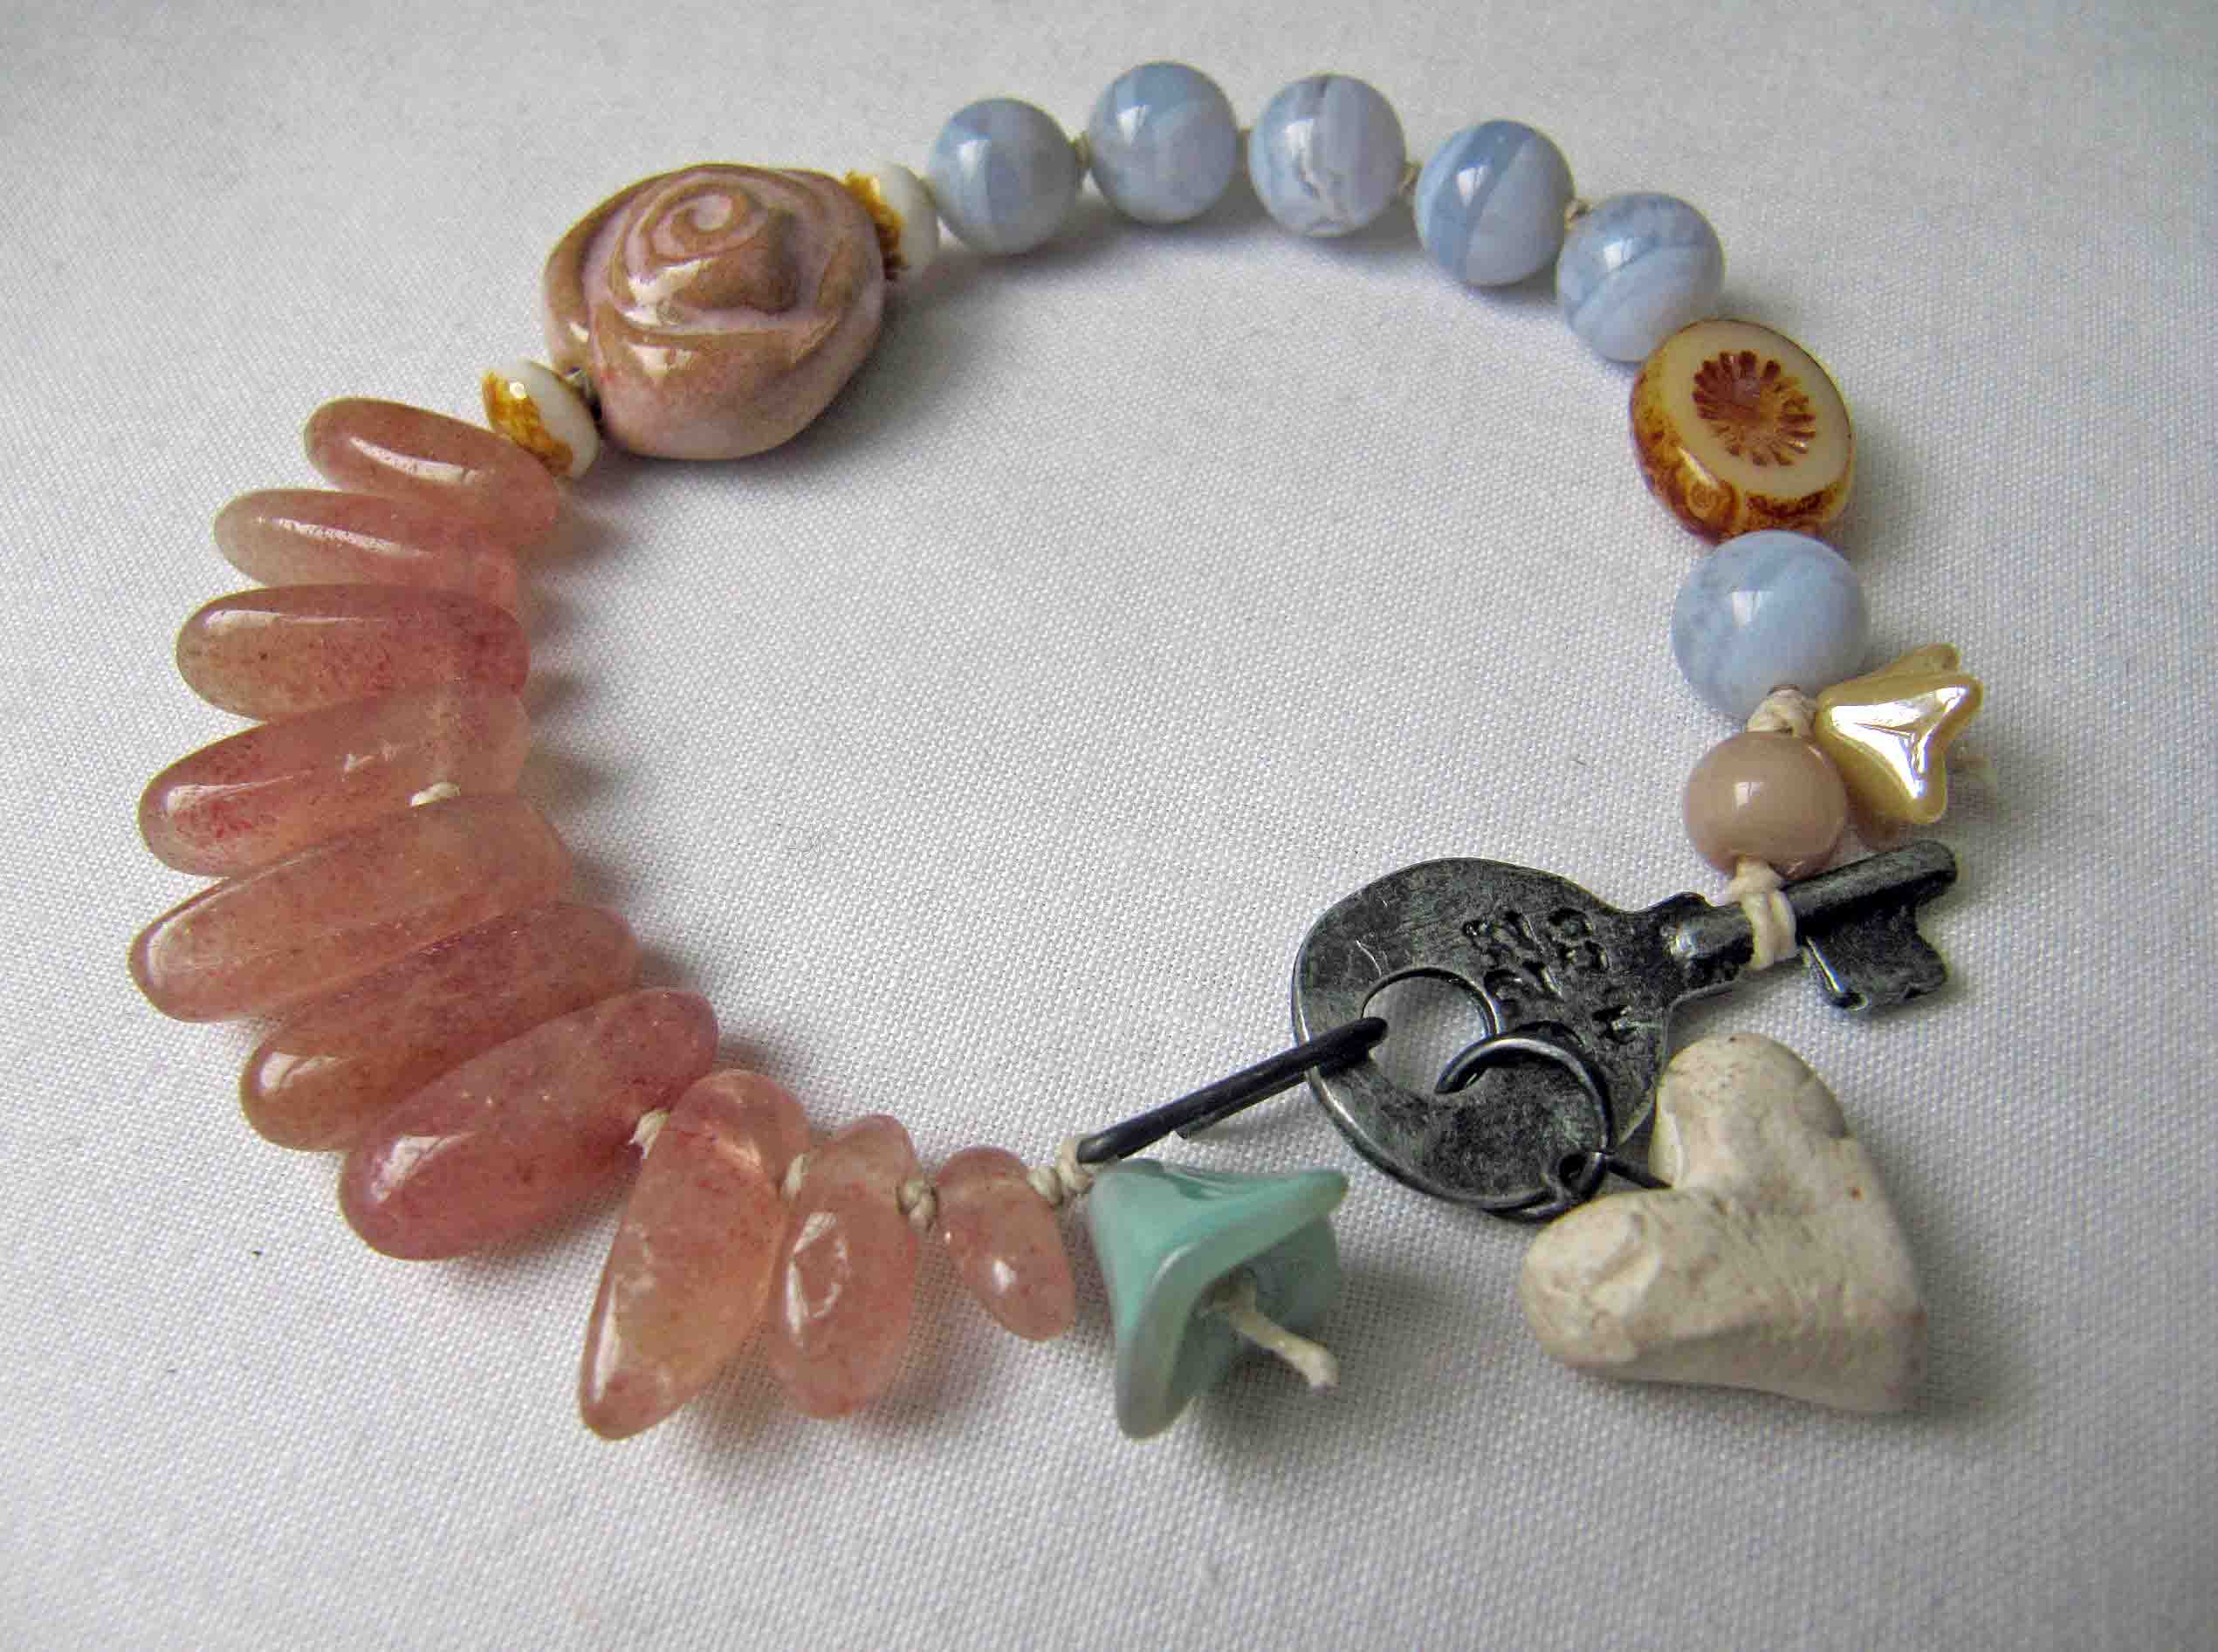
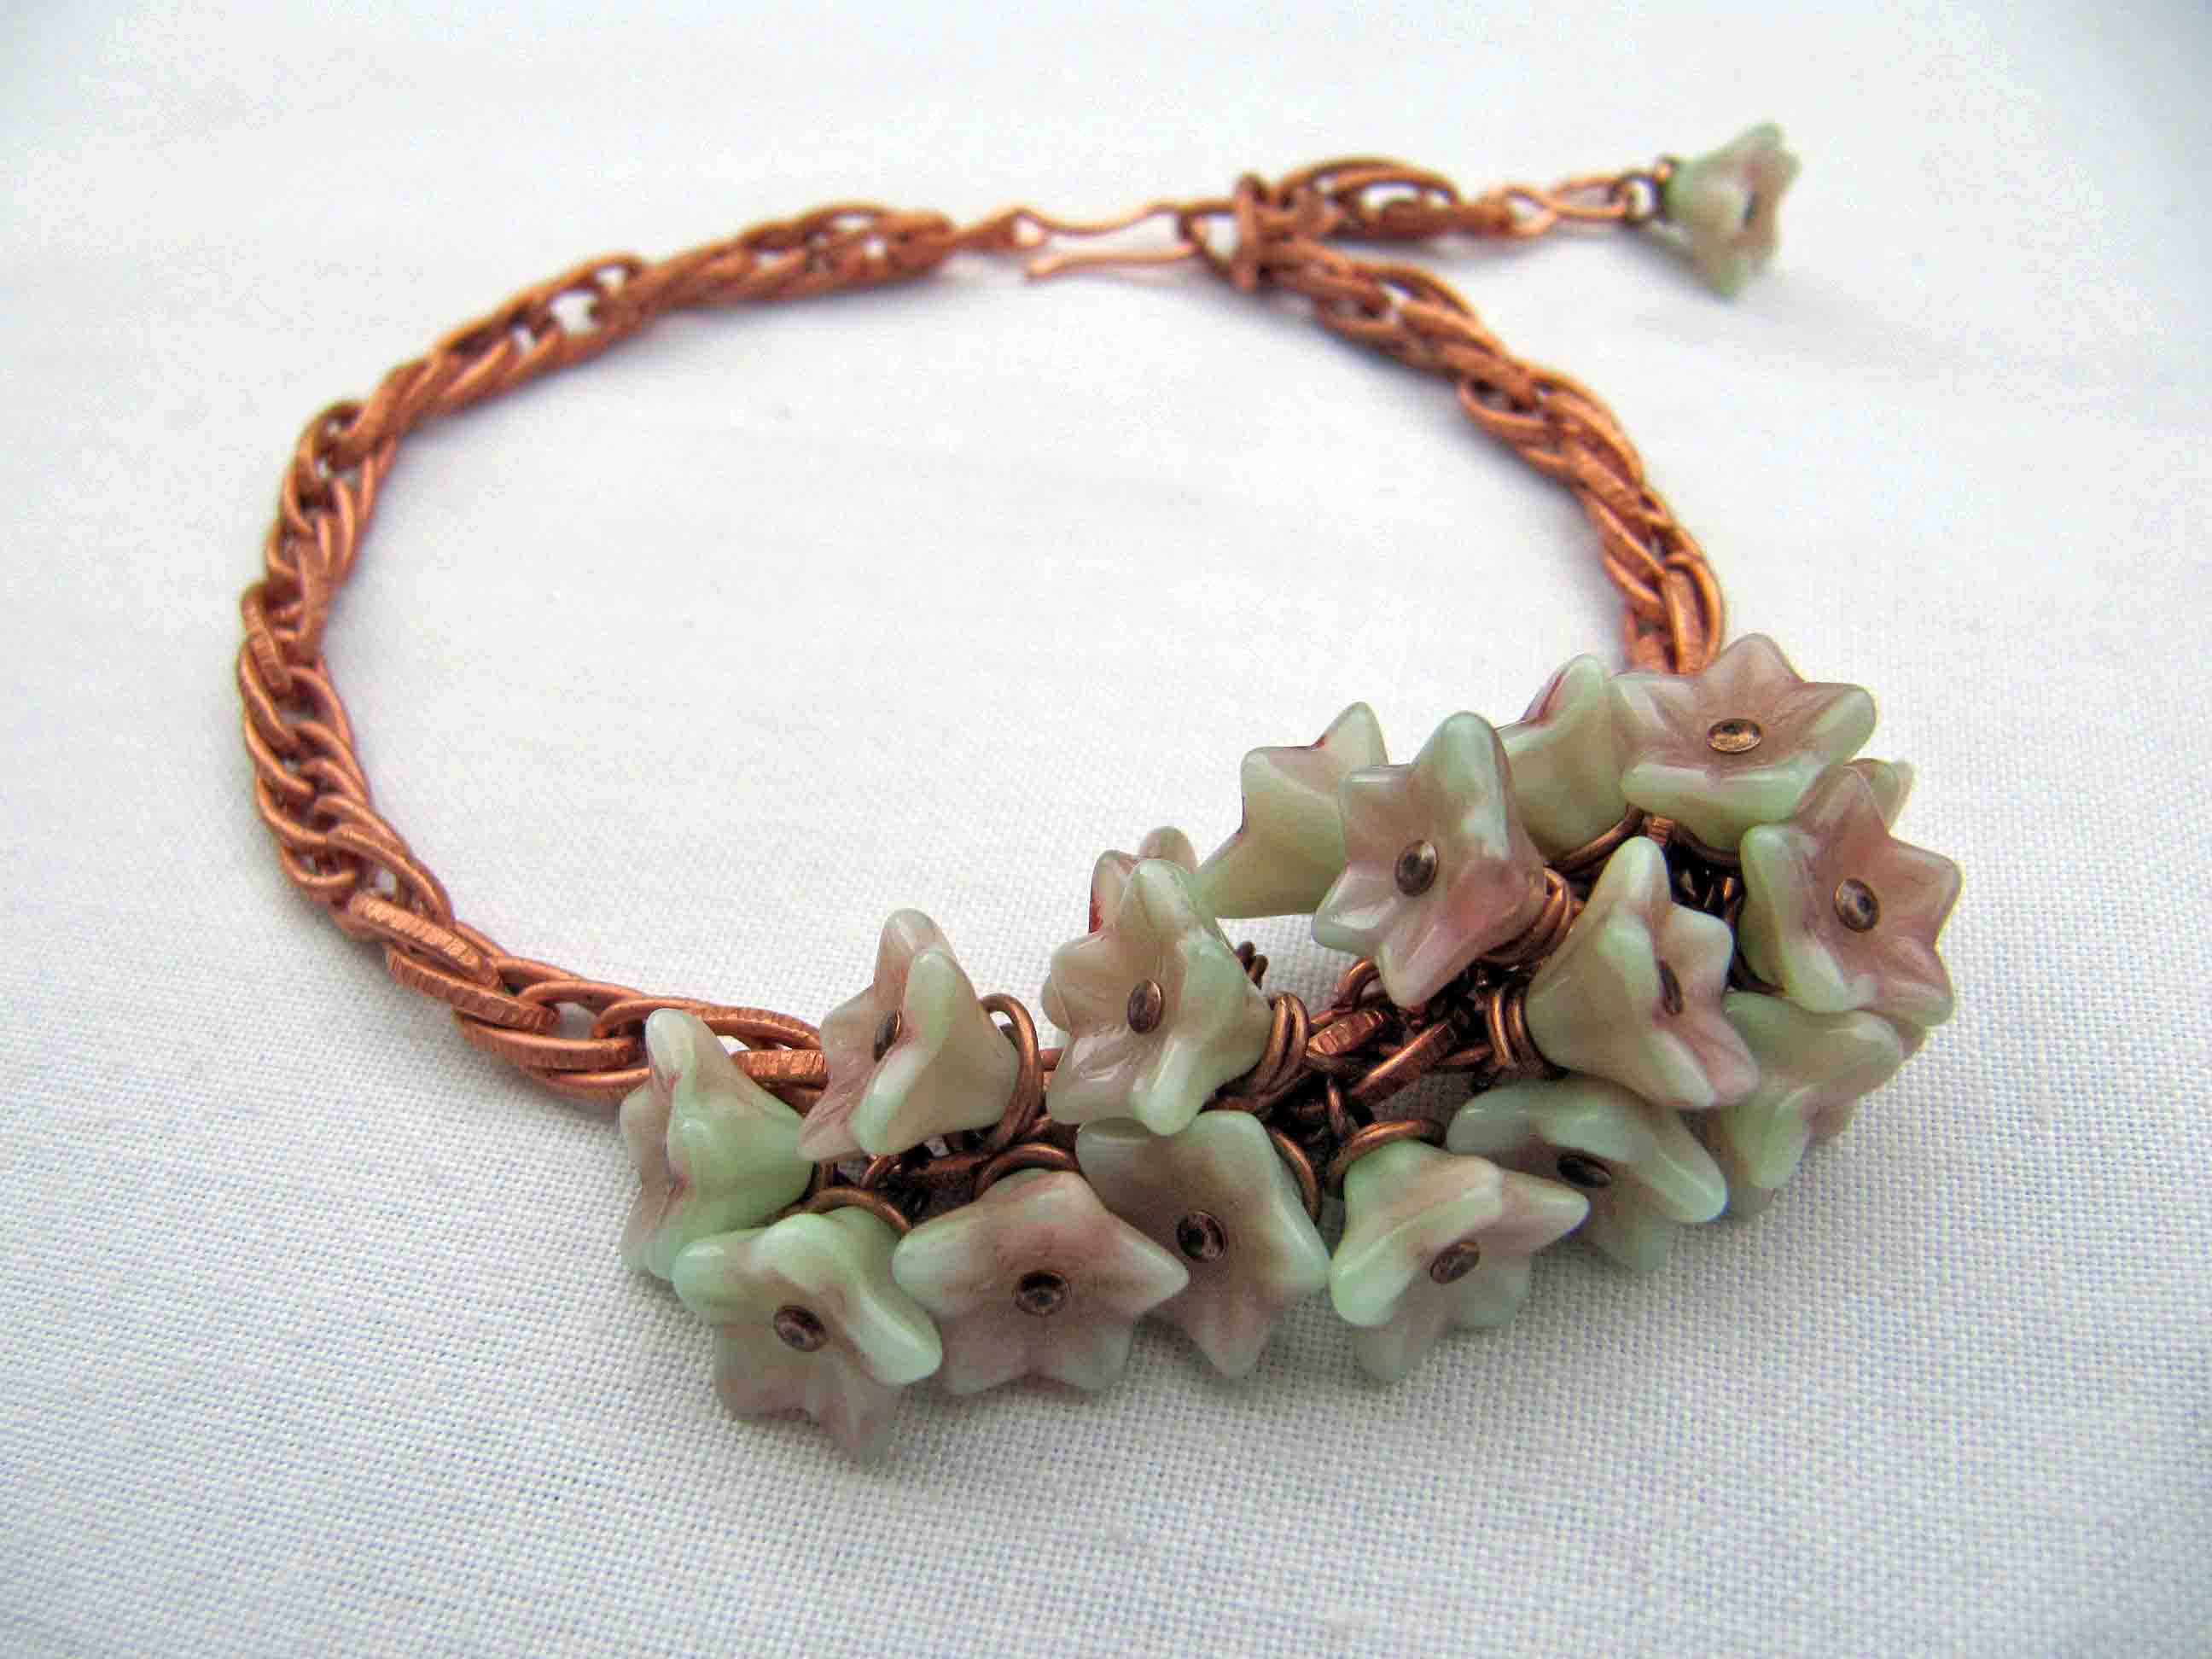
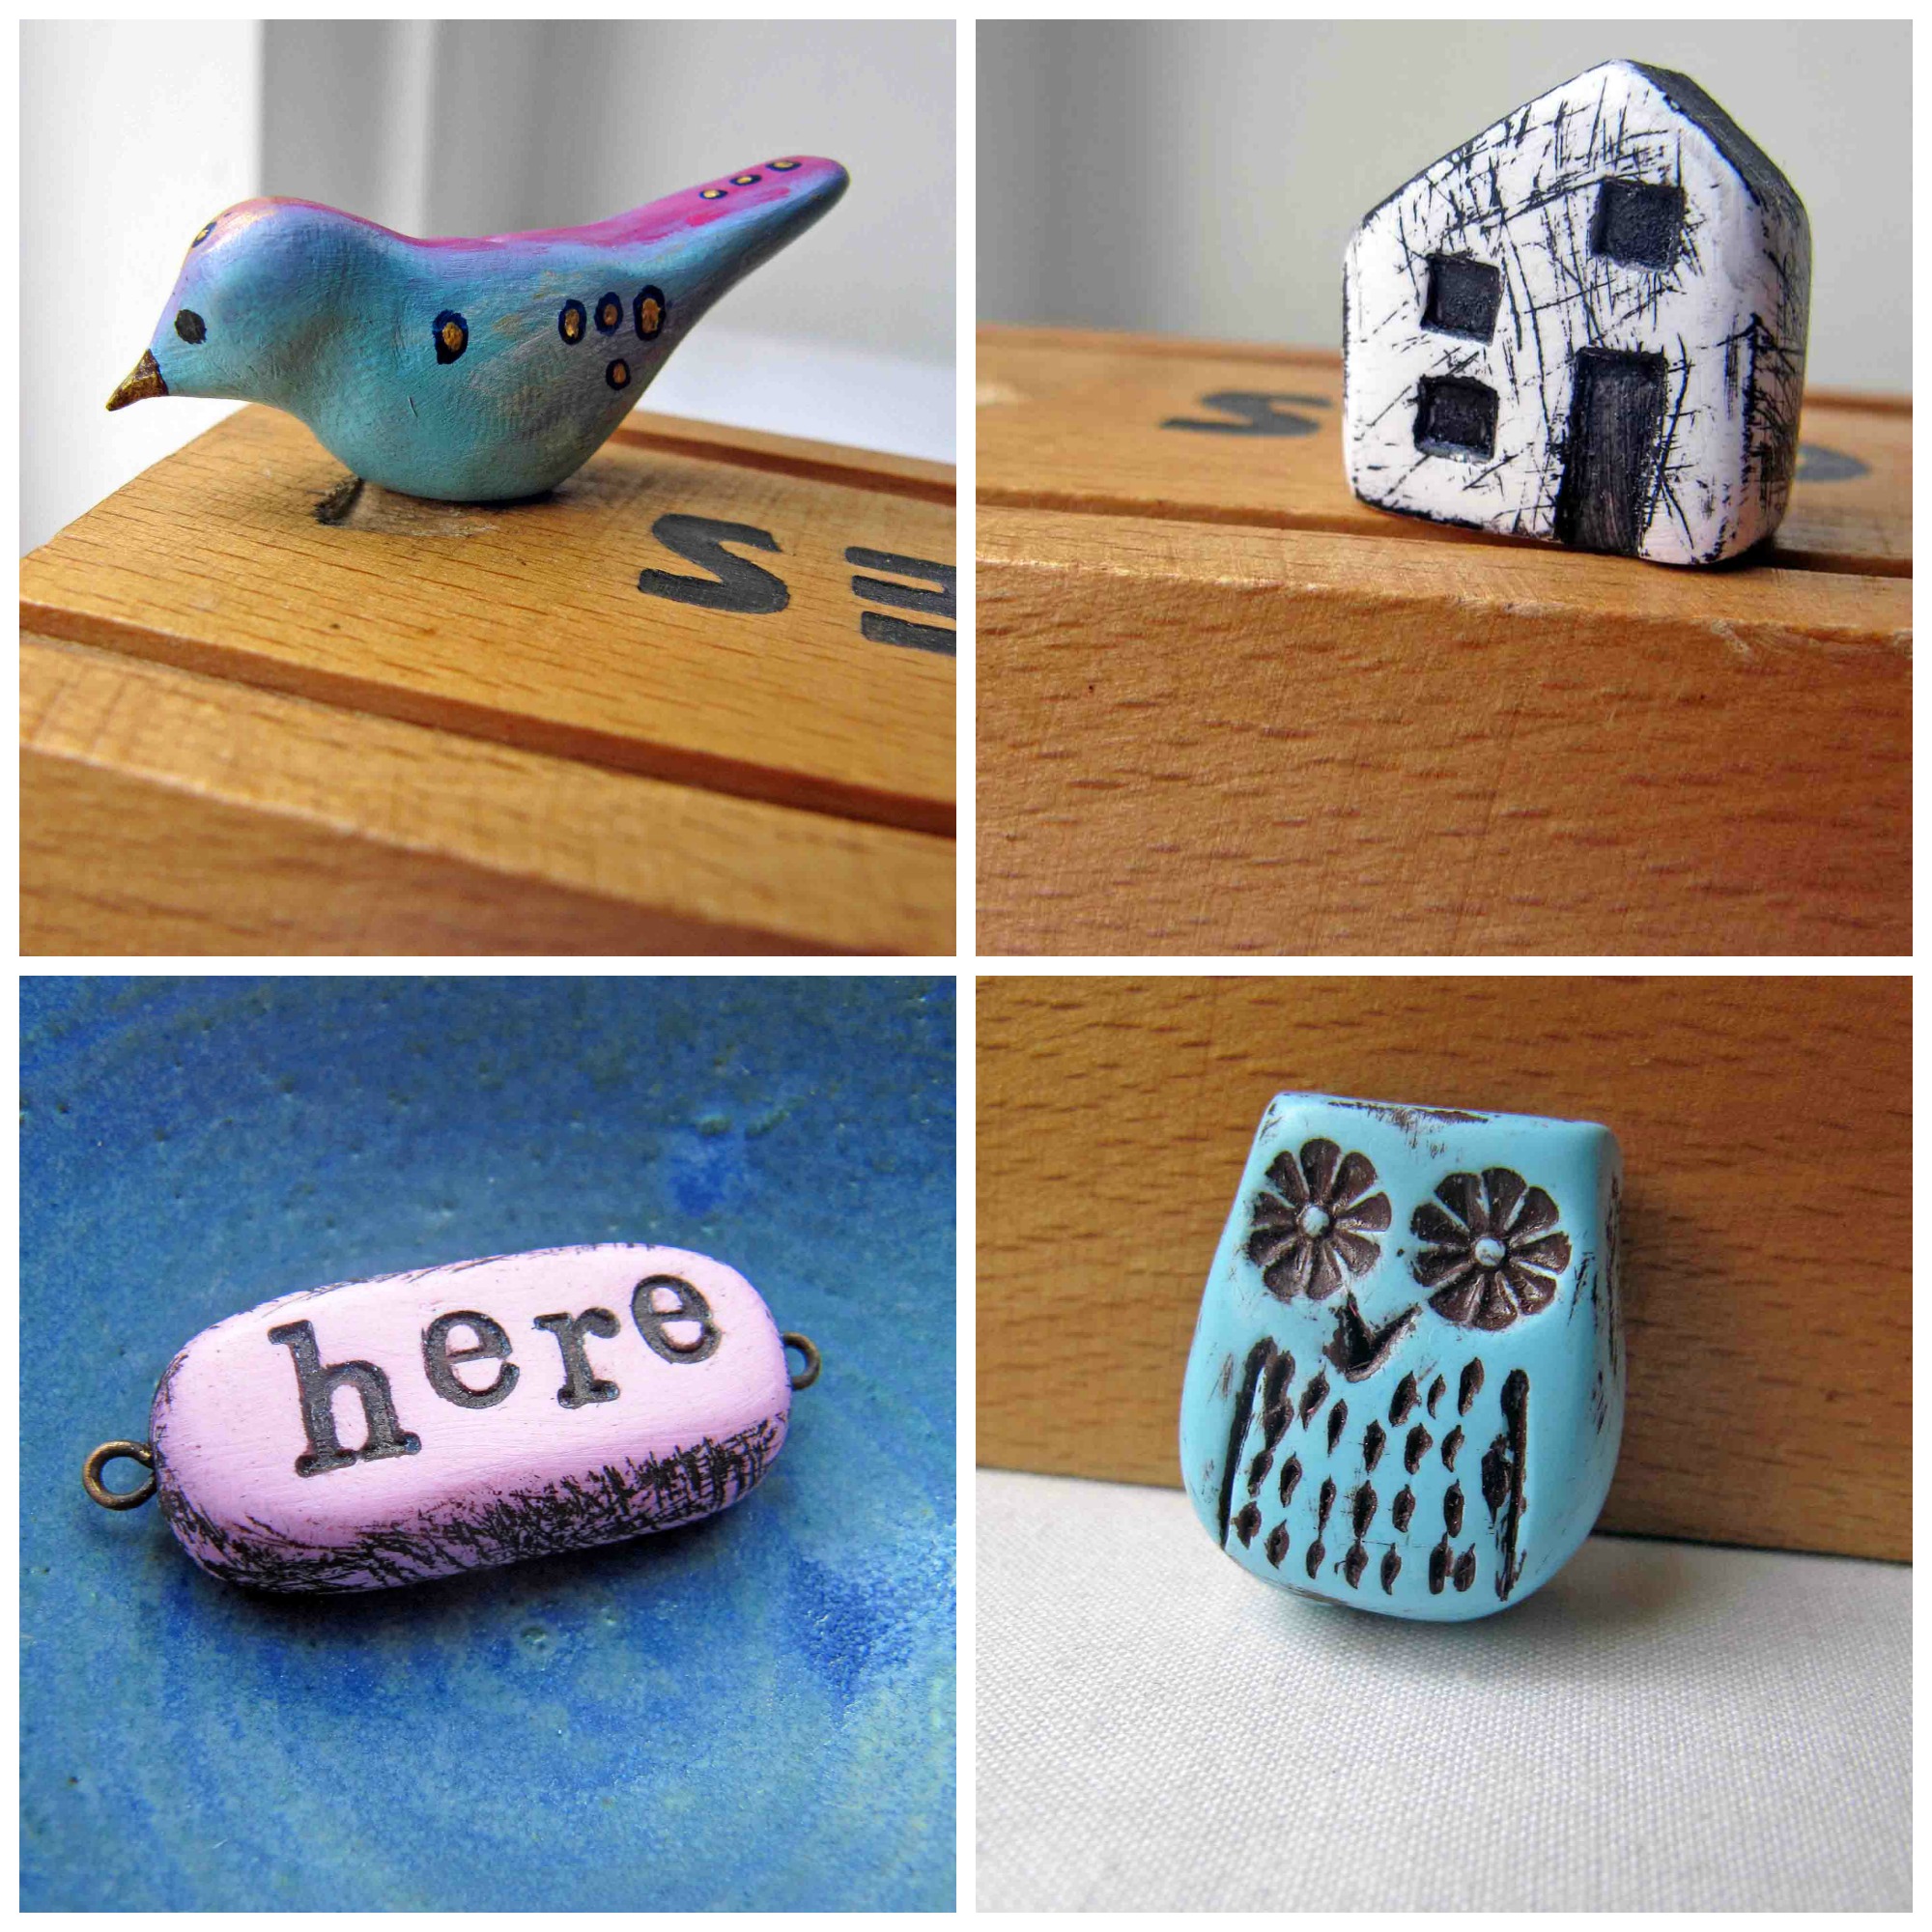
And if you’re not liking the metal, don’t worry. I’ll be stocking up all the old favourites as well.
I’ve tried to think of everything! I’ll be listing all the above and more between 6-7pm this evening. I’m afraid that I am going to have to charge a bit more for the metal-ly pieces to cover all the additional costs, etc. I hope you’ll think they’re worth it. I can’t wait to get some more made up so I can use them myself! But not today - today I’m just going to have a nice, quiet bead - all very still and gentle - and sit it out until I can crawl back into bed…